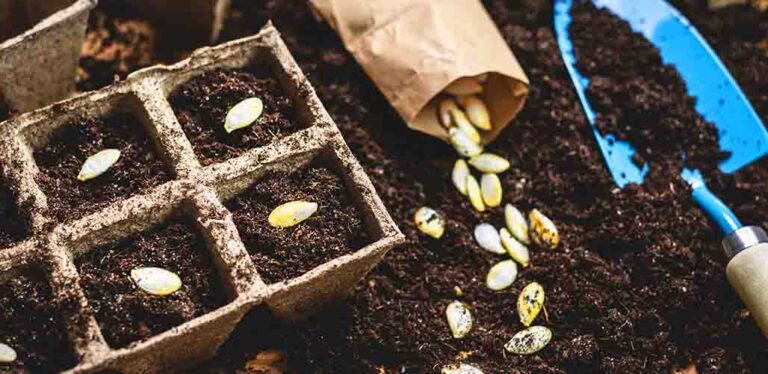
First Steps In Composting – An Introduction For Beginners
My family regard my enthusiasm for composting with some amusement. They’d probably say, if pressed, that it’s verging on an obsession! But here’s the thing. Composting is a fascinating subject and so much more interesting than just a pile of rotting vegetables and grass clippings!
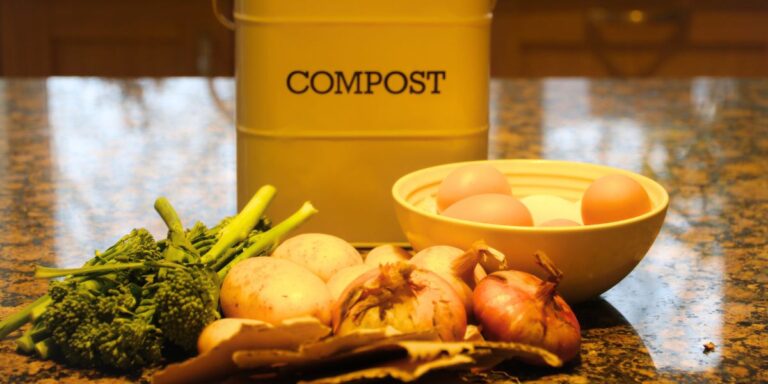
The benefits of learning to compost extend far beyond your yard. In addition to improving the soil condition in your vegetable garden and adding nutrients to your lawn, by recycling your kitchen waste you’ll be helping to reduce landfill and make your planet happy!
Composting Principles
Good composting is both an art and a science. You need the right ingredients, the right amount of moisture and for rapid composting you need to turn your compost heap. You don’t need a composting container, but you can buy or make one if you want to. Good compost is highly achievable if you follow the principles below. Once you’ve learned the basics, you’ll be able to break the rules and make some of your own!
Problems with composting
It took me three years to really get to grips with how composting works. And that’s partly because I struggled to find clear information on what’s actually involved in turning assorted waste material into a beautiful, dark, nutrient rich soil. And partly because there were some basic rules that I needed to follow.
Like many others, to begin with, I simply tossed all our family vegetable peelings, grass clippings, and hedge clippings into a large plastic compost tub and waited for the composting magic to happen.
Several months later, the pile was slightly smaller, but looked very much the same, and nothing resembling soil had appeared at the little door at the bottom of the tub.
Compost Ingredients
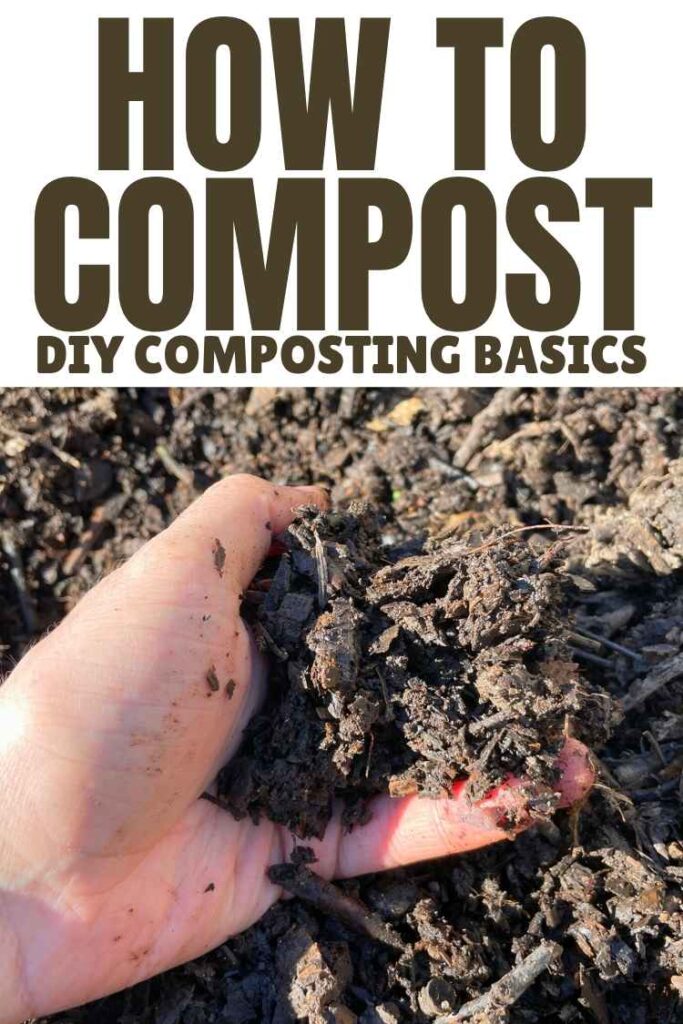
Many experiments and a lot of reading material later, I have come up with a system that works.
It isn’t labor free, and it isn’t labor intensive either. It’s not complicated, and you can have compost within a few weeks if you want to.
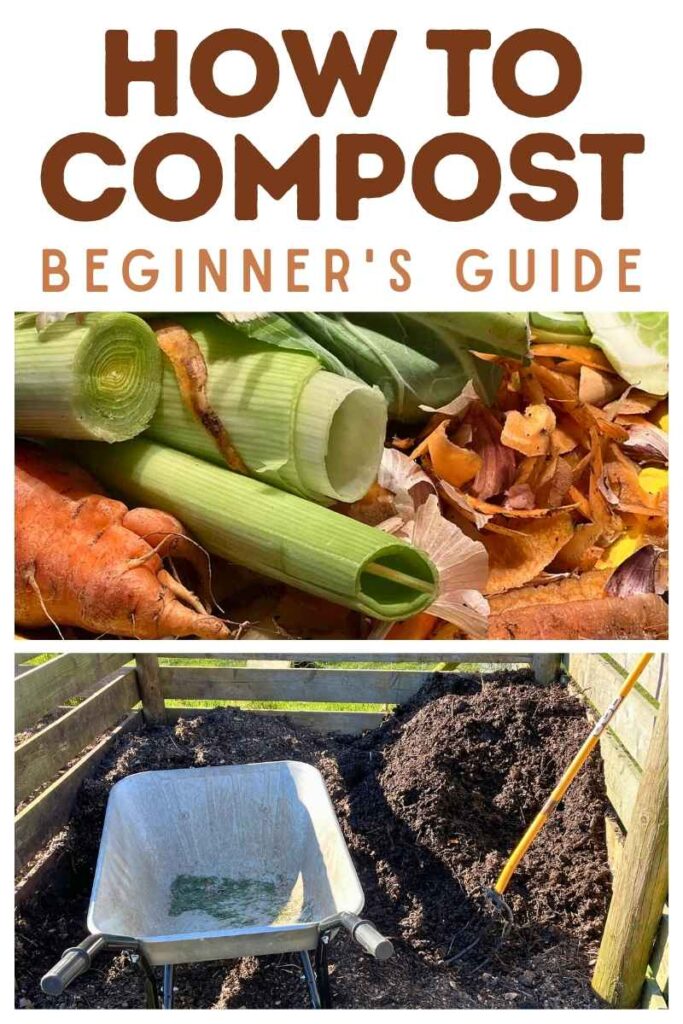
The first step is to get the ingredients right. Compost heaps need equal proportions of green and brown materials. Plus air and water.
Green plus brown – get your proportions right
The formula for composting is straightforward. You need at least the same amount of brown vs green ingredients.
Brown simply means anything carbon rich. So straw, wood chippings, sawdust, dead leaves, twiggy stems from your plants, these are all brown ingredients.
Carbon rich browns
- Dead leaves
- Straw
- Plain cardboard
- Wood shavings
- Twigs
- Sawdust
- Woody hedge trimmings
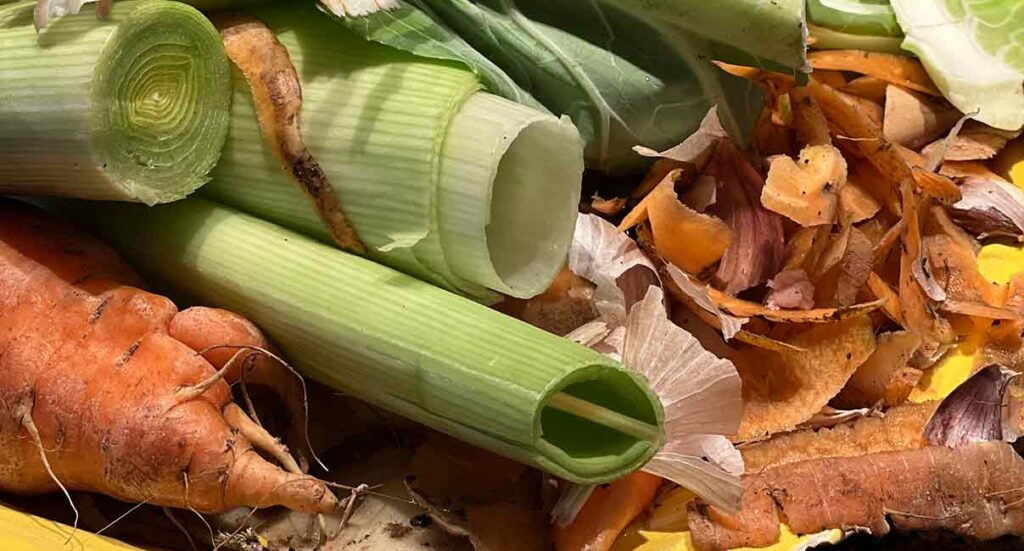
Green items are nitrogen rich. These include grass clippings, vegetable peelings, animal manure from chickens, horses, sheep, etc.
Nitrogen rich greens
- Grass clippings
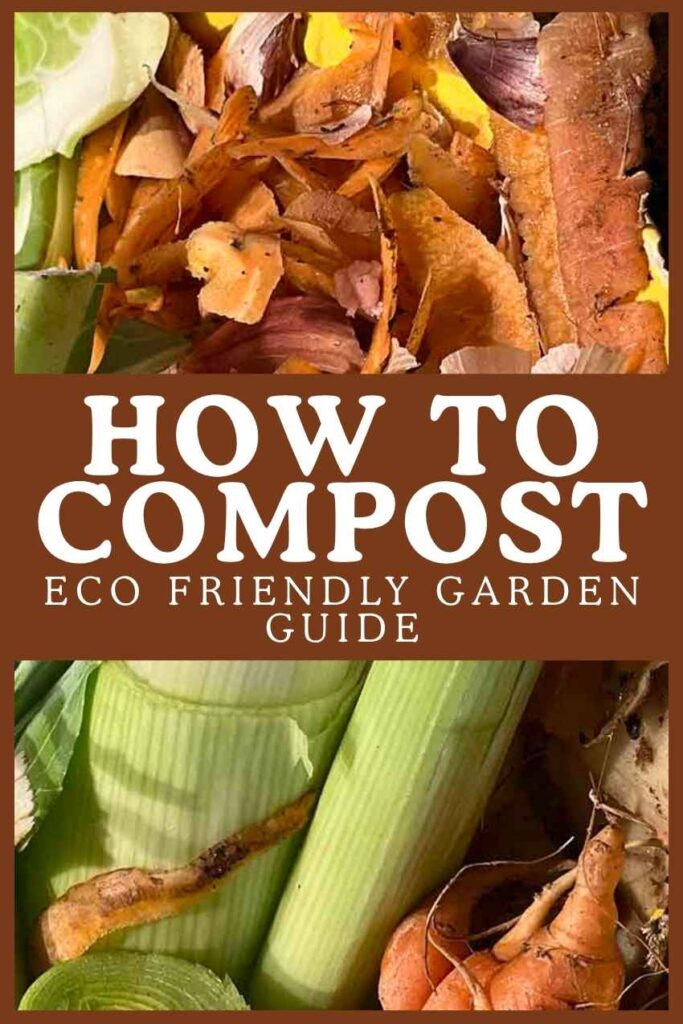
- Vegetable peel
- Fruit peel, apple cores, banana skins
- Cooked veg leftovers
- Chicken manure
- Rabbit manure
- Flowers
- Tea leaves
- Leafy hedge trimmings
Be generous with brown ingredients!
Many of my early experiments were too nitrogen rich. If your compost pile is mainly green, you need to add more brown. No leaves available? No problem. You can use torn up plain cardboard for this purpose.
My later experiments had the reverse problem. I had a lot of straw to dispose of and I struggled to get these piles to compost at all.
When you have abundant brown material, piles of dead leaves for example, stack those separately from your working compost pile and add it to the pile gradually, with more green stuff. Some people like to use two parts brown to one part green. Just remember the no more than half greens rule and you’ll be fine
Compost piles need oxygen
A big compost pile isn’t necessarily a better pile. If your pile is very big, the material at the bottom will be compressed and the air squeezed out. The wonderful bacteria that break down the organic matter in your compost pile may die.
The size of my pile is probably as big as I could go and keep my bacteria well supplied with oxygen. Turning the compost keeps the lower levels oxygenated.
What about water? And sunshine?
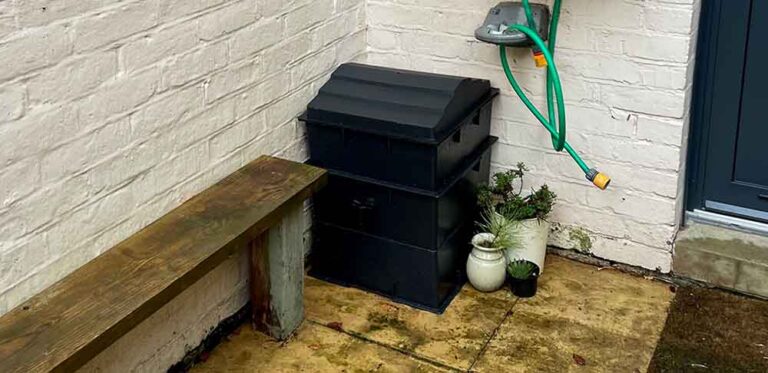
The weather does affect your compost. The composting process needs moisture, so be careful with compost tubs with lids. One of my early mistakes was letting my compost get too dry inside an enclosed plastic compost barrel.
So, you’ll need to remember to water your compost.
The idea is to keep the contents damp but not soggy. Think of a wrung out cloth.
If you have very wet weather, your compost pile may get over-saturated. You can lay a board across the top of your compost to help keep the worst of the rain off.
A board helps in hot weather too, and reduces the chances of the compost drying out. In hot weather give the pile a good soaking with a hose or watering can, then put the board on top to reduce evaporation
Fast composting – your weekly workout
My compost pile is more than a nice soil production factory, it’s also my gym! About once a week I turn the compost on the right hand side to combine the ingredients, and aerate the mix.
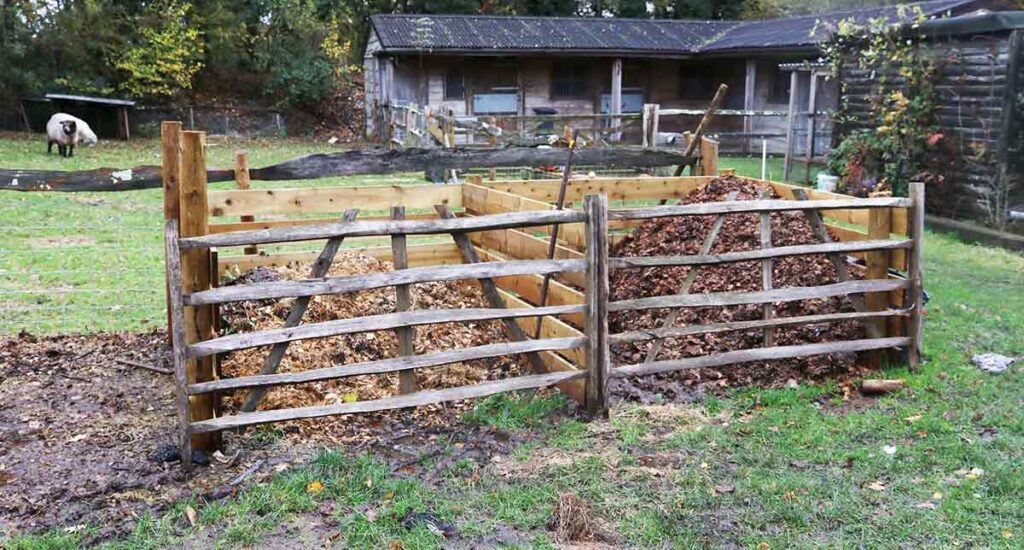
This is a good workout for me, but you don’t need to do this unless you are short on space. I just like the idea of getting a result quickly. You need an open pile, with room to turn the compost, not a tub that you can’t get a fork into.
Alternatively you could invest in a compost tumbler: one of those rotating compost barrels that you turn each day with a handle or by rotating the drum.
Incidentally, you don’t need to have gates across the front of your compost piles – those hurdles stop my sheep interfering with my compost piles!
Slow composting – for patient gardeners
If you are willing to wait months for a result, you don’t need a fast composting system. You can slow compost instead.
You’ll need several compost piles, and when the first one is full, you’ll start a new one. Over time, if the ingredient proportions are correct and the pile is fairly well mixed (not all green on the bottom and all brown on the top) then you’ll have compost from your first heap. But it could take as long as a year for your pile to rot down completely.
Slow composting requires more space, as well as time, because you’ll need several compost piles on the go, and in different stages of the composting life cycle, at the same time.
The temperature inside your compost pile
As my composting skills have improved, I’ve become more interested in the temperature inside my compost pile. There’s potential for using this heat too.
A properly working compost heap heats up inside. If you want to know just how hot it gets, you can buy a compost probe. Push it into the pile for a temperature reading. You may be surprised to see temperatures of 140 degrees fahrenheit or more.
You don’t need to worry about the temperature in your pile, but it’s something you may find you get into as your composting skills grow.
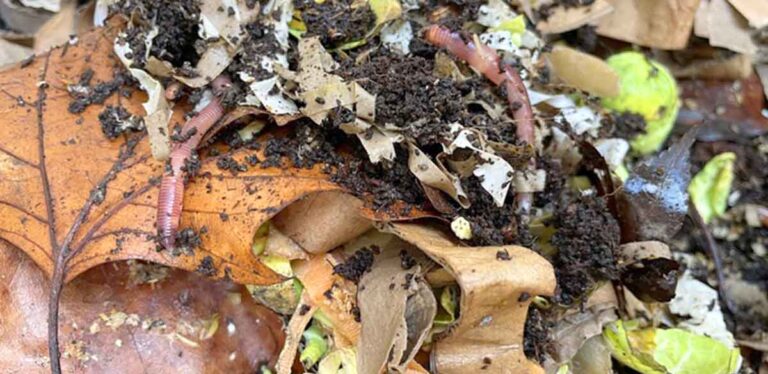
What about worms?
In my experiments in our previous home with a small back yard, I used to buy tiger worms from Amazon and add them to my compost tubs.
The soil on our homestead is rich in worms, and they soon find their way into the compost pile.
You don’t need to buy worms, but they are not expensive so you might want to see if they help break down your compost faster.
Putting your compost pile to work
Once your compost is ready you’ll be able to put it to work as a mulch or fertilizer around your trees, shrubs, and perennials.
You’ll also be able to make your own potting soil and watch your vegetable patch and flower garden thrive!
Start your compost pile today!
Here is a summary to get you started with composting in your yard.
- You don’t need a container
- Keep your ingredients balanced
- Turn regularly for fast results
You don’t need tubs, barrels or other containers to get started. You don’t even need purpose made bays like the ones I have. All you need is enough space to build a pile. Containers help keep things together, but they make it harder to turn your compost.
If you want fast results, or you don’t have space for more than one pile, you’ll need a long handled fork to turn your compost. Remember to mix green and browns in even proportions. And to turn your compost regularly for faster results.
Good luck with your composting and let me know how you get on in the comments below!