Is My Compost Ready For Use?
Whether you’re tending frequently to a fast-working hot compost heap, or leaving a slow, cold compost pile breakdown at a leisurely pace, you need to be able to recognize when decomposition is complete.
What does finished compost look like, and why do some gardeners leave it to cure for even longer? If you started out four months ago with kitchen scraps and big dreams, and now you’re trying to work out if your compost is ready for use, you’ve come to the right place.
- Fast vs slow compost
- Making compost ready for use quickly
- How to recognize compost that’s ready for use
- Should you cure your finished compost?
- When is the best time to use homemade compost?
Fast vs slow compost
Composting takes time. And it’s not always easy to know when the composting process is complete. What you are aiming for, is compost that looks and smells pleasantly earthy, and resembles a dark, crumbly, rich soil. Provided you have the right balance of ingredients, this happy state of affairs can be reached within as little as twelve weeks. You’ll need to be actively working your compost pile, turning it to aerate it and keeping the compost moist rather than wet.
On the other hand, usable compost could take a year or more to achieve if you leave an untended pile to its own devices. Both techniques, fast vs slow (also known as hot vs cold) composting, are perfectly acceptable ways to manage a compost pile. It’s up to you which technique you use. Why not try fast composting first, and if you find it too much work, you can always decide to leave the pile to decompose naturally at its own pace.
Making compost ready for use quickly
Fast composting can turn household waste, such as vegetable peelings, grass clippings, leaves and animal bedding etc, into a rich soil in around twelve to twenty weeks. If the conditions are right.
You’ll need a good balance of brown to green materials in your compost pile, and the compost will need to be sufficiently moist and sufficiently aerated. When you get these conditions right, the decomposition process will begin to accelerate. The microbes that break down the items in your pile start to multiply and their activity causes the temperature inside the compost pile to rise. The input required from you, is all about keeping enough oxygen in the mixture to enable the microbes to survive and thrive. And for this to happen, you’ll need to turn your pile.
When to turn your compost
After constructing a new compost pile from thin, equal layers of green and brown materials, you ought to notice the internal temperature start to climb within a few days. If you have a temperature probe, then you can be guided by that. Insert the probe into the pile about half way down, and watch the temperature rising. Hopefully it will eventually exceed 140°F – the temperature needed to kill weeds and pathogens in the soil. Then it will start to decline again.
Turn your pile:
- If the interior temperature goes above 150°F. Conditions this hot will start to kill off the friendly microbes making your compost. They can also cause dry materials on top of your pile to set on fire!
- Or when the temperature drops back below 55°F. This moves uncomposted material to the center of your heap, and triggers another increase in temperature.
You can repeat the turning process every time the internal temperature drops back below 55°F, until your compost is finished.
Turning by hand vs mechanical turning
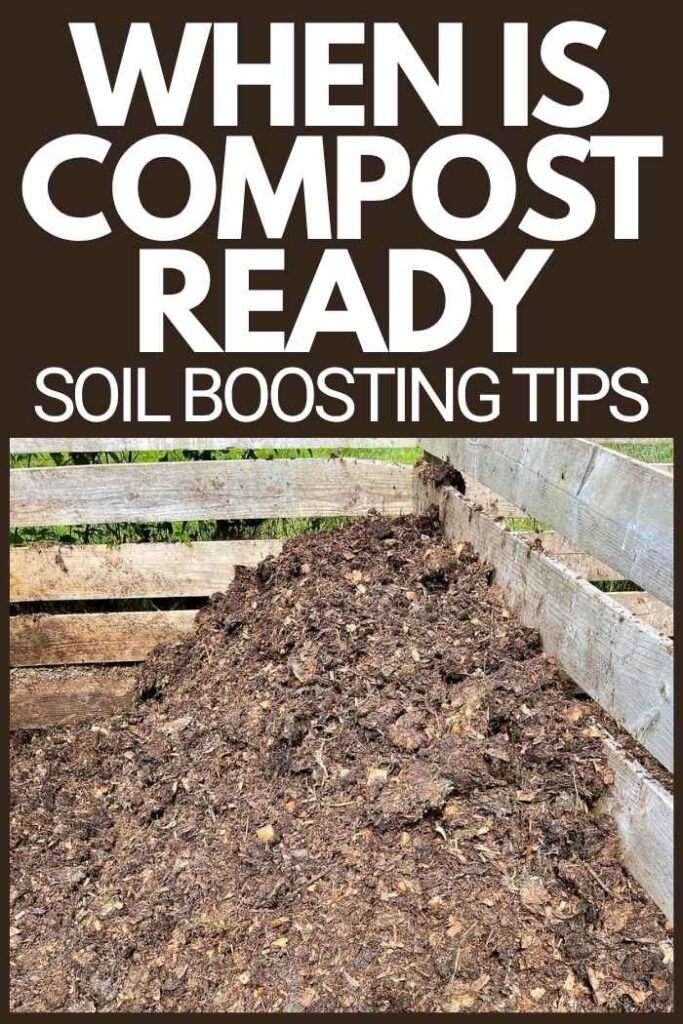
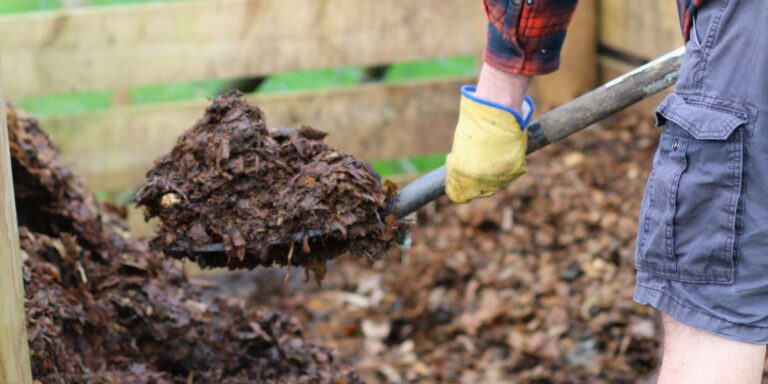
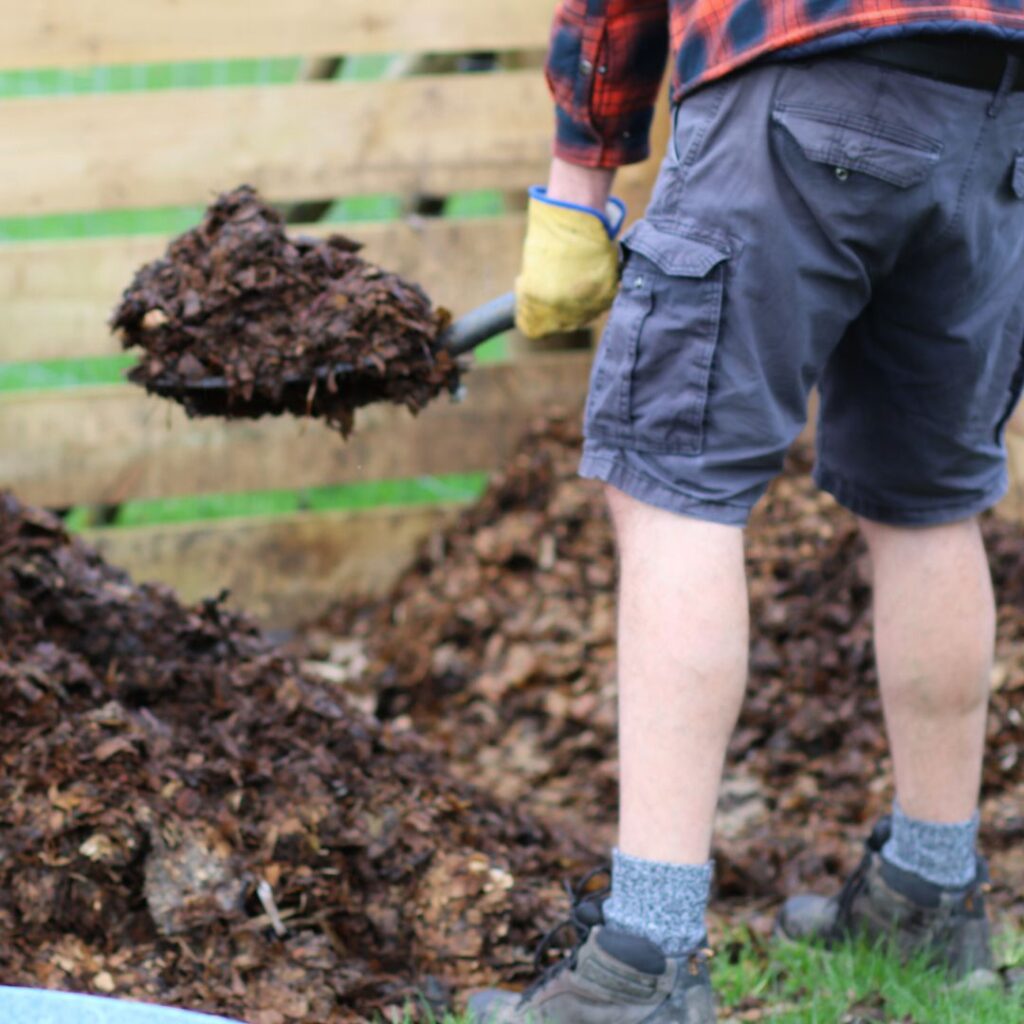
Turning is an essential part of fast composting. And it takes effort. You’ll need a good strong fork, and it will take you twenty minutes to an hour (depending on the size of your pile) to turn your compost. Start at the top of your pile, take forkfuls and dump onto a suitable piece of ground nearby. If you have a large compost bay like Pippa’s in this photo, you can just turn it from one side and pile it up against the other.
Pippa says her husband frequently offers to turn the pile with the bucket on his tractor, but she prefers doing it by hand. The physical effort is enjoyable, and it’s cheaper than going to the gym! It’s also a good opportunity to monitor progress and check for dry patches that could benefit from adding water.
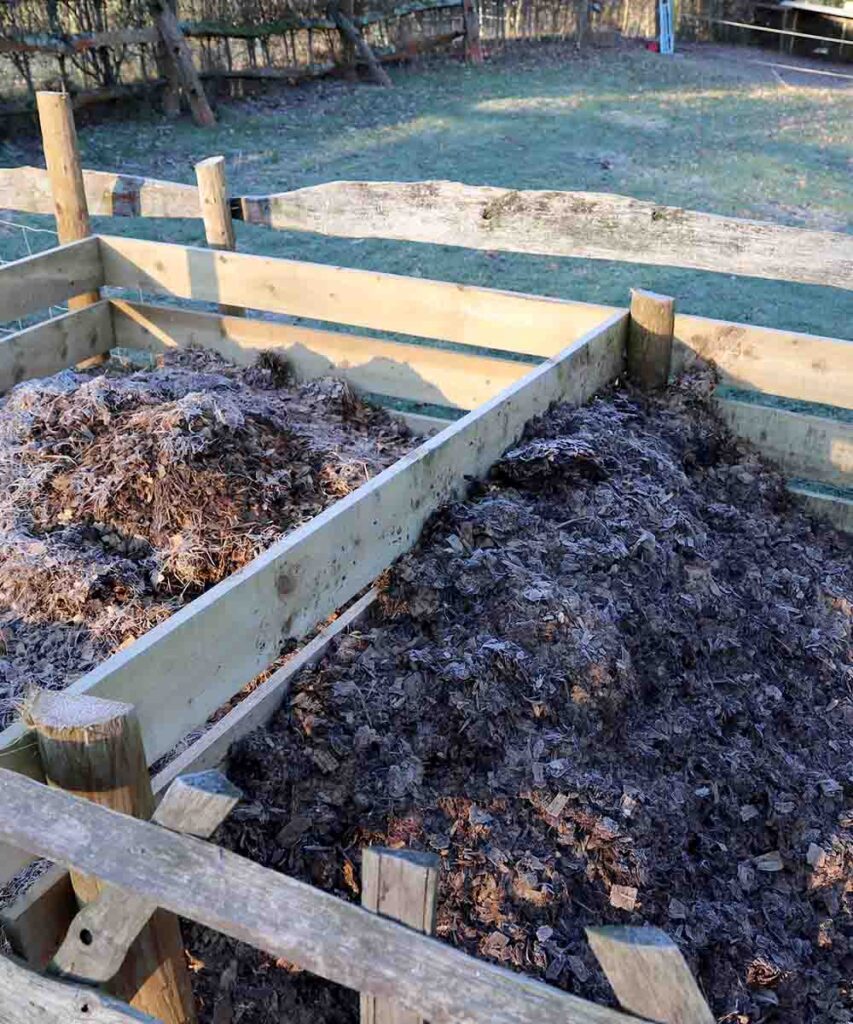
If digging isn’t your thing, there are alternatives without resorting to marrying someone for their tractor. You can buy large rotating compost bins for example. These are barrel shaped containers that you can turn using a handle. Or you can make a static compost pile with lots of very thin layers of green and brown material, and just leave it to breakdown slowly without turning it.
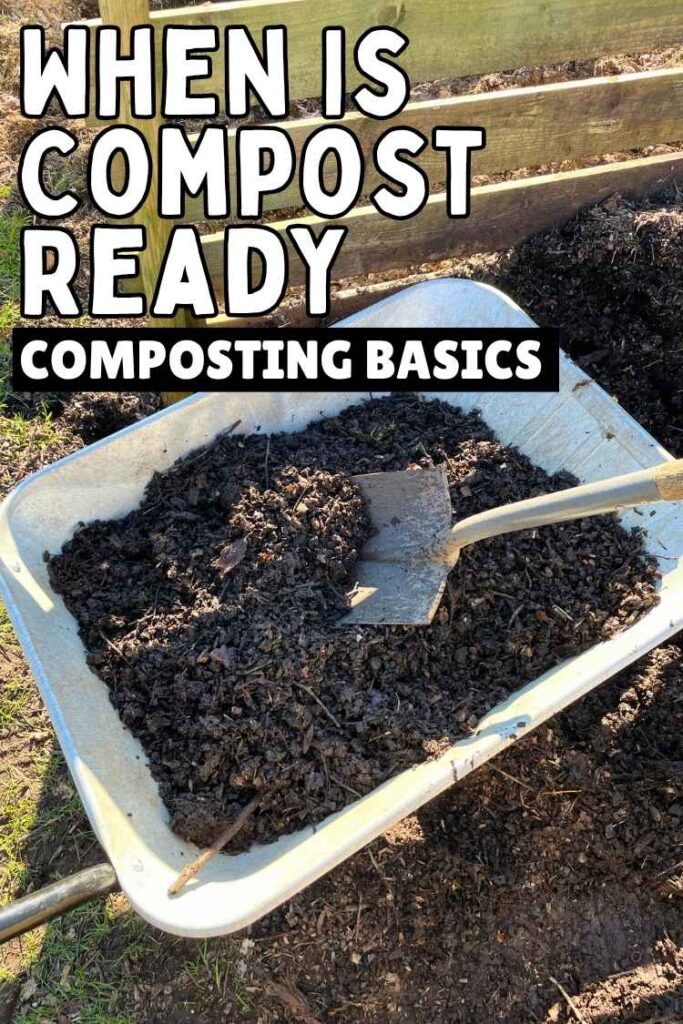
How to recognize compost that’s ready for use
Compost is ready to use when:
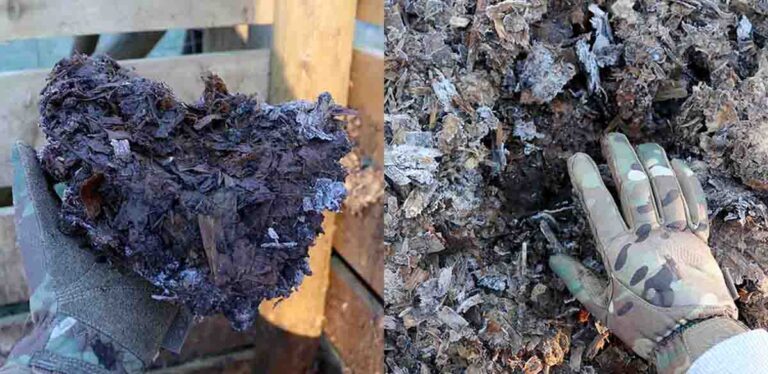
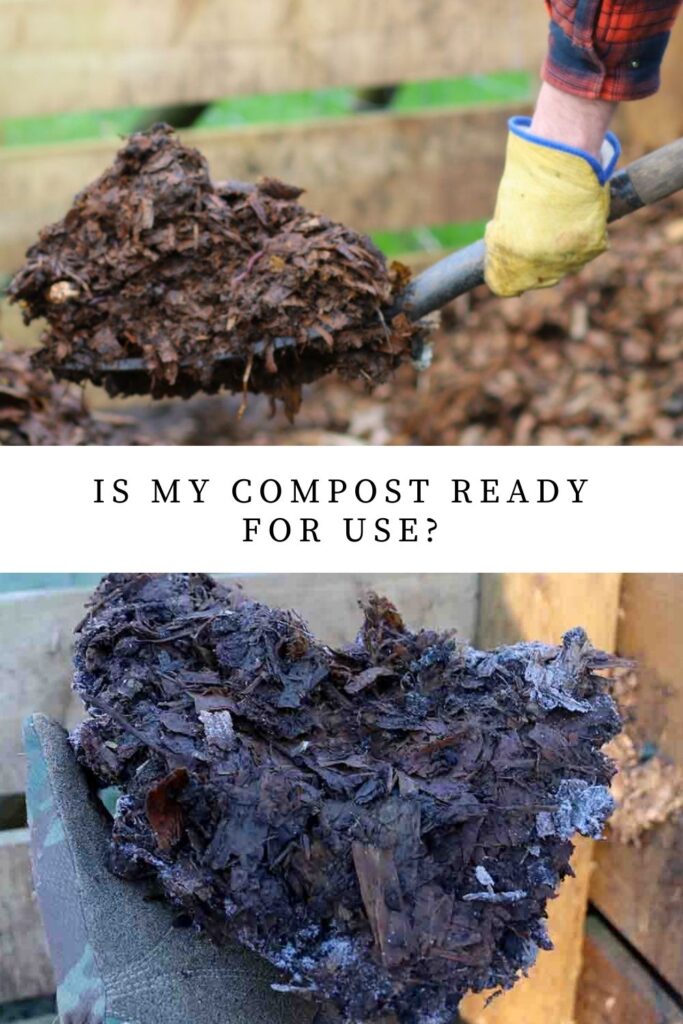
- The volume of materials has shrunk by 30-50%. This is caused by carbon in your compostable materials being turned into carbon dioxide by the busy microbes in your pile.
- It’s dark and crumbly. The color should be deep brown similar to coffee grounds. Compost which is closer to black usually contains too much water, which means it’s probably unevenly broken down as well. Layer it with fresh brown materials to soak up the excess moisture and leave it to finish composting.
- You can’t recognize any of the original materials which went into it. Some fragments of woody material and egg shells are par for the course though. You can either leave them in, or add them to your next compost pile.
- It smells earthy, like standing in a forest. Occasional small pockets of anaerobic digestion (which produces an odor like rotting eggs) are normal.
- The temperature is relatively stable. In other words, turning it doesn’t cause the temperature in the center of the pile to spike above 90°F (it might still rise a little though).
When these criteria are met, your compost is finished, and you can start using it. But if you don’t need it right away, you can leave it to cure for longer
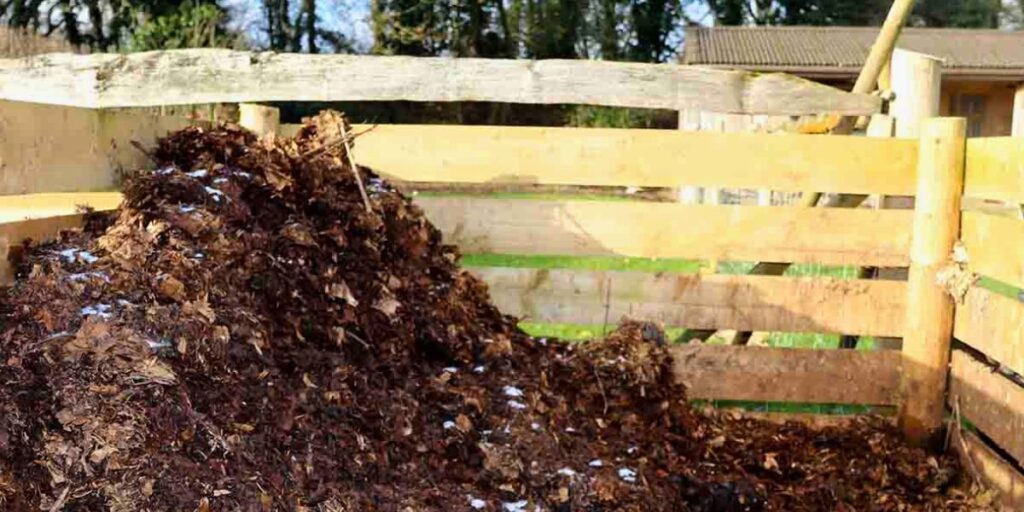
Should you cure your finished compost?
Curing is leaving finished compost to completely stabilize. For example, the acidity might continue to increase for a little longer, before reaching steady levels. Curing starts when a compost pile has completely broken down, and the internal temperature is the same as the external ambient temperature (for ‘hot’ or ‘fast’ composting piles). It’s more of a concern for commercial compost manufacturers, who need their product to be very stable and consistent. But waiting for homemade compost to cure can be a worthwhile act of patience for a home composter too:
- Fresh compost can damage delicate roots. Cured compost is safer for germinating seeds and planting up young seedlings in.
- Curing may reduce the number of pathogens which survived hot composting (or were unaffected by cold composting). During curing they will be outcompeted by other microbes, or simply die off over time.
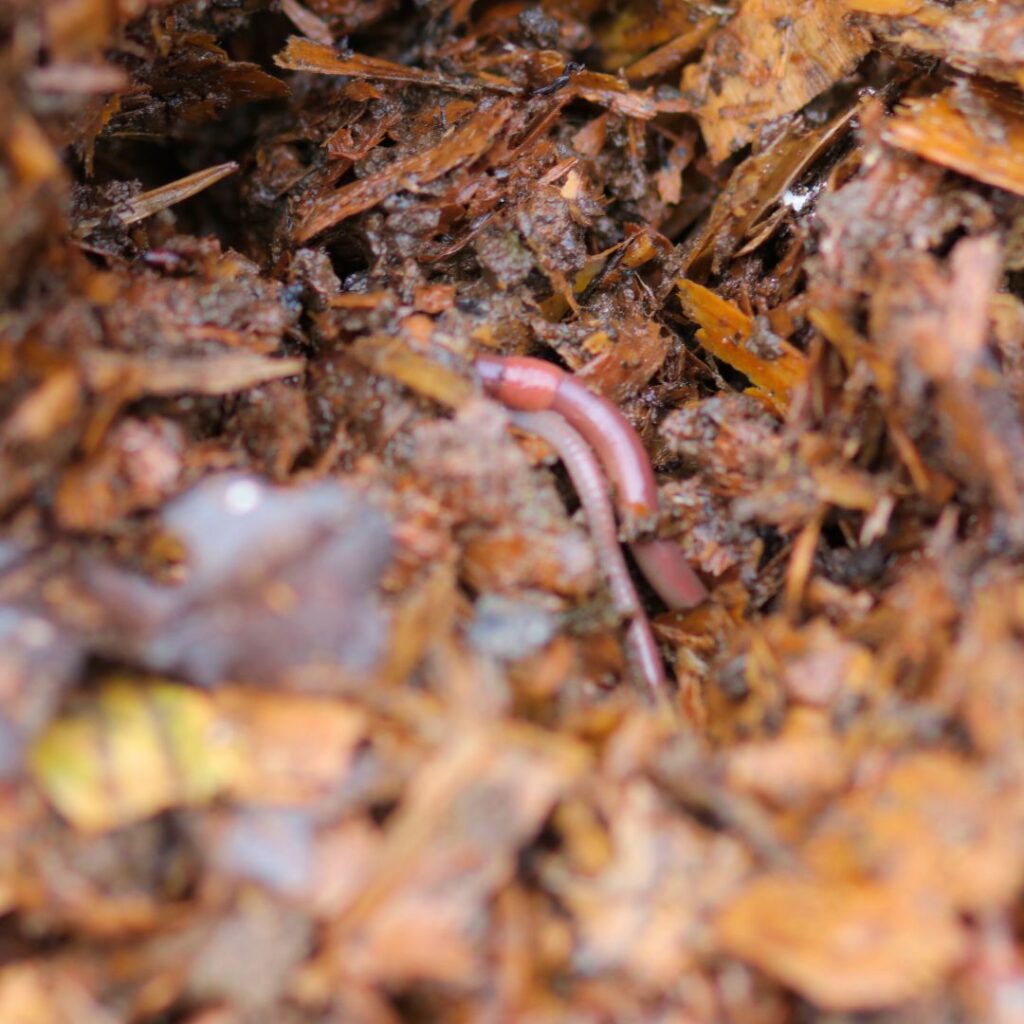
- Larger organisms begin to arrive. During curing, critters like nematodes and earthworms move in. They eat the compost and digest the microbes living in it. Their poop still contains all the nutrients plants love, but now they’re even more readily accessible.
How to cure compost
The best news is, curing compost requires hardly any input from you. Your digging days are done, for now. The only thing your finished compost does need in order to cure is to be standing on bare ground, so that a more complex food web of animals can move into it. If your pile is already standing on bare earth then you can leave it as it is. If it’s in a tumbling composter, you’ll need to tip it out onto the ground and cover it with a tarp for a few weeks.
Cured compost has even finer texture than just-finished compost. There’s no limit on how far you can take the curing process, or time limit for achieving or ending it. But eventually your compost will do more good in your bed, borders and containers than sitting in a pile in the corner.
When is the best time to use homemade compost?
You can use homemade compost at any time of year: from making potting mix to germinate seeds in spring, to mulching around the base of fruit trees in early summer. If you have a large pile of finished and cured compost, then the easiest time to use it all in one go is in fall. Spread it an inch or two thick on your flower borders and vegetable beds. You can even scatter it half an inch thick over your lawn. You don’t need to dig it in any location, the worms will do that for you over winter. Rainfall will also help wash nutrients from the compost deeper into the ground, ready to feed the roots of next year’s plants. Discover more ways to use your compost right here.
And for more information on when and how to apply compost to your beds and borders: The When And How Of Applying Homemade Compost
Is my compost ready for use – summary
Homemade compost is ready to work its magic on your plants when it’s dark brown and crumbly, and you can’t recognize the original materials you originally added to it. A closely-tended hot compost pile could reach completion in as little as twelve weeks, whilst a cold compost pile can take a year or two. If you don’t need it right away, finished compost can be left to cure for several more weeks or months. The texture will get even finer, and the action of nematodes and earthworms will make the nutrients even more accessible to plants’ roots.
Do you have the patience to let finished compost cure as well? Let us know in the comments box down below!