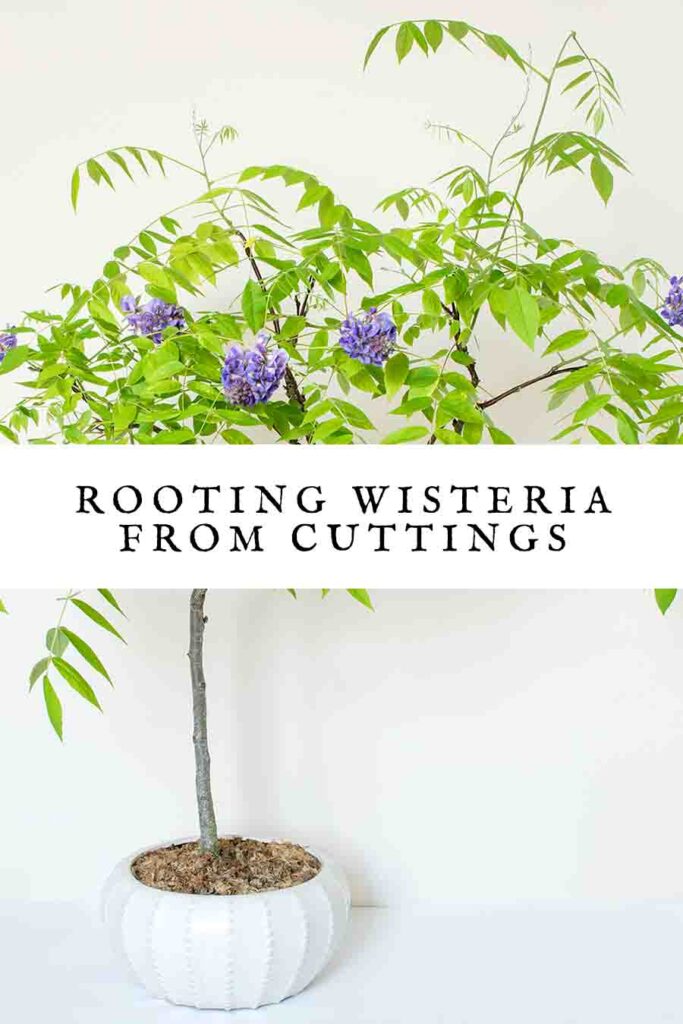
Rooting Wisteria From Cuttings

I count myself lucky because my garden came with two pretty wisterias already growing in it. One traditional purple, and one white. The only problem was, they were growing in the wrong places. The first was basically hidden in a tucked away corner, and the latter was locked in battle with the branches of an acer growing nearby. To overcome this, last year I propagated cuttings, which I can eventually plant in more suitable places. The cuttings which make the grade for planting out will be the ones that establish the strongest root systems, since these will be the most likely to thrive, and produce flowers in 4 or 5 years time. Here’s what you also need to know about rooting wisteria from cuttings, if you’re embarking on a similar project.
Contents
- Two ways for rooting wisteria from cuttings
- Propagating softwood cuttings
- When to take hardwood cuttings instead
- Tips for successfully rooting cuttings
Two ways for rooting wisteria from cuttings
There are five ways to propagate new wisteria plants in total:
- from seed
- by layering
- by grafting
- from softwood cuttings
- and from hardwood cuttings.
We’re going to focus on the last two in this article, and they’re probably the most commonly used techniques too. The main difference is what time of year each type of cutting can be taken. But the care each type needs is slightly different too, in order to achieve the best odds of rooting strongly.
Propagating softwood wisteria cuttings
Softwood cuttings are taken from tender new growth on established wisteria vines in spring and early summer. The main advantage of this method is that softwood cuttings taken in spring have the highest possible concentration of rooting hormone. So your cuttings have the greatest chance of growing roots and eventually becoming established as vigorous plants. The main disadvantage of this technique is that softwood cuttings dry out quickly from their leaves and stem, and until the new roots have grown, they have very limited ability to replace that moisture. So you need to protect them from drying out until they get established.
The steps for rooting wisteria from cuttings softwood in spring
- Prepare a pot by filling it with cutting compost, or sieved home compost mixed in equal parts with grit or perlite. The energy for rooting wisteria cuttings comes from the cutting itself, so the potting mix doesn’t need to be rich in nutrients. It does need to hold moisture without getting waterlogged, hence the grit or perlite.
- Collect cuttings early in the morning – this is when they contain the most moisture, which will protect them from the shock of being removed from their parent plant.
- Look for shoots without flower buds on them, since these contain a higher concentration of rooting hormone.
- Remove the growing tip of the shoot, around an inch from the end, and just above where a leaf stem joins the shoot. Cut diagonally across the stem, to distinguish this end as the top of your cutting.
- Detach your cutting by severing the stem 3 or 4 inches further down again, this time just below where a leaf stem meets the shoot. Make this cut straight across, and you won’t have any problem remembering which way up your cuttings go in the next step!
- Remove all but one leaf stem from the cutting – the one nearest the top. Remove all but three or four leaves from that stem.
- Tuck the stem into the potting mix. There’s not much consensus on whether they should be right at the edge of the pot, or nearer the middle, so don’t sweat this. A 4-inch pot can hold 2 – 4 softwood cuttings.
- Water gently to settle the potting mix around the cuttings. Then either put the pot in a propagator, or cover it with a sandwich bag, taking care that the leaves don’t touch the sides.
- Place in bright, indirect light, somewhere consistently 65 – 75°F. Open the propagator or remove the sandwich bag briefly every couple of days, to freshen the air inside.
- When roots appear through the holes in the bottom of the pot, transfer each cutting to its own pot. They can be planted outside when their roots fill the new pot, and they have been hardened off.
Rooting wisteria from hardwood cuttings
Hardwood cuttings are taken in fall or winter, after the wisteria’s leaves have fallen off. You’re cutting the same shoots as you would have cut in spring, but now they are more mature, and tougher. The advantage of this technique is that since the plant is dormant when you take the cutting, you don’t have to worry about moisture loss. Just stick your cutting into potting mix, and forget all about it until spring. The drawback is that you’ll have to wait 6 – 8 months to find out if your cuttings have succeeded.
The steps for rooting wisteria from hardwood cuttings in fall and winter
- Prepare a home for your cuttings. Hardwood cuttings can be put straight into the ground, provided you pick a sheltered spot which won’t get waterlogged in winter. Dig compost or manure into the soil to give your new plant a boost when it comes to life. Alternatively, use a 2 – 3 gallon pot filled with equal parts compost and grit.
- Take the growing tip off your chosen shoot again, and this time sever your cutting 10 – 12 inches further back, cutting just below where a leaf stem met the shoot.
- Push the cuttings into the ground or potting mix, so that just one third of them remains visible above the surface.
- Keep somewhere sheltered and wait. It’s normal for the end of the cutting in the soil to callus over until spring. Roots will appear from the callus and along the submerged stem when the weather warms up.
- Keep watered during summer, and if you started your cuttings in pots, move them into their final position the following fall.
Which method is better?
There’s no right or wrong answer to this. Some people instinctively feel more comfortable with the idea of trying one technique or the other. You might want to try whichever you can do soonest, depending what time of year you’re reading this. Or there might be other practical concerns, like not having the time or a suitable place to look after softwood cuttings.
Top tips for successfully rooting wisteria from cuttings
- Use clean tools. Clean your secateurs and dip them in disinfectant before taking cuttings. The last thing you need is to introduce bacteria, plant viruses or fungal infections into those cut ends.
- Apply a synthetic rooting hormone. These are available online, from plant nurseries and even from some large stores, as gels, powders and liquids. They help trigger the rooting end of the cutting to produce strong roots. Whether you’re taking hardwood or soft wood cuttings, dip the bottom end into rooting hormone before putting it into a pot or the ground.
- Label your cuttings! The voice of experience is talking here. At this point I am only 50% certain that I still know which are my purple wisteria cuttings and which are the white.
- Don’t let them dry out. Whichever approach you take, don’t let your cuttings dry out. This can be especially hard to remember for hardwood cuttings in open ground, so make reminders on your phone or in your diary to check on them regularly when the weather gets drier in spring and summer.
- Remember this is a long game. New wisteria plants don’t usually flower until they have established in their permanent home for 4 years or so.
Rooting wisteria from cuttings – summary
Taking cuttings from wisteria is a great way to make more plants for free. Or to clone a vine you’ve been admiring but can’t identify the variety of. Successful cuttings are those which root strongly, in order to support a whole new plant in future. Taking cuttings at the right time, caring for them accordingly, using rooting hormone, and controlling moisture are all important aspects of rooting wisteria from cuttings successfully. Let us know whether your take hardwood or softwood cuttings, and how your get on, in the comments box down below!