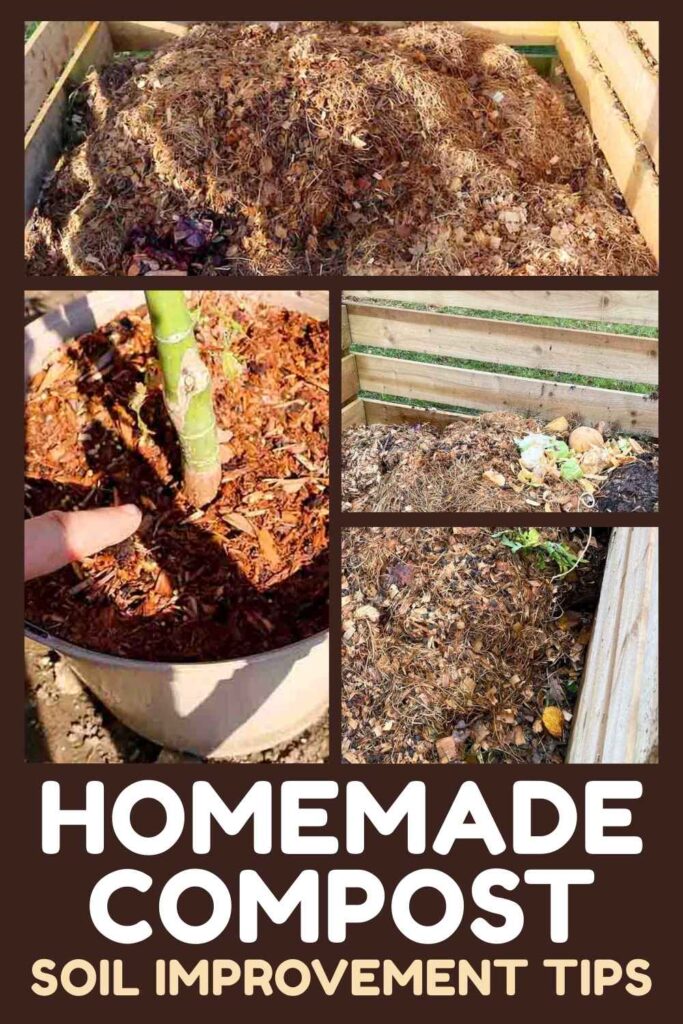
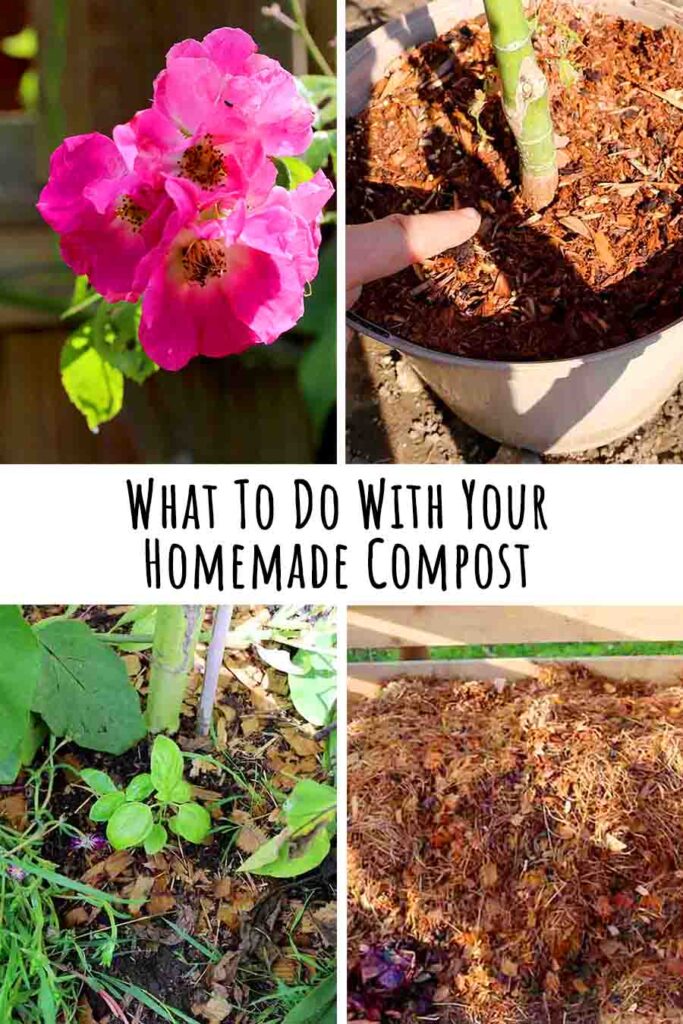
What To Do With Your Homemade Compost
So your compost pile is a success! All that household waste, mown grass, crumpled paper and shredded cardboard that you carefully mixed together last year has miraculously turned itself into a wonderful, peaty soil-like mixture. You’re finally ready to use it, and this should be the easy bit, right?
But this week I realized that of the five books on my shelf that are entirely dedicated to composting, only one of them actually includes a chapter on how to use the finished material. And here’s the thing: there is information you need to know!
Homemade compost is wonderful for some jobs, and totally wasted on others. Sometimes it is even completely the wrong thing to use, and it will hold your plants back. So here’s everything you need to know about what to do with your homemade compost.
- When is your compost ready?
- Using homemade compost as a growing medium
- Mulching with homemade compost
- Turning homemade compost into fertilizer
When is your compost ready?
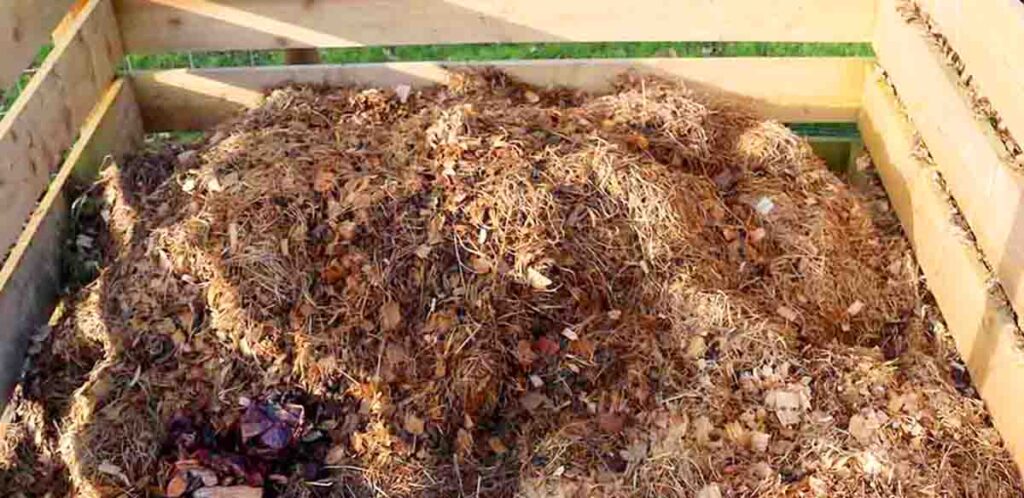
First things first, how do you know when your compost is ready to use? A compost pile can take anything from 4 months to 2 years to fully decompose and cure, depending on factors like its volume, the ratio of brown and green materials, moisture content, time of year, and how finely shredded the material was when you added it. Finished compost is:
- Dark in color, like coffee grounds
- Crumbly
- Earthy smelling, like a forest
- Reasonably free from large or identifiable lumps
A few identifiable bits, like twigs or egg shells can be thrown back onto your next pile to compost further, or left in your new compost. They will keep breaking down wherever you use it next! You’ll feel more confident judging when your compost is ready once you’ve done it a few times. But if you’re still hesitant about your first batch, here are a couple of tests to apply:
1. The sandwich bag test
Put a handful of your homemade compost in a sealed sandwich bag and place in a dark cupboard for 3 days. If it has an earthy, forestry smell when you open it again, it’s ready to use. If it has a whiff of ammonia, the bacterial decomposition process is still underway – test again in two weeks.
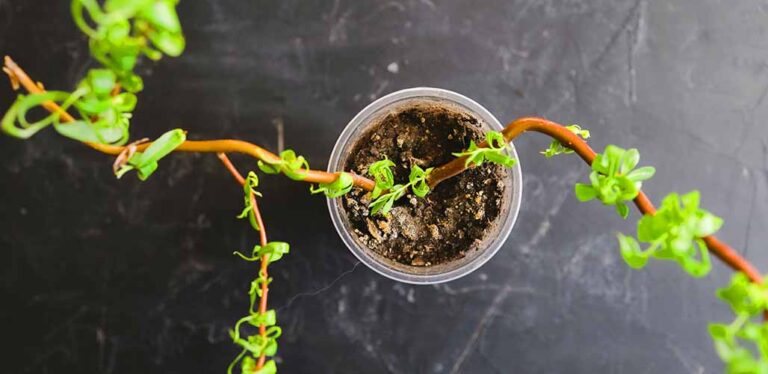
2. The cress test
Fill a small plant pot with some of your compost, water it gently, and sprinkle a pinch of cress seeds on top. Leave it on a sunny windowsill, and if at least 75% of the seeds germinate and grow normally, your compost is ready to go. If more than a quarter of the seedlings fail to grow, or are discolored or stunted, test again in two weeks.
To sieve, or not to sieve?
Once your compost looks and smells right, should you sieve it before you use it? This isn’t always necessary – a few lumps won’t stop your compost working effectively as a mulch, or as part of a nourishing potting mix. Two occasions when you might want to pass your ‘post through a garden sieve are:
- Before adding it to a seed starter mix. The delicate roots of some seedlings get established more easily in fine soil, without any obstructions.
- Before using it as a lawn dressing. Lumps won’t disappear into a lawn as easily as into a flower or veg bed. They can also pose a safety risk when it comes to mowing.
Now let’s start using your compost!
Using homemade compost as a growing medium
Probably the most obvious thing to do with your new homemade compost is grow things in it. But yet somehow this manages to be the least straightforward way of using it in practice. Homemade compost is supercharged with high concentrations of nutrients. Such high concentrations in fact, that they can suppress germination of seeds, and damage seedlings or established plants. Before you plant anything into your compost, you need to mix it with some other ingredients, to make a potting mix, or seed starting mix. On the bright side though, this is going to make your compost spread further.
Turning your homemade compost into potting mix
A traditional multipurpose potting mix for container plants is:
- 7 parts soil from your garden (or bagged top soil from a garden center)
- 3 parts homemade compost
- 1 part grit (optional, to improve drainage if you have heavy or clay soil)
The easiest way to make up your potting mix is in a mortar mixing tub, with a border fork or border spade. Mortar mixing tubs are heavy-duty plastic trays, with a deep lip at the edge to prevent the contents escaping as you mix them. You can pick them up from home improvement stores, and specialist construction supply stores. Border forks and spades are narrower and lighter than regular digging-width tools, so they’re good for mixing in a confined space.
Your potting mix can be stored in heavy duty garden waste bags, or the plastic bags from commercial topsoil, compost or soil improver. It’s a great way of getting another use out of them!
Using your homemade potting mix
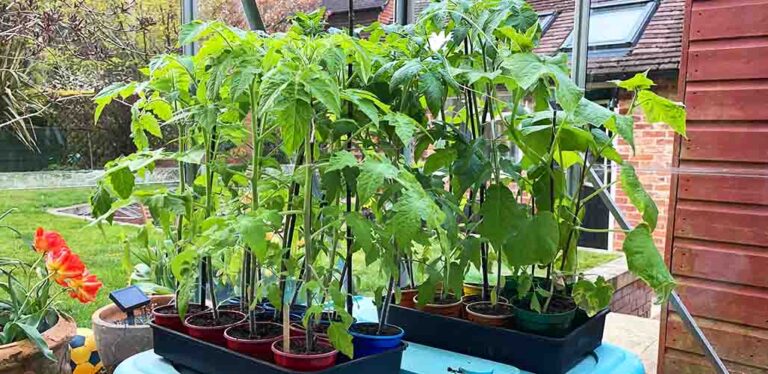
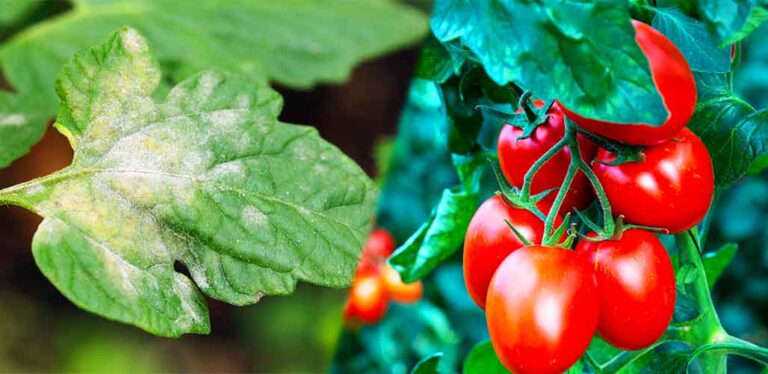
Your compost-enriched potting mix will be suitable for most container plants. The bumper quantity of nutrients in your fresh compost make it especially well-suited for growing summer displays of annuals, since many of them are notoriously greedy. It’s also the perfect medium for growing hungry crops, like tomatoes, cucumbers, egg plants, and melons.
Turning your homemade compost into seed starting mix
Seeds – even tiny ones – contain all the energy they need to burst into life. Sowing them into an overly rich growing medium can actually suppress germination, or result in discolored or deformed seedlings. Which means the potting mix above is no good. For filling your seed trays use this recipe instead:
- 2 parts sieved homemade compost
- 2 parts rehydrated coconut coir, or well rotted leaf mold from your garden
- 1 part perlite, or horticultural grade rice hulls
Sieving your compost introduces air into the mix, and removes lumps that could obstruct root growth. The coir or leaf mold adds bulk and structure to your mix, and improves water retention, without adding more nutrients. Perlite improves both water retention and drainage, and also creates little air pockets in your mix, which provide oxygen to your seedling’s roots. If you have concerns about perlite being a non-renewable resource, rice hulls are a great sustainable alternative.
Your seed mix should be suitable for sowing most types of seeds in, unless their packet specifically says otherwise.
Should you sterilize your homemade compost before sowing seeds in it?
Up until fairly recently, it was commonplace for gardeners to sterilize homemade compost before using it in a seed starter mix. Either by spreading it out on a baking sheet and putting it in the oven, or even by microwaving it. The reasoning was that sterilizing the compost would prevent rogue weed seeds in it from germinating and out-competing your plant seeds, and that it would kill pathogens in the soil (for example the fungi that cause damping off).
However, modern understanding of soil chemistry tells us that sterilizing homemade compost isn’t necessary, and can even be counter productive. Firstly, a few rogue weed seedlings can easily be picked out when they germinate, and it will take less time than the sterilizing process would have. And secondly, compost is teeming with good bacteria and beneficial mycorrhizal fungi. They support healthy plant growth, and will in most cases outcompete the pathogens. They also prepare your seedlings for life in the great outdoors. So don’t kill them off by sterilizing your compost.
Mulching with homemade compost
Now from the most complicated ways of using your compost, to the easiest. Homemade compost is a fantastic mulch for using on veg beds, ornamental borders, around trees and shrubs, and in the tops of containers. Mulching is easy – just spread your compost an inch or two thick on top of the soil, and let the benefits roll in:
- Watering will percolate nutrients from the mulch down into the soil, like a slow-release fertilizer for your plants’ roots.
- Worms will gradually drag the solid matter down into the ground, improving soil structure and moisture retention.
- The mulch prevents evaporative water loss in hot weather, and helps your plants tolerate dry periods.
- In cold weather mulch acts like a blanket, trapping warmth in the soil so that perennial plants come back to life again earlier.
- And it suppresses annual weed seeds in the soil, by blocking out light and preventing germination.
Mulching produce
Homemade compost is worth its weight in gold for mulching fruit and vegetables. On my community garden plot I apply it:
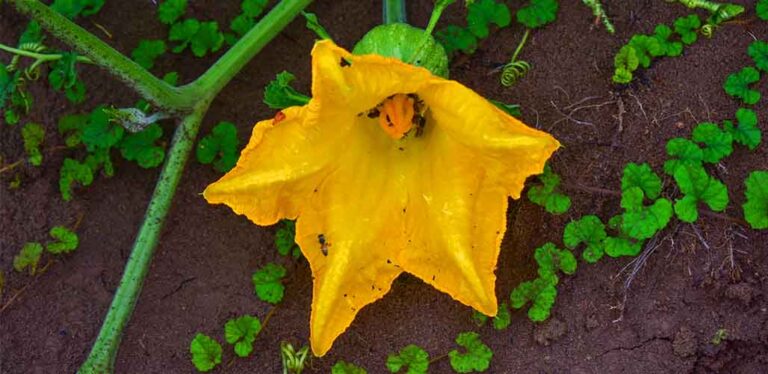
- As a thick blanket in early spring on the beds earmarked for greedy crops like brassicas, tomatoes, zucchini, squash and pumpkins.
- Around my blackberry, raspberry canes, fruit bushes and dwarf apple tree in mid-late spring, to conserve moisture in the soil.
- Around crops with a dormant winter period (such as rhubarb and asparagus) at the end of fall, so the crowns can absorb the goodness overwinter.
Unfussy plants like carrots, peas and parsnips usually do without!
Mulching ornamental borders
Homemade compost is perfect for mulching a flower border in spring or fall. Place upside down plastic plant pots over the crowns of any dormant plants to prevent them being buried, then spread your compost around them. Finally, lift the pots away, to reveal the plant crowns again. If you grow a lot of annuals, then you might try and mulch the soil every year. But if you mostly grow herbaceous perennials, then mulching every other year will be enough.
An important exception to mulching with homemade compost is in some prairie-style gardens planted with resilient native grasses, wildflowers, and perennials like coneflowers and phlox. These plant species are all adapted to survive with minimal cultivation. Adding mulch to their soil increases the likelihood of non-native grasses and weeds moving in, and outcompeting them.
Mulching trees and shrubs
Mulching trees and shrubs is a great way to use up a lumpy batch of homemade compost – for example containing twigs and bits of stem from last year’s pruning efforts. The best time to mulch trees is in late fall, a mild week in winter, or in early spring. Ideally the ground should be wet but not squelchy, and not frozen. Apply your compost an inch or two deep, in a donut around your tree. Leave the 6” of ground closest to the trunk uncovered, and aim to mulch out to a distance of about 3 feet.
It’s much better to apply a wide ring of surface-level mulch around trees and shrubs than to put your homemade compost in the hole when you plant them. When you put compost in the planting hole, their roots have no reason to spread out deeply into the soil, meaning your tree will be less resilient to high winds and droughts.
Mulching a lawn
Mulching a lawn is better known as ‘top dressing’. Lawn grass doesn’t usually need a lot of help growing – it’s incredibly vigorous. But top dressing a lawn in fall can help poor quality areas to recover from a long summer of hard use. Sieved homemade compost is an ideal top dressing material – apply it more thinly than on beds and borders though – just half an inch deep. It looks a bit ugly at first, but it’s surprising how quickly it sinks in!
Turning homemade compost into fertilizer
What if there’s no space in the top of your containers for mulch? No problem, you can turn your homemade compost into a powerful fertilizer instead! You might already be familiar with brewing homemade fertilizers by rotting plants like comfrey or nettle in a sealed bucket of water. Compost fertilizer, or compost tea, is made along the same lines. You’ll need:
- A mesh bag large enough to hold a spadeful of compost. The kind sold for washing pantyhose in or storing produce is perfect.
- A large bucket.
- A source of non-chlorinated water. Rainwater is ideal, but tap water which has been left to stand in sunlight in an open bucket for 48 hours will work as well.
The method could hardly be simpler:
- Put the compost in the bag and the bag in the bucket.
- Fill the bucket with water and put it in a cool, dark place.
- Give the contents a swirl every day.
- After one week the liquid is ready to use as a fertilizer. Apply it directly around the base of plants, without diluting it.
- Tip the spent compost out onto your newest compost heap.
Why the wait?
Letting your compost tea brew for a week allows the nutrients in the compost to leach out in the soil. It also gives the beneficial bacteria and microorganisms in the compost a chance to proliferate, so your brew packs maximum punch! Once a week has passed, use your fertilizer promptly – the good bacteria in it are aerobic, meaning they’ll start to die off again once all the oxygen in the water has been depleted.
Bubble tea, anyone?
Among compost connoisseurs, a hot topic is whether or not to aerate compost fertilizer during the brewing process, by submerging a pump in it. Circulating air into the water adds oxygen, so that the tea can support even larger populations of good bacteria. It’s not something I’ve tried, since I’d have to buy a pump, and my practically-free fertilizer wouldn’t be practically-free anymore. But if you decide to give it a go, I’d love to hear how you get on in the comments section down below!
What to do with your homemade compost – summary
Homemade compost is a gardener’s best friend. It’s no surprise that growers call it black gold! It’s so rich with nutrients that even a small quantity can go a long way in your garden. Here’s a reminder of all the ways you can use it:
- Use it to make potting mix, or seed starter mix
- Use it as a mulch on fruit, vegetables, ornamentals, trees, shrubs
- Dress your lawn with it
- Brew some compost tea fertilizer from it
And what not to do with it:
- Pot up container plants or sow seeds directly into it.
- Mulch native wildflowers or prairie gardens.
- Put it in the planting hole with new trees or shrubs.
The most important thing is to put it to use – there’s no point leaving it lying around now! Let us know how you plan to use yours in the comments box down below.