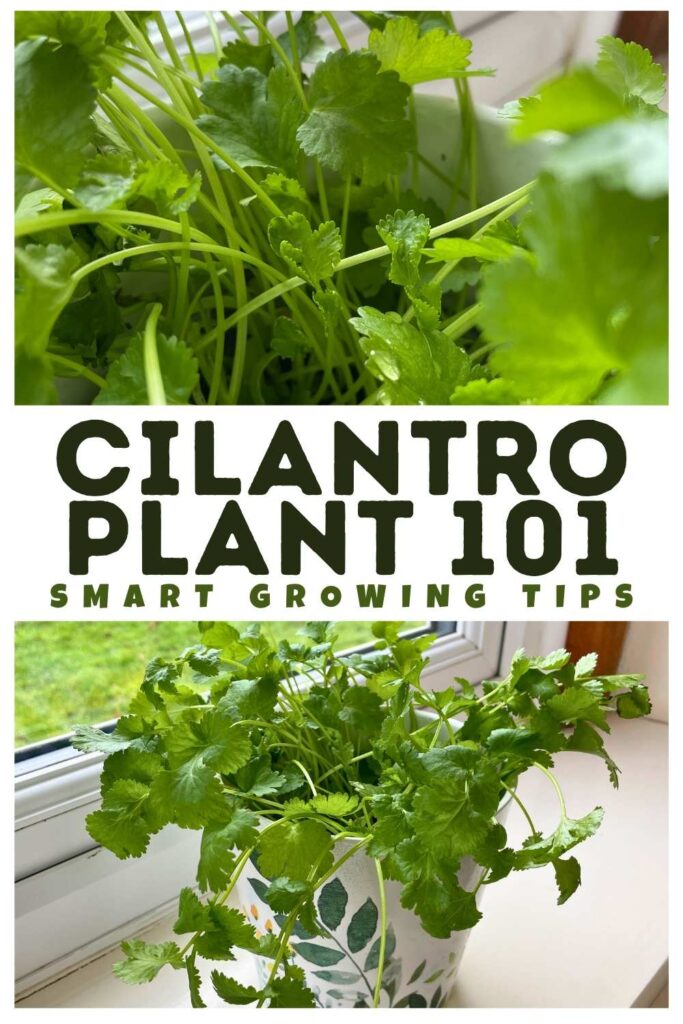
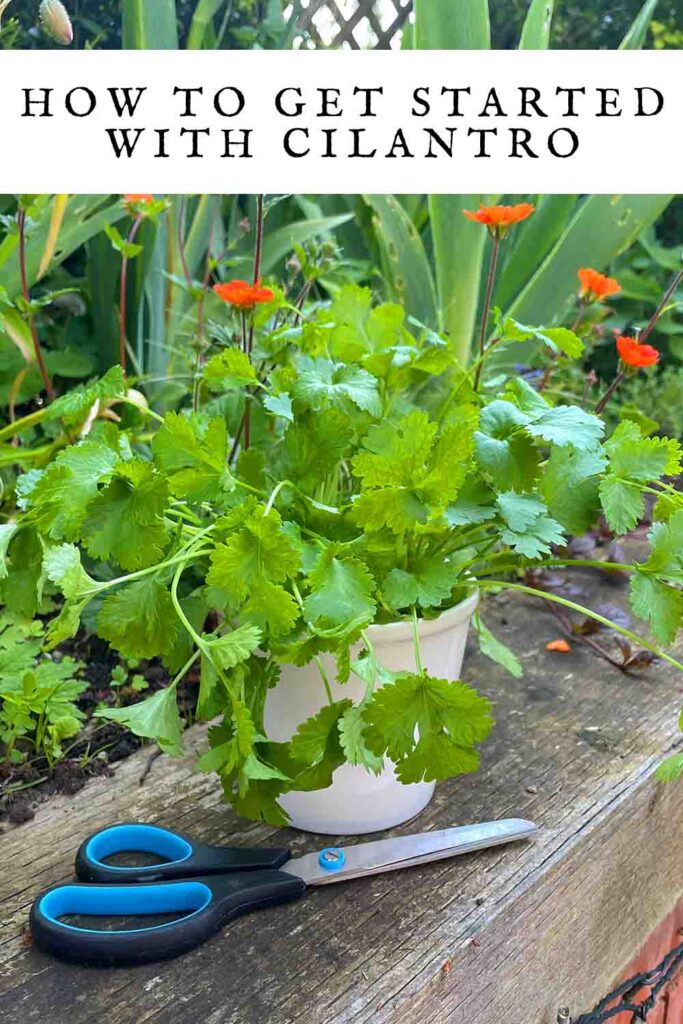
How To Get Started With Cilantro
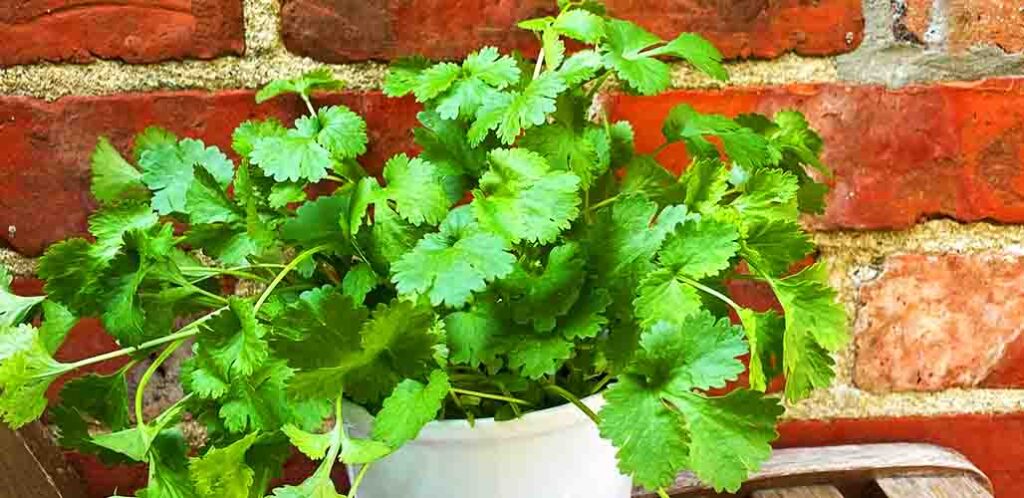
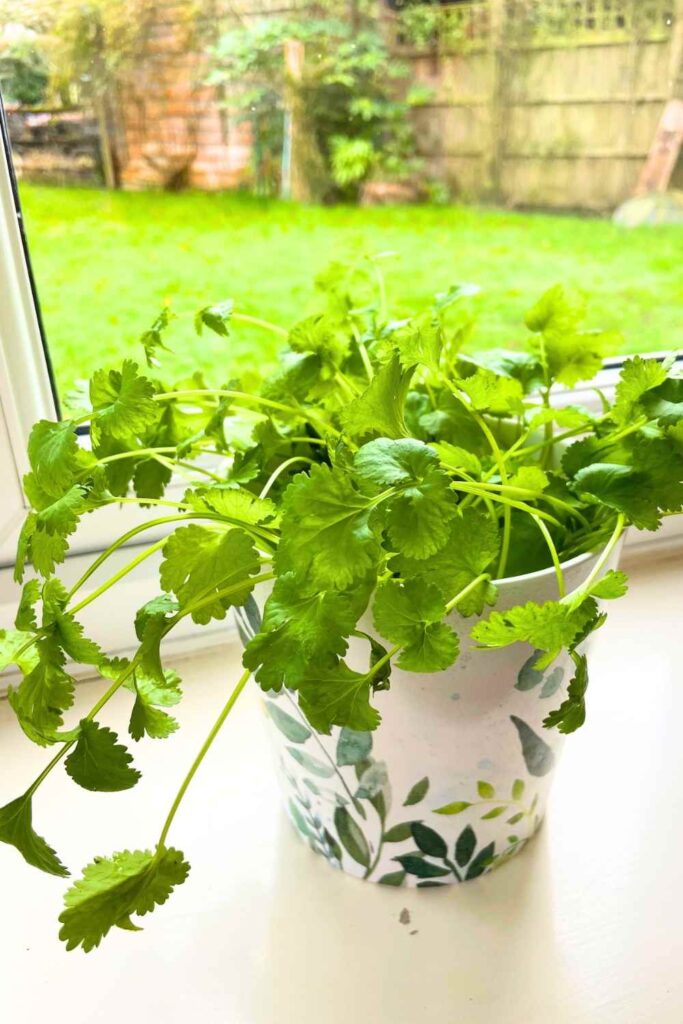
Cilantro isn’t to everyone’s taste, but I love it! As well as using the fresh leaves and stems in summer for salads and salsas, I collect its seeds at the end of the year to use in fragrant marinades, curries and burritos. Luckily, cilantro couldn’t be easier to grow from at home, which saves me a small fortune at the grocery store.

What’s more, the plants are a neat size for keeping in pots or filling gaps in a vegetable garden. So hopefully you’re keen to find out how to get started with cilantro too!
Contents
Cilantro basics
Cilantro has been cultivated for use in perfumes, traditional medicines and cooking for at least 4,000 years. So long in fact, that researchers have yet to pin down exactly where the plant is native to originally. But it grows in the wild all across Northern Africa, Southern Europe, and Southwest Asia. And of course, it is cultivated by gardeners and commercial growers in many more places besides!
Cilantro is a widely used herb in salsas, soups, salads, dips and marinades across African, Middle-Eastern and Asian cuisines. The seeds of the cilantro plant are known as coriander (in the UK the entire plant is known as coriander) and they can be used in stews, sauces, relishes and bread doughs. Even the flowers and roots are edible!
The flowers have a milder taste than the leaves, and make a pretty garnish. While the roots have a slightly earthy flavor that’s widely employed in Thai cooking. So in fact, all parts of the cilantro plant are edible!
Bee Bonus: The bees in my garden love coriander flowers too, so I always let a few plants flower and go to seed, just to keep my bees happy!
But whilst I could sing the praises of cilantro and coriander for days, not everyone is equally enamored with this herb. The reason the taste of cilantro is so divisive is because some people possess a specific gene which increases their sensitivity to the flavor of compounds called aldehydes in cilantro’s leaves and stems. Aldehydes taste soapy, so if you are more sensitive to them, it is likely to put you off the taste of cilantro.
Popular cilantro varieties to grow yourself
Cilantro is an annual herb and growing your own cilantro from seed is an easy and affordable way to have fresh leaves all summer long, and avoid throwing away wilted, unfinished trays from the store. Compared to herbs like mint and basil, there are relatively few varieties of cilantro to experiment with growing. But you’re not completely deprived of choice! Here are some popular cultivars:
- Dwarf lemon. Cilantro with a citrus twist! Grow it to add zingy freshness to salsas, and take fish tacos to the next level.
- Santo. Santo is the go-to variety for lots of kitchen gardeners. It produces tasty stems up to 2’ tall, which are ready to pick early as 4 weeks after planting (2-3 weeks quicker than some other types).
- Calypso. Calypso is another tried and tested favorite which grows in smaller clumps than Santo, but it is equally full of flavor. As each stem is only 12 – 18” tall, this variety is less likely to flop over in heavy rain or strong winds.
- Longstanding. Longstanding is one of the biggest cilantro varieties, but also one of the slowest to bolt, which makes it ideal for warmer regions. Not sure what bolting is? I’ll explain in a moment!
- Marino. Marino is a relatively new variety, developed to combine short sturdy stems with a high resistance to bolting. If you try it we’d love to hear your verdict in the comments box down below.
Growing conditions for happy cilantro
Cilantro plants like cool soil and partial shade, but not cold or waterlogged conditions. They are ideal for growing in pots, because you can make sure they drain well by adding grit to your potting mix, and move them around to secure the optimum exposure to warmth and sunshine. The ideal temperature for cilantro plants is around 60 – 70°F. In spring, your plants will usually need all the access to sunshine they can get. For example against a sheltered, sun-warmed wall. But by mid-summer, leaving them to bake in the same spot is likely to make them bolt faster. In the fall, you’ll be able to secure a longer harvest if you can relocate the pots under glass in a greenhouse or coldframe.
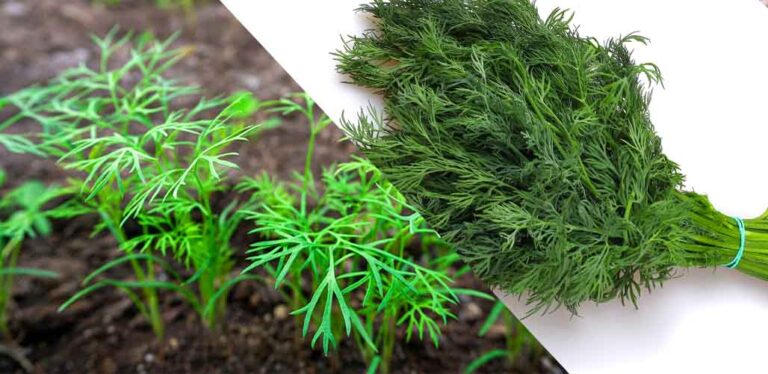
What is bolting?
Bolting is the term for when cilantro plants start producing flower stalks. It can also be used for other crops like spinach and beetroot, where it means the same thing. When cilantro puts up flower stalks, it diverts its essential oil production and energy into the flower heads instead, in order to attract pollinating insects and make seeds. This in turn makes the leaves turn tough and less tasty.
Whenever you grow cilantro, it is inevitable that eventually it will produce flowers and seeds. But if you’re particularly interested in how to get started with cilantro for crops of its fragrant leaves, you’ll want to avoid your plants bolting for as long as possible. You can do this by:
- Choosing slow-bolting varieties, such as Longstanding or Slo-Bolt.
- Keeping your plants well watered – water stress prompts plants to flower sooner.
- Keeping your plants cool. High temperatures also promote bolting.
- Pinching out any flower stems that appear.
In addition, you can sow fresh seeds every few weeks from spring until fall, so that as soon as one starts bolting uncontrollably, its successor is ready in the wings to replace it. And of course, don’t discard flowering plants. Stop picking leaves from them, but keep them for the edible flowers. Or leave the flowerheads as a food source for beneficial insects, and harvest the seeds later in the year.
Getting started with cilantro – sowing and growing
You can start sowing cilantro outside once the temperature of the soil you’re growing them in will be consistently above 55°F. If you’re impatient to get started before that, you can start them indoors, then gradually acclimatize the young plants to life outside later. To ensure crops of cilantro leaves all summer, sow a fresh pot of seeds every 3 – 4 weeks. Just one packet of seed is usually enough for this, for even the most avid cilantro fan.
The seeds are large and easy to handle, so I dot them about roughly half an inch apart in a 8” or 10” pot. They like space and depth, so if you have a 12” pot spare and enough compost to fill it, then all the better! Cover them lightly with a little more potting mix or grit, and water then gently using a fine sprinkler head. Make sure the seeds stay damp but don’t get waterlogged, and when they have all poked their heads up and started producing true leaves, thin them out to about 2” apart.
When the remaining seedlings are growing strongly, thin them out again to roughly 4” apart. You can fit:
- 1 – 3 plants in an 8” pot
- 2 – 4 plants in a 10” pot
- or 3 – 5 plants in a 12 inch pot
This is true if you opt to buy your cilantro as plug plants from a nursery rather than growing them from seed too. Don’t forget to keep any seedlings you remove from the pot to use as micro herbs – restaurants charge a lot of money to impress their clientele with such young and tender shoots!
Caring for cilantro plants
Cilantro is fantastically easy to take care of. Really the only thing you need to pay a bit of attention to is watering. They like light soils which drain quite quickly, but they bolt faster if they dry out too. So its a good idea to use a free draining potting mix, and water them daily. They don’t usually need any feeding, but if your plants are producing a disappointing quantity or quality of stems, then applying a nitrogen based fertilizer might give them the boost they need. Don’t give them the potassium rich feed you bought for your tomatoes though, because that will further encourage them to bolt!
Some tall varieties of cilantro might benefit from support in exposed or windy gardens. Even more so if you wait for their seed heads to ripen, which will make the stems top heavy. Don’t tie the stems tightly against a single bamboo cane though – the wind could simply end up snapping them at the point where they’re tied in. Instead, use a small peony cage, or surround your plant with three bamboo canes and loop your twine around all of them to form a triangular cage. Inside these supports, the cilantro’s stems will be able to bounce against the sides without snapping.
Cilantro pests and diseases
Like lots of herbs which are also widespread in the wild, cilantro is remarkably hardy and blessed with being relatively disease resistant. Their only real enemy is slugs and snails, which love to eat the young seedlings. Keep them at bay by:
- Covering your seeds with sharp grit or crushed whelk shells instead of more compost when you plant them.
- Putting a strip of copper tape around the rim of the pot.
- Using wildlife friendly slug pellets.
Harvesting and storing your crop
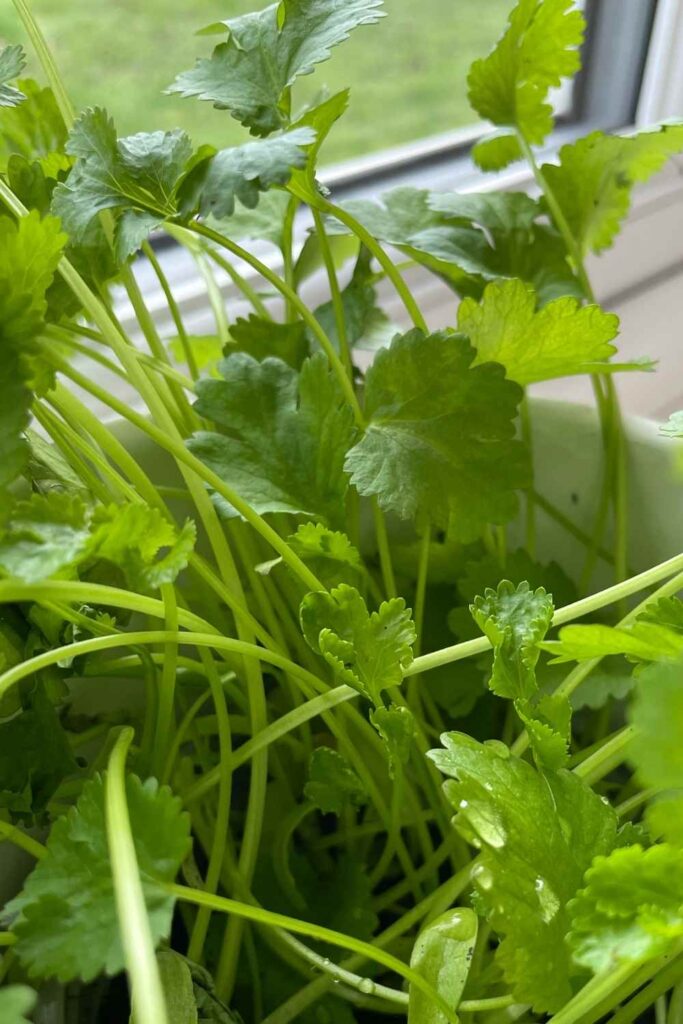
Cilantro stems are ready to harvest 4 – 8 weeks after sowing the seeds, depending on the variety and their growing conditions. Start picking a few stems at a time when the plants reach 6” tall, and let them to recover and produce new shoots before picking a few more stems. Even if you don’t use the stems, pick the whole stem from as close to the base of the plant as possible, rather than just skimming the leaves from the top. But, you should really try using those stems too, because they are equally delicious! Add them to stir fries and soups during cooking, or chop them finely and use them in the same way as the leaves.
The flowers of cilantro taste like a milder version of the leaves, and make a pretty garnish on all kinds of savory dishes from Mexican and Asian cuisines. If you leave them on the plant, they will provide a welcome food source for insects, and eventually produce round seeds. Wait until the seeds are so ripe that they’re close to falling off the plant anyway, then shake them into a paper bag and hey presto, you have coriander too! Let the seeds dry on a sheet of paper in a warm room for several days, then keep them in an airtight jar until you need them.
How to get started with cilantro – summary
Cilantro is a pretty easy herb to grow, and one packet of seed can keep you supplied with harvests for up to six months. Make regular sowings to secure fresh leaves for as long as possible, but don’t be shy of the rest of this versatile plant’s amazing lifecycle. Experiment with everything from its stems to its flowers and its roots. But first, tell us which bit you’re most excited about in the comments box down below!