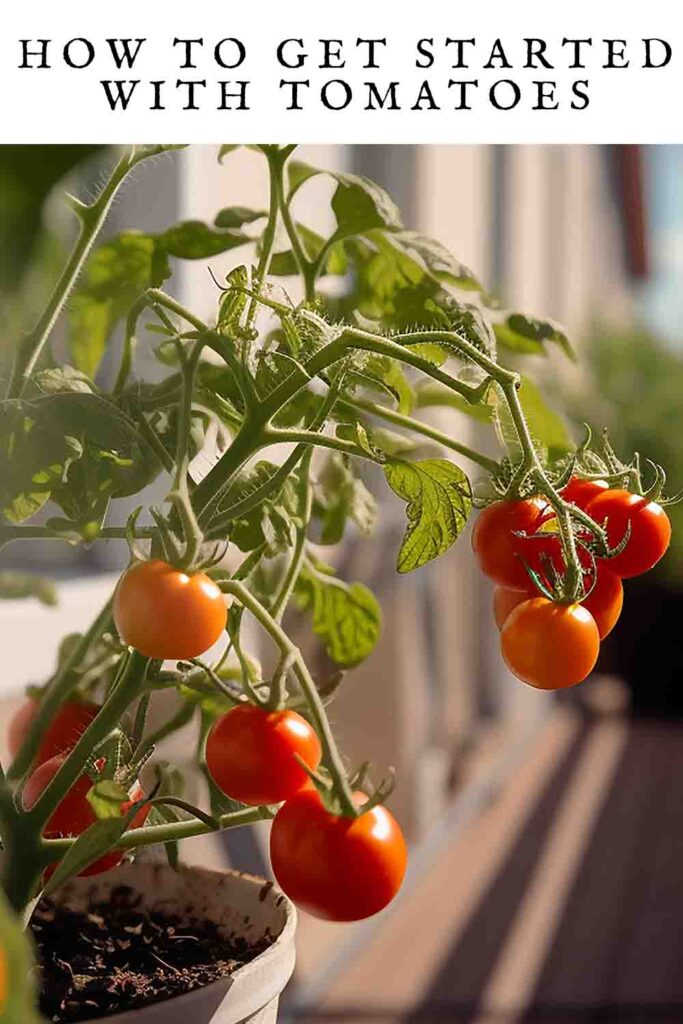
How To Get Started With Tomatoes (A Beginner’s Guide)
I’m going to take you from seed to juicy harvest with this simple step-by-step guide to growing tomatoes successfully, even if you’ve never grown anything before.
I’ve grown tomatoes for many years in a cool climate, experimenting with different varieties, growing methods, and planting times. My simple process below consistently produces healthy plants and generous harvests.
I’ll show you exactly how to grow tomatoes from seed or young plants, how to avoid common mistakes (including some of the ones I’ve made in the past) and how to produce sweet, flavourful fruit in your first season.
If you follow these steps, you can expect ripe tomatoes within 10–14 weeks of sowing seeds.
What tomatoes need to thrive
Here are the tomato based facts that I like to keep in mind whenever I am working with tomatoes. This is what they need to thrive:
- Temperatures between 70–75°F (21–24°C)
- Plenty of sunlight
- Consistent watering
- Support (depending on variety)
Tomatoes are a spring and summer crop. The seeds need soil temperatures of at least 65°F in order to germinate, and the young plants will be killed by any late overnight frosts.
Depending on your region, you might need to start them off indoors on a warm window sill. Once growing away, most varieties perform best in temperatures between 70 and 75°F. If you live in a cool region, take a look at the varieties Ailsa Craig and Glacier, which were specifically developed for their ability to bear fruit below 70°F.
And in hot regions, try growing Bella Rosa, Phoenix, or Florida 91, which have all been developed for their ability to set fruit even when the mercury reaches over 80°F.
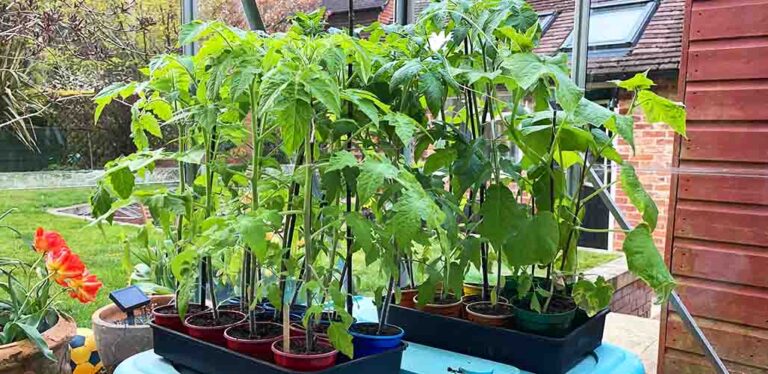
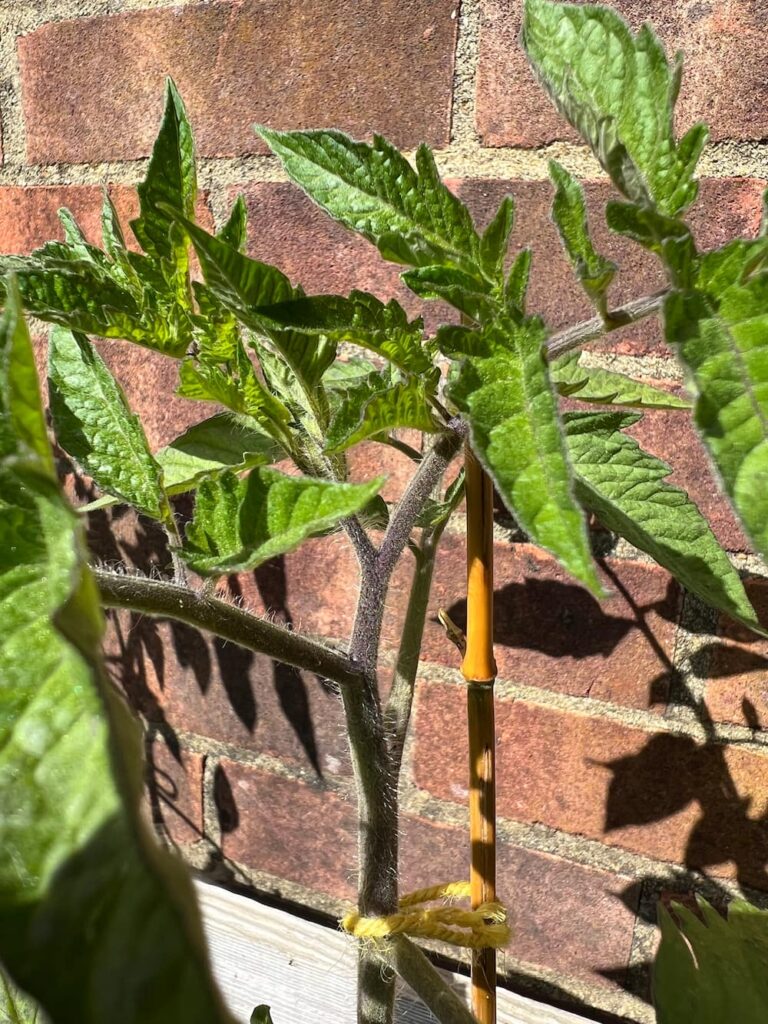
You can grow tomatoes outside if your area is warm enough, or under glass in a greenhouse or polytunnel if it’s not. I like to plant them against a sunny wall – the bricks act a bit like a radiator and keep them warm at night too.
Indeterminate (cordon) types tend to get top heavy when they start producing fruit, so think about how you’ll protect them from strong winds.
When to Get Started
I know you’re excited to get started, but if you are in a cool zone like me, and you plant your tomatoes too early, your tomato plants will be huge before the weather is warm enough to put them outside.
And you don’t really gain much as later sowings often catch up (and even overtake) early ones. So if you don’t want your windowsill to turn into a tomato forest, a good rule of thumb is:
- Start seeds indoors 6 weeks before your last frost
- Move plants outside only when:
- Night temperatures stay above 60°F (15°C)
- There’s no risk of frost
- Night temperatures stay above 60°F (15°C)
Think about when the last frosts end in your region. It’s early May in my zone, and my plants will be about four weeks old when I put them outside, plus up to two weeks germination time. That means I need to sow in Mid March at the earliest – and no harm comes from waiting two to four weeks after that.
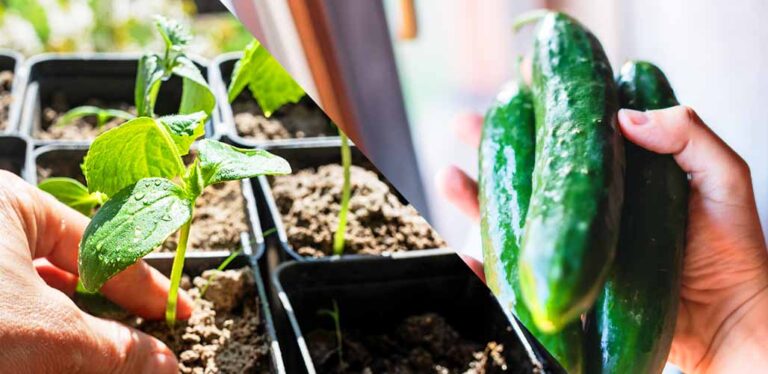
How to Plant Tomato Seeds
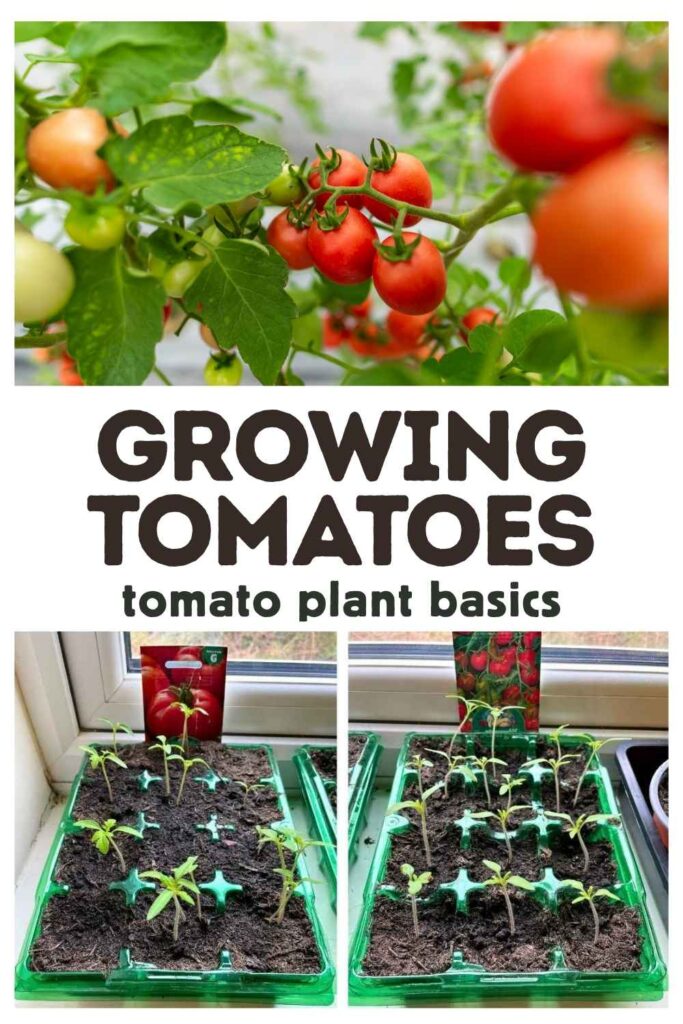
Tomato seeds are amongst the most reliable and easy to germinate yourself. The seed stays viable for a long time too. This year I sowed some tomato seeds from a packet I bought 4 years ago, and 90% of the seeds germinated!
Sow the seeds an inch or so apart in either sowing compost or multipurpose compost, and cover them with just a sprinkle more compost.
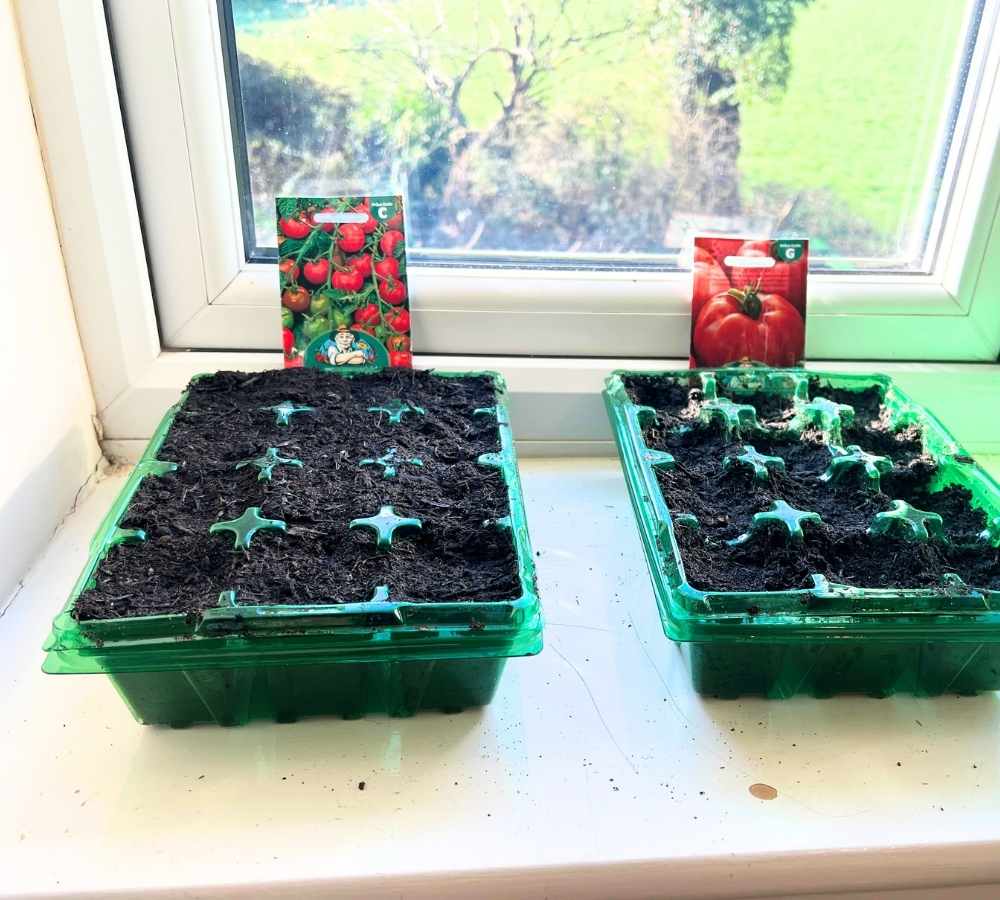
I’ve used 3” pots, plastic fruit trays from the grocery store, and even plastic cups for sowing tomatoes – just poke some drainage holes in the bottom, and plant as many seeds as you can fit in an inch apart.
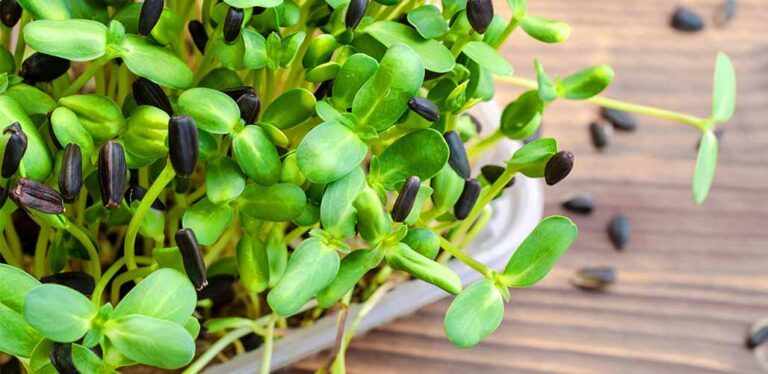
Use a propagator or plastic bag to stop the compost drying out until the seeds have germinated, which takes up to two weeks.
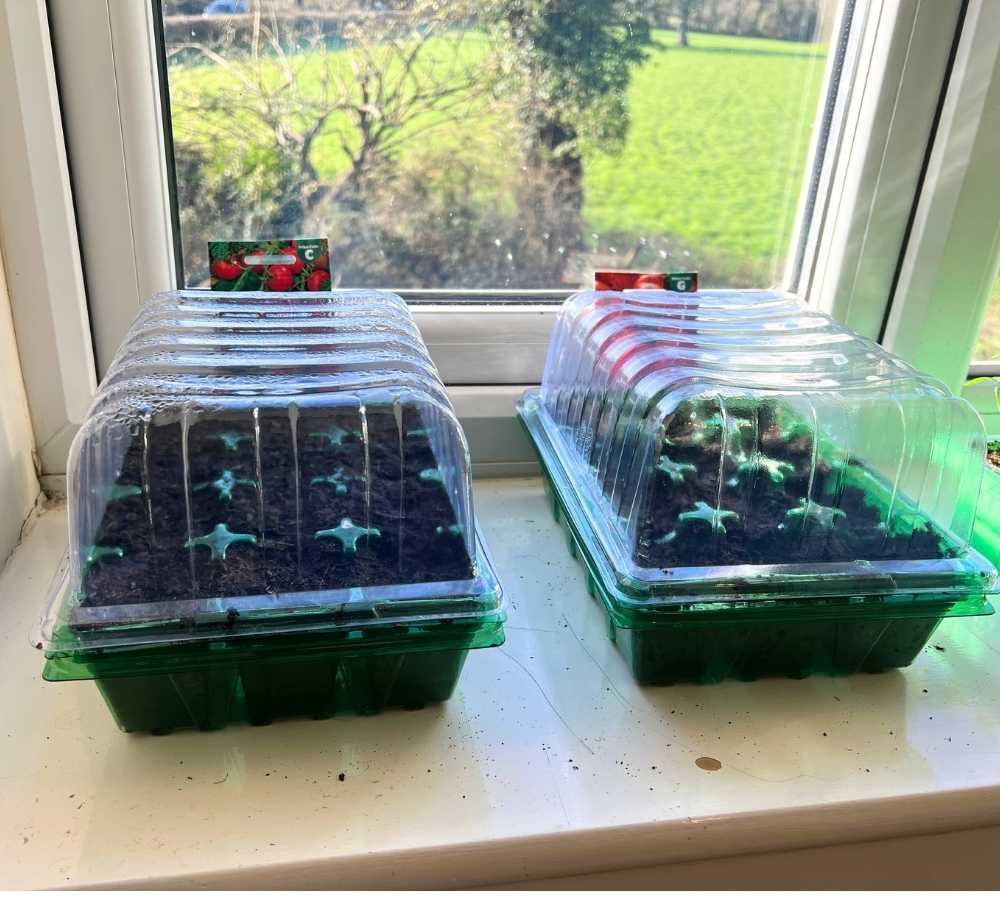
Once your seeds have germinated, move them to the sunniest windowsill in your home to stop them getting long and spindly.
Keep watering consistently, and don’t let the potting soil dry out. Set a daily alarm on your smartphone if you think you’ll forget!
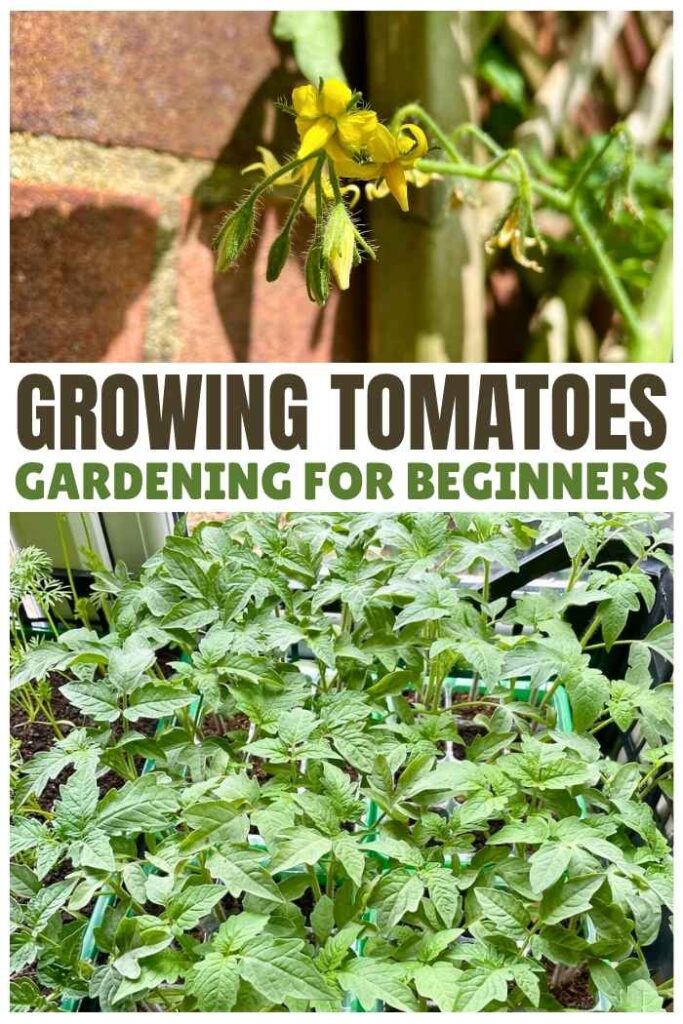
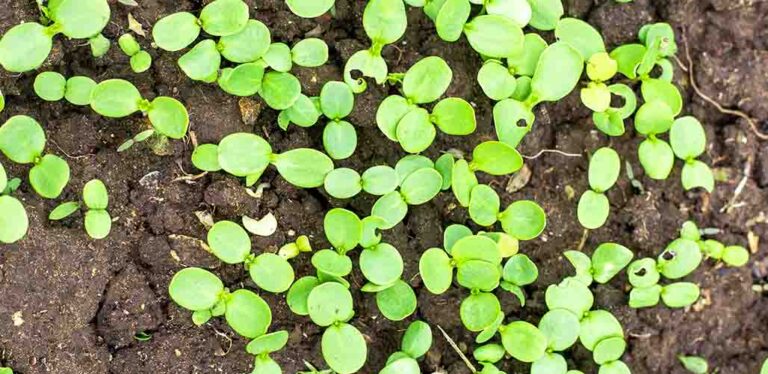
How to Transplant Tomato Seedlings
When the seedlings have two true leaves in addition to their two seed leaves, they’ll need a bit more space
Hold them gently hold them by a leaf and use a table knife to lift them out of the compost and relocate them into their own 3″ pot.
Tomatoes can grow new roots from their stems, so plant them half an inch or more deeper than they were before, to encourage a strong root system.
Tomatoes are drama queens and tend to wilt right after being moved. But don’t panic – give them a drink and leave them alone, and they will perk up again!
Hardening Off
This is the part where you move your baby tomatoes out into the wide world! Tomato seedlings are ready to transplant into their final location when the temperature is at least 60°F, and there is no more chance of a late frost.
But even though the risk of frost has passed, it’s still likely to be quite cold at night. So, it’s important that you don’t shock your new plants by just putting them outside and leaving them there.
Get them used to their new conditions by putting them out during the day and bringing them in again overnight every day for about a week before planting them out permanently.
This process – known as hardening off – gives the leaves and stems a chance to get thicker, more robust, and more resilient to fluctuating temperature, wind, and weather conditions.
Choosing The Right Location
You’ll need to decide where to plant your tomatoes for best results. Key points to remember are that tomatoes like:
- Sun
- Shelter
- Well drained soil
And they can tolerate quite high temperatures. Good locations include, a sunny sheltered corner of your yard, a greenhouse, or up against a south facing wall. You can plant them directly into a well drained border, or in large pots of planters. Grow bags are another popular option if aesthetics are not important.
Tomatoes are thirsty plants so a nearby water source is important.
Caring for Your Tomato Plants
Once your plants in settled into their final location, you’ll need to take care of them. But it’s not too difficult. You’ll need to think about water, food, temperature, support and pruning.
Watering
Tomatoes are thirsty plants, but most of all, they need a water supply which is consistent and steady. If you let them dry out, and then water them heavily, the sudden uptake of water causes their skin to split.
Tomatoes also rely on even watering to transport calcium and other important nutrients from the soil to the leaves, flowers and fruits. To ensure a steady supply of water to your tomatoes’ roots, it’s a good idea to use a self watering planter, install a drip irrigation system, or use an olla.
Feeding
Tomatoes are also hungry plants. They specifically need plenty of potassium for promoting and regulating the production of flowers and fruits. And they also need access to plenty of soluble calcium for building the cell walls in their fruit.
There are plenty of pre-mixed fertilizers you can buy specifically for tomatoes, or you can nourish them with a homemade plant food.
Temperature control
If you’re growing your tomatoes in a greenhouse, keep an eye on the temperature. Tomatoes like heat, but there are limits.
Most tomato plants produce fruit when night time temperatures are above 55°F and the day time temperatures are below 80°F. After an unprecedented heat wave last year, this year I’m going to be investing in a greenhouse thermometer which records minimum and maximum temperatures as well as current temperature.
When the reading starts going above 75°F I’ll reduce the temperature by damping down the floor of the greenhouse with water in the mornings, and using a shade cloth to filter the sunlight.
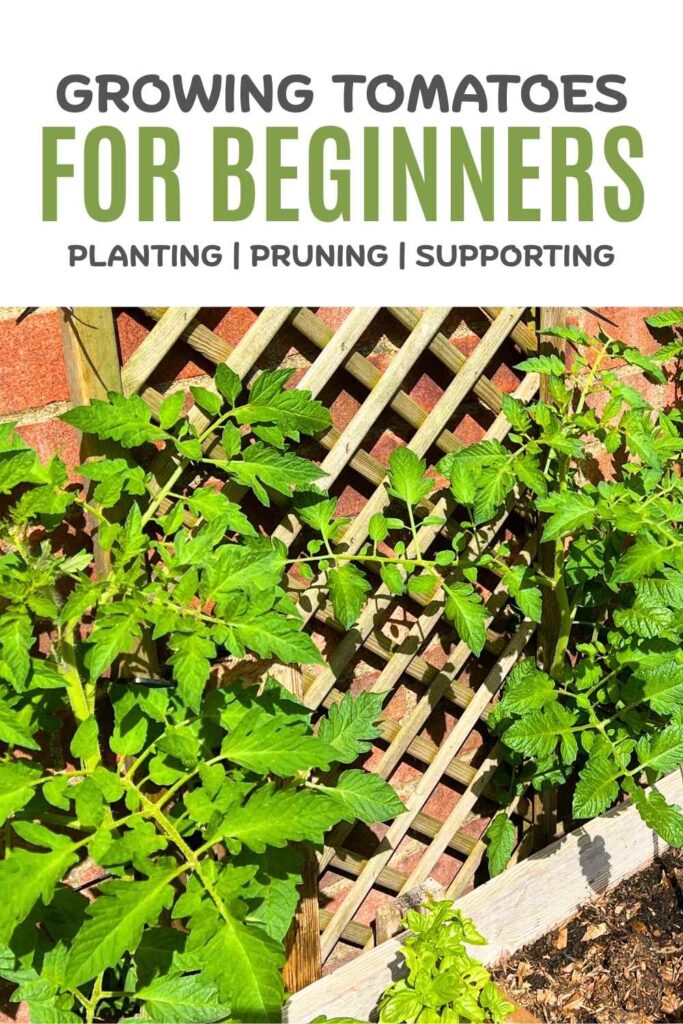
Supporting and pruning
If you’ve chosen an upright (also known as indeterminate) variety of tomato, they’ll need supporting. Tie the main stem (not too tightly) to a cane or other support at intervals as it grows.
Cordon, a.k.a. vining or indeterminate tomatoes will also need regular pinching out. First, pinch out any new stems which grow from the place where a leaf meets the stem. You’ll need to check your vines and repeat this at least once a week throughout the growing season.
Secondly, pinch out the top of the main stem once 4 – 7 flower stems (‘trusses’) have appeared, or you’ve run out of headspace in your greenhouse.
TIP: If you are worried about pruning check out this quick guide to pruning mistakes
Growers all have their own ideas about the optimum number of trusses to keep, and it will vary by the variety you’re growing, and the exact conditions you’re keeping them in. Some gardeners even swear by growing tomato vines with just one single truss, and the record for the most tomatoes harvested this way is 1,269!
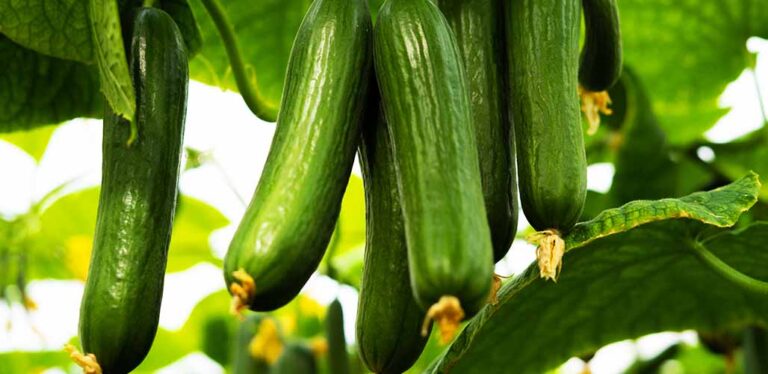
Harvesting and storing your crop
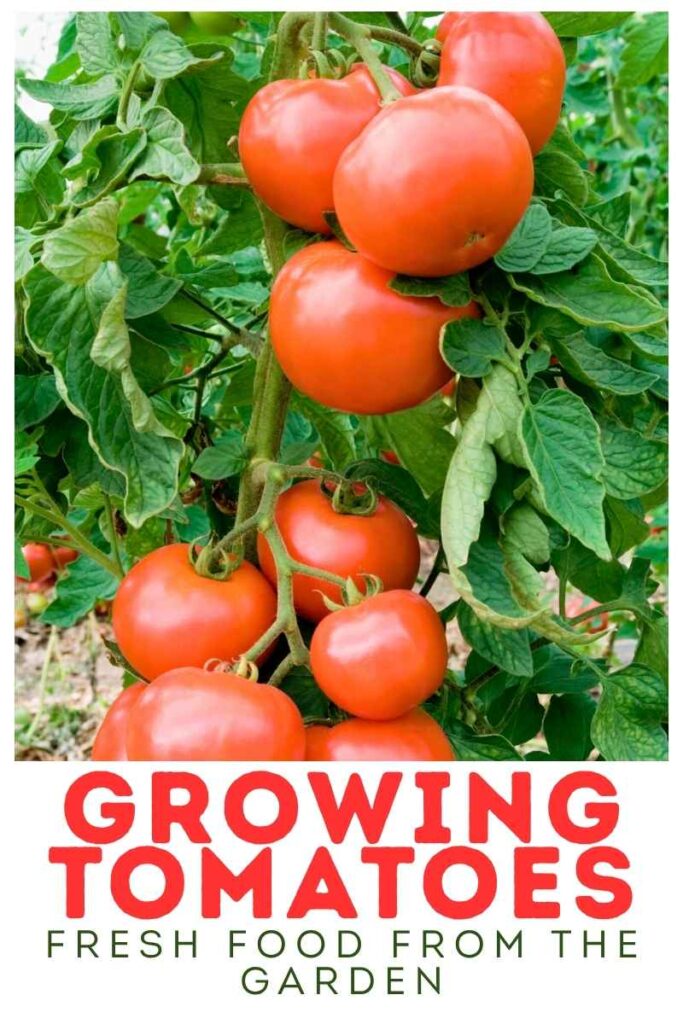
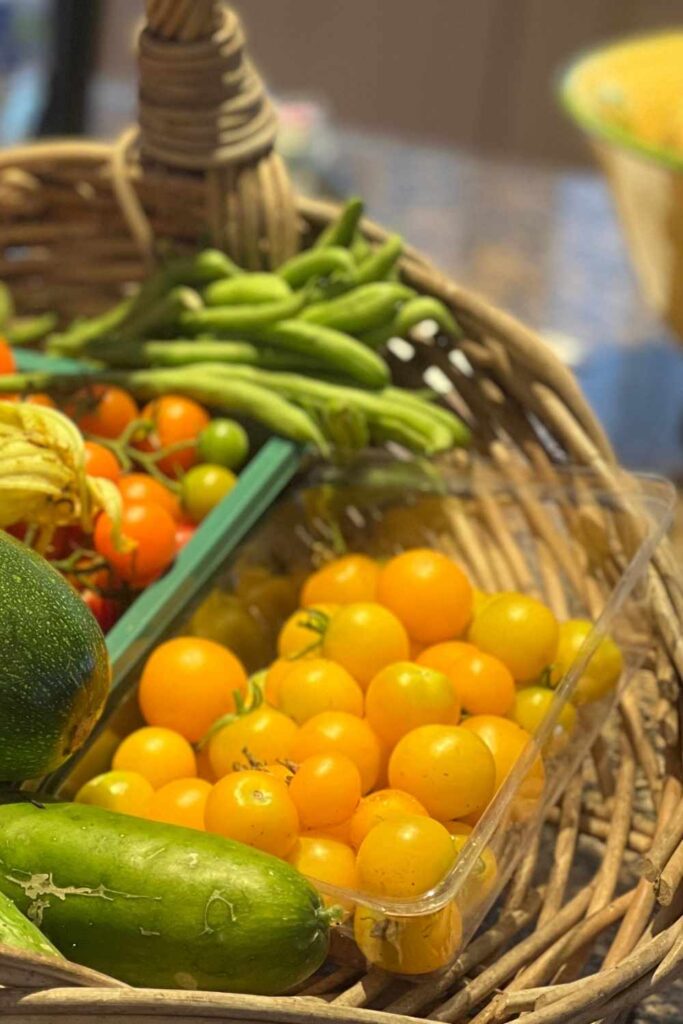
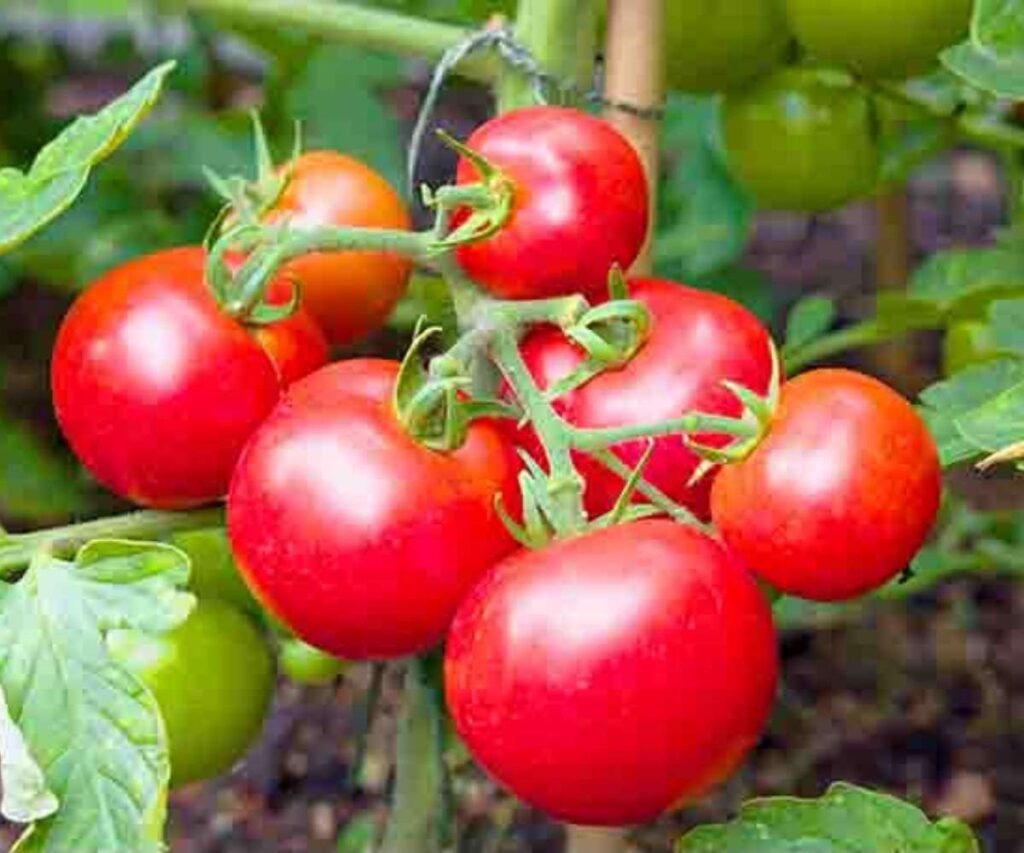
Tomatoes are ready to pick when they’ve reached their final color all over, their skin is smooth and shiny, and they’re neither rock solid, nor squashy.
Most importantly, they come away easily from the vine when you pull them gently. They’re best enjoyed straight away, or processed into canned tomatoes, passatas, or relishes.
Ripe tomatoes can be stored for a few days in a refrigerator, but let them come back to room temperature before you eat them. Any under ripe toms you pick will ripen eventually on a sunny window sill, or in a paper bag with a banana.
Quick Start Tips
Growing tomatoes from seed brings an enormous sense of accomplishment, but there are no medals for it. If all the extra steps involved don’t appeal to you, you can buy young plants that have already been hardened off from a nursery instead.
Alternatively, ask a neighbor if you can propagate new tomatoes from the side shoots on their plants.
Whichever approach you take, check the growing instructions for that variety to see how far apart to plant them in the ground, or how many plants will fit in a container or grow bag.
How to get started with tomatoes – summary
If this is your first time growing tomatoes, my advice is to buy a bushy cherry tomato as a young plant, and plant it in a 12″ self-watering pot with some basil and a nasturtium.
It’s going to look, smell, and taste delicious (you can even eat the nasturtium leaves and flowers!) Get hooked on the taste this year, and maybe next year you’ll be tempted to try growing from seed, tending to a cordon variety, or experimenting with an unusual variety you’d never find in a grocery store. Once you’ve done it once, you’ll want to keep coming back to growing tomatoes every year!
Let us know your plans for this year in the comments box down below. What are you looking for from your ideal tomato variety?