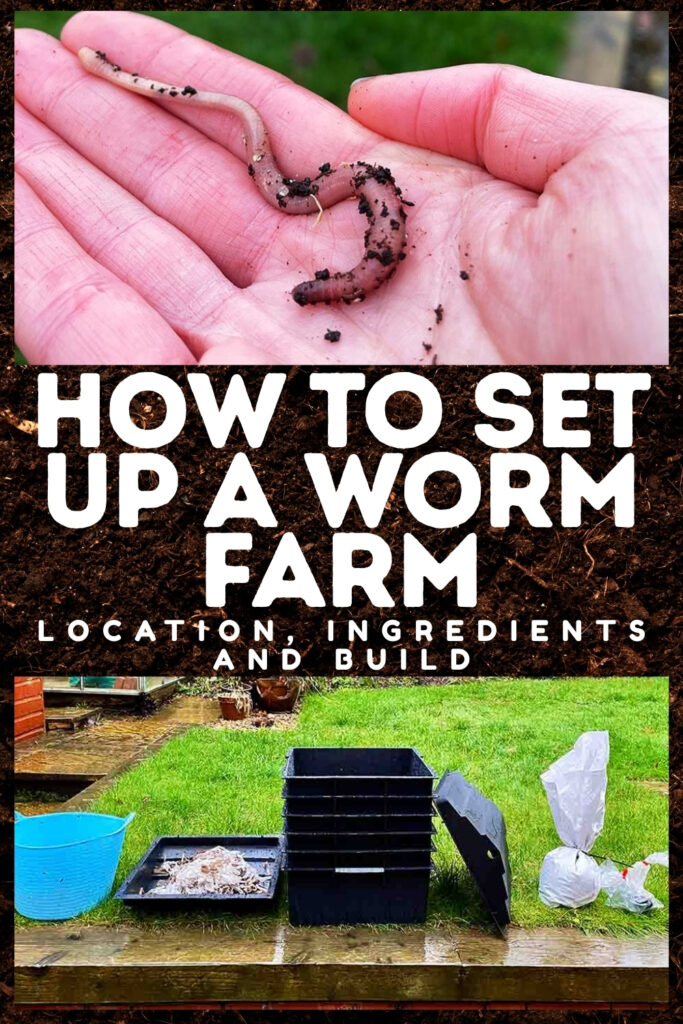
My Experience Of Setting Up A Worm Farm
Setting up a worm farm is something I’ve been interested in for several years now, and this month I finally got to turn my wriggly dreams into reality. Before taking the plunge I’d read a lot of advice and sometimes contradictory experiences from other gardeners. So I couldn’t quite tell if worm farming was going to be simple and low maintenance, or reliant on constant attention and fine-tuning. And will the results be worth the effort?

In the end though there was only one way to find out, and that’s by giving it a go. So here is my experience of setting up a wormery for the first time. I hope that if you’re also interested in setting up a worm composting bin, it will be helpful to you!
Why a worm farm?
Wormeries are a method of producing homemade compost on a small scale by feeding waste matter to a captive colony of worms. Worms are detritivores, which means they feed on dead and decaying plant and animal matter. In fact, a single worm can consume up to 30 times its own body weight in food every day. And the waste material they leave behind (yes, worm poop!) is rich in nutrients and minerals that plants love.
I follow quite a few online gardening communities, where members ask questions, offer advice, and share experiences. And wormeries are a topic of conversation that comes up time and time again. It’s clear that a lot of gardeners are interested in vermiculture (the fancy word for worm farming). But relatively few appear to have taken the plunge. So what are the benefits of setting up a wormery?
- Compost and fertilizer. Obviously the main objective is producing high quality compost full of accessible minerals and nutrients for your plants. But depending on the conditions, your wormery might also produce ‘worm tea’ – a supercharged natural fertilizer.
- It doesn’t need turning. Regular composting rely on being dug over to introduce oxygen and speed up decomposition. Inside a wormery, the worms mix your compost for you.
- It works with small volumes. Traditional composting works most efficiently if you can accumulate enough material for the interior of the heap to heat up. Whilst there’s some debate about the minimum efficient size for a wormery, even the biggest is quicker to fill than a conventional compost container.
- You can keep one on a balcony – or even indoors. Worm composters are ideal for making your own high-quality compost and fertilizer in a small space. A healthy wormery should even be odorless enough to keep in doors.
- It’s fun! If you like creepy crawlies and watching ecology in action, setting up a worm farm is simply a fascinating experience.
Choosing which wormery
There are a respectable variety of worm farms available to buy online and in larger in large garden centers. They all work on the same principle of stacking trays. You start your wormery with one tray, to which you add your worms and a steady diet of kitchen waste and brown matter (usually shredded paper or cardboard). Then when the first try is full, and the worms have turned all of its contents into compost, you stack a second tray on top and start filling that.
Each tray has a perforated base, so the worms migrate upwards in search of new food when they have exhausted food in the tray they’re in. At this point, the compost in the lower tray is ready to remove and use. Most wormeries also have a sump in the bottom for collecting ‘worm tea’. Worm tea is a liquid by-product of the composting process, and a potent fertilizer!
If you’re preparing to buy a worm farm, think about:
- The size of your space. Wormeries vary from 12” x 12” to 20” x 20”, but within that range there are options to fit almost any sized corner. Arguably, bigger your worm composting bin, the easier is to achieve the right internal conditions for your worms, and the more worthwhile your output will be.
- Do you care what it looks like? Most worm farms are resolutely functional. But some models have been designed to look attractive in a spot where you can’t avoid seeing it. Such as a balcony or kitchen worktop.
- What comes with it. Check whether you’re just getting a wormery, or some of the other things you’ll need to get started. Some worm farms are sold with suitable starter bedding (usually a coconut coir block), an easy-to-digest worm food to help your worms settle in, and even the worms themselves!
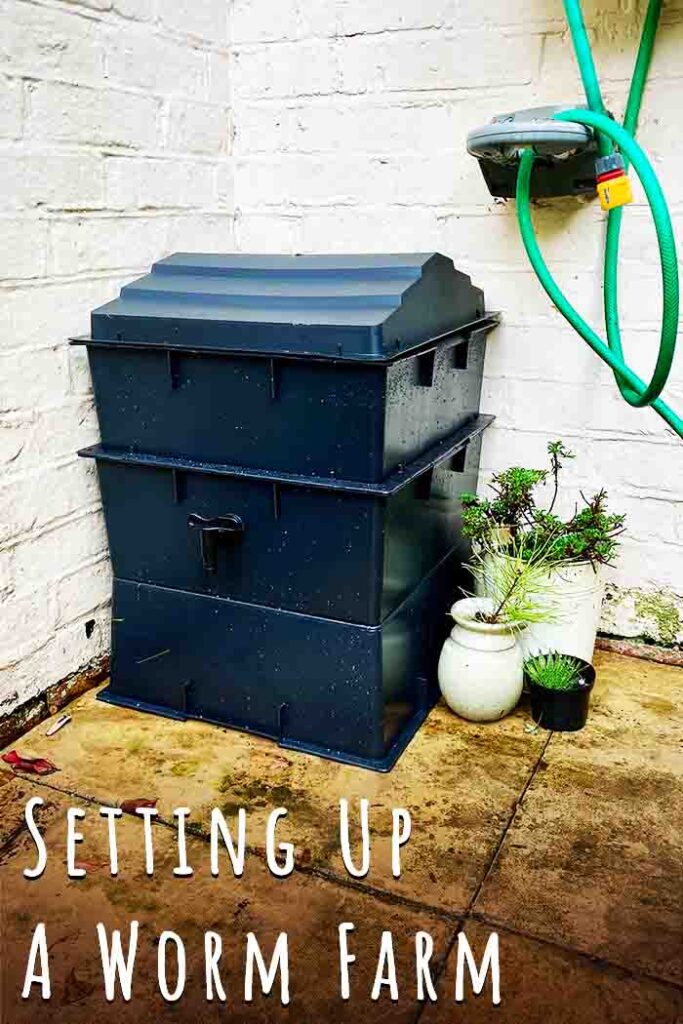
Getting set up
Right, are you ready to see how it’s done? Because after some excited waiting, my worm farm has arrived!
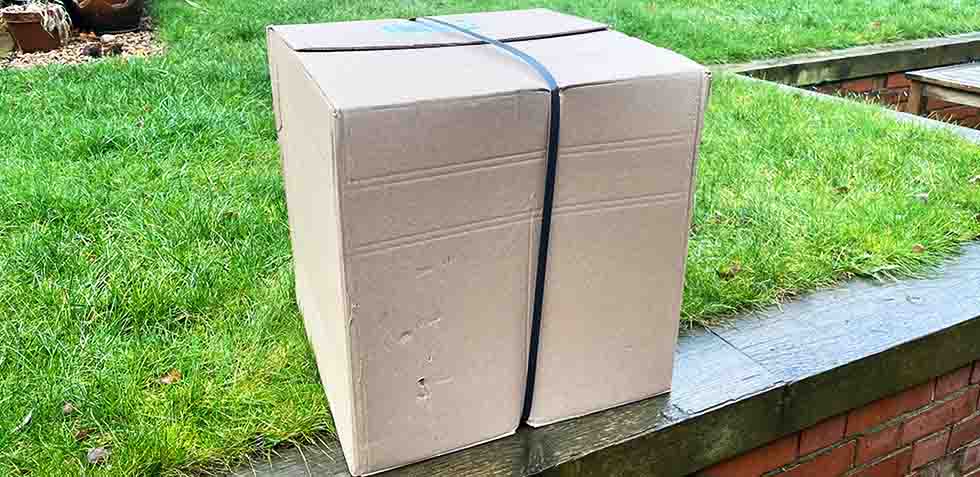
And now I’m going to take you through an illustrated journey of getting it set up.
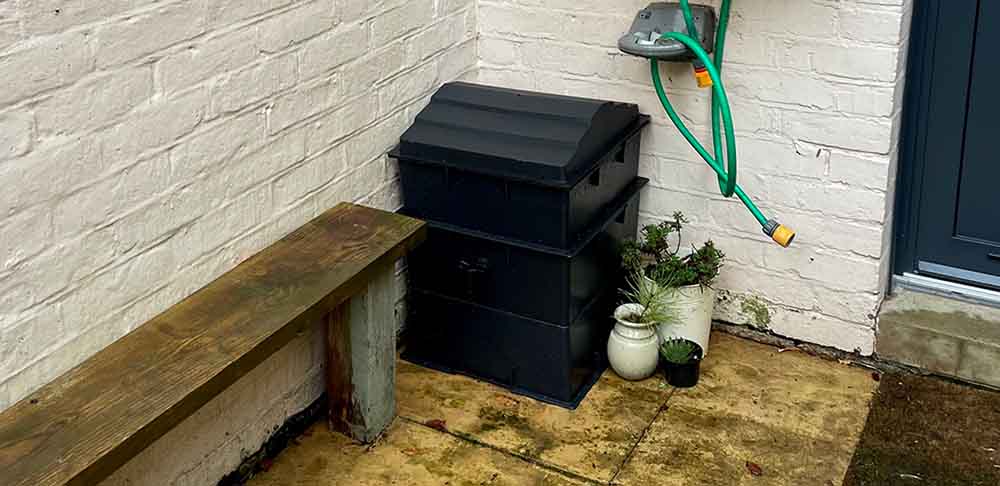
Step 1 – Choosing a location
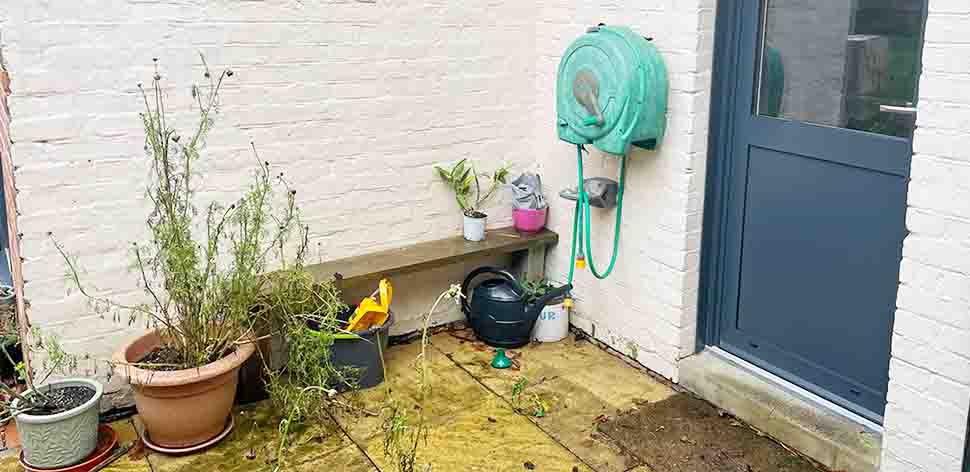
First of all, it needs somewhere to go. Composting worms are most active in conditions between 60 and 80°F. Below 60°F they will go dormant, which won’t kill them, but won’t make me any compost either. Below 30°F they will freeze and above 85°F they will cook, both of which most definitely will kill them. As it’s late fall right now, I expect my worms are going to settle down for a long nap almost as soon as they’ve settled in anyway. But I still want to choose a sheltered spot where they’ll spring into action as early as possible next year. This corner by my kitchen door faces southwest, and it’s where I harden off tender seedlings in spring. So I’m going to clear and tidy it up and it should be just the spot.
Timing it right
As mentioned, I’m setting up a wormery in late fall. In most areas you can set up a wormery at any time of year – you just might not get compost straight away! Bear in mind that once your worms are delivered, you’ll need to settle them into their new home within a day or so. Because of this, I ended up tidying this corner of my yard and setting up my wormery in the pouring rain. So I recommend you check the weather forecast before hitting ‘pay now’!
Step 2 – Get the starter bedding ready
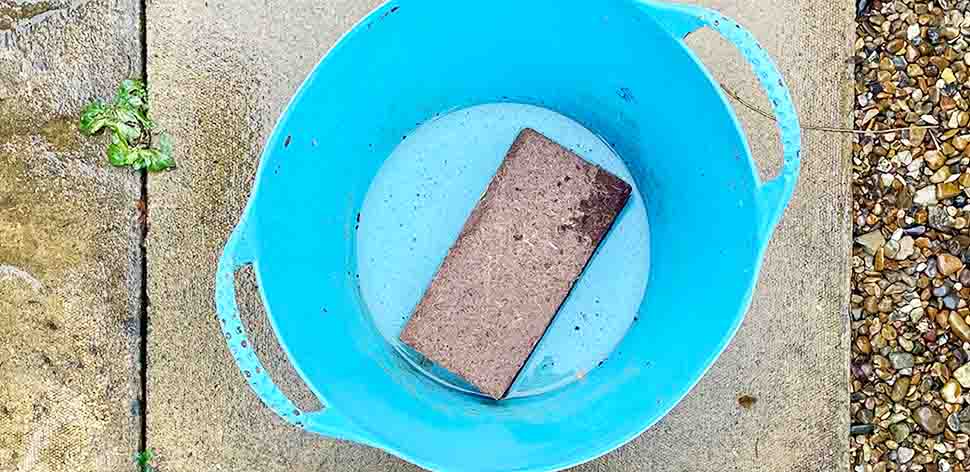
My worm farm comes with a block of coconut coir to use as starter bedding for my worms. Knowing it would need rehydrating, the next thing I did was fish that out of the box, and add it to a bucket of tap water.
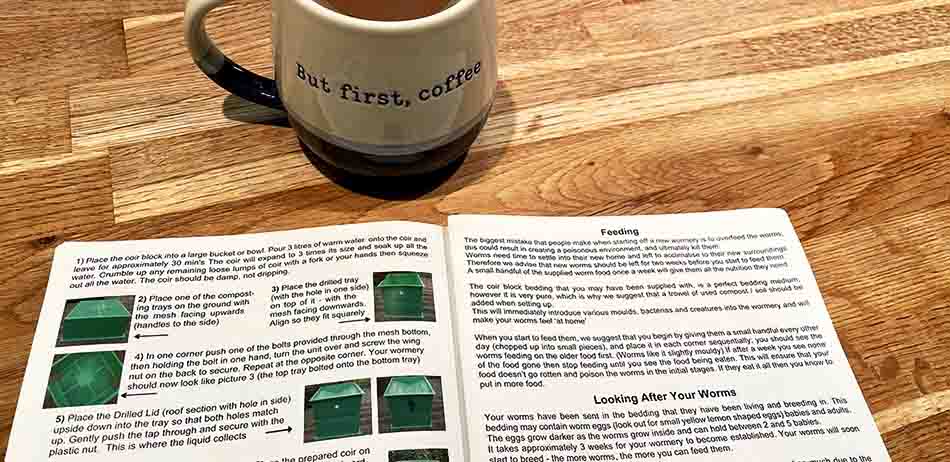
Then, since it was raining pretty heavily by this point, I retreated indoors with the construction instructions and a cup of coffee. Even though I had read a lot of general principles about worm farm composting by this point, I didn’t want to make more work for myself later by missing something important in the instruction booklet!
Step 3 – Shred some paper
Sure enough, I realized that later on I was going to need enough damp shredded newspaper to fill my worm composter to a depth of 2”. This presented a problem, because a) I didn’t have any newspaper, and b) I don’t own a paper shredder. As a compromise, I found some packing paper from a recent delivery and cut it up with scissors. Apparently my worms are going to want a lot more where this came from in the future, so while I was cutting I considered my options. Do I want to being cutting up paper for them by hand every week? Not really. Is it sane behavior to buy a paper shredder purely for feeding my worms? Probably not. In the end I decided stick a pin in it for now.
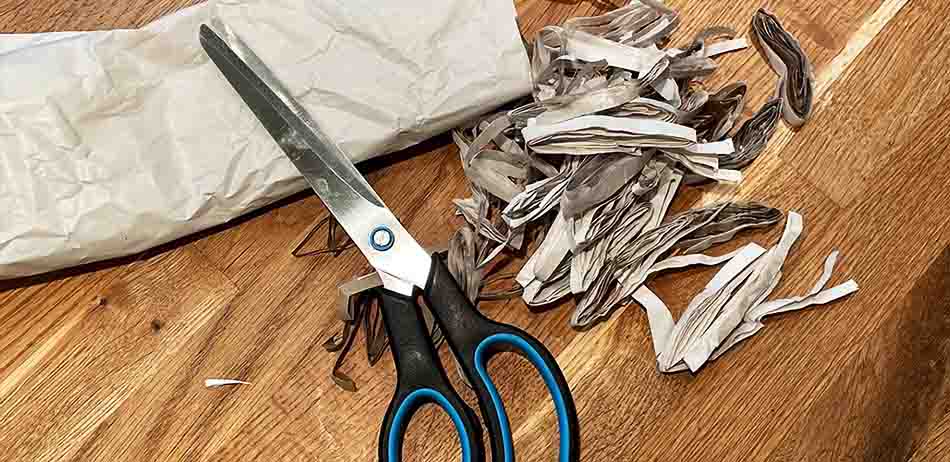
The shredded paper needs to be ‘damp but not wet, like a wrung out dish cloth’. Since it was raining anyway, I decided to put my custom, hand-shredded paper into the upturned lid of the wormery and stand it outside to get wet. Then I unpacked the rest of the box:
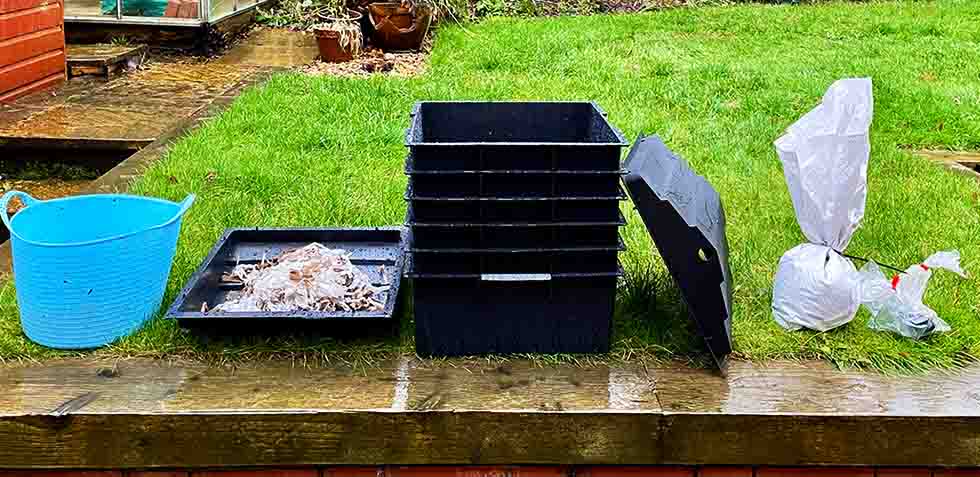
From left to right I was now looking at:
- A bucket with the rehydrating coconut coir in it.
- The upturned lid of the wormery, acting as a vessel for my shredded paper.
- 4 composting trays, and 2 more identical trays which form the base of the composter.
- The sump for collecting worm tea.
- A bag of 500 surprisingly heavy worms.
- A bag of the finely milled cereal they’ve been reared on, to feed them while they settle in.
- And a bag containing a tap for the sump, and some nuts and wing bolts for constructing the base.
Step 4 – Build!
Finally, it’s time to start putting the wormery together. First, three of the composting trays go straight into the shed. They will be added later to the wormery, as it begins to fill up. At this point I discovered a worm from my yard had already made its way up into one of the trays, which seemed like a promising omen!

Next the two trays which form the base of wormery are joined together in diagonally opposite corners, using nuts and wig bolts (#1). Since the bottoms of the trays are perforated, it was just a case of picking two aligning holes, and popping the nuts through.
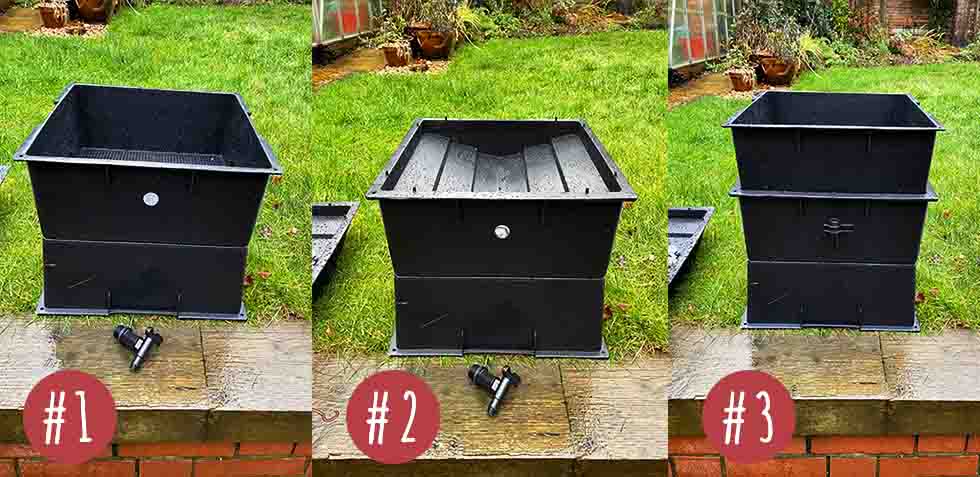
Then the sump tray for collecting worm tea (and preventing the worms escaping out of the bottom of the composter) is dropped into place (#2). Finally a tap is added to the sump and held in place by a washer, and the first composting tray is put in place (#3).
Step 5 – Filling the first tray
The first tray is a little different to every tray that comes after it, because it’s all about creating a welcoming environment that encourages the worms to settle inside the composter. Apparently it’s not unusual for the worms to try and escape a new wormery in the first few nights! The options for containing them are:
- Bring the wormery indoors and keep it in a room with the lights on for 3 or 4 days. Worms are photophobic, so the light forces them to settle inside the composter.
- Put the fully constructed and populated wormery into a large box for 3 or 4 nights, so that any escapees can be collected and returned to their tray in the morning.
- Make it so darn comfortable inside that they don’t want to leave.
Since neither 1 or 2 are options for me, I’m going to invest heavily in option 3. So here’s what’s going into my first tray:

- Here’s the perforated bottom of the tray, which allows excess liquid to drain out.
- First go in two layers of cardboard. These should discourage the worms from attempting to exit through the bottom of the wormery.
- Next I added the rehydrated coconut coir. It’s damp, but not so wet that it drips if you squeeze it.
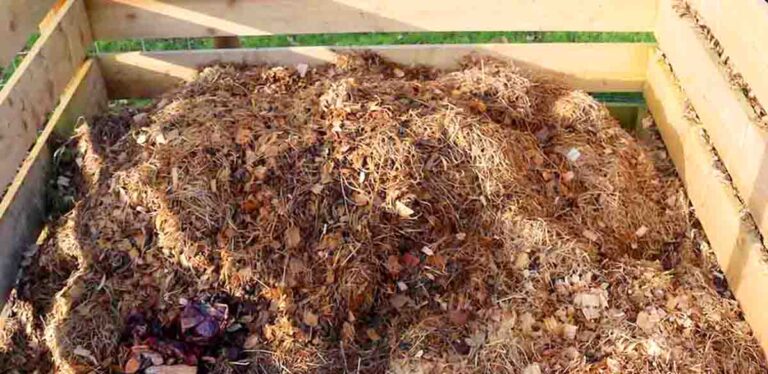
- Now for three small forkfuls of spent compost, and several handfuls of dried leaves from our yard. The coir is an extremely convenient bedding material for starting a worm farm in, but it’s also pretty lifeless. The compost and leaves will introduce molds, bacteria and fungi to the composter, that make it an attractive environment for worms. Soil from from the yard would have worked as well.
- The worms! More on these little guys in a moment. I’m also adding a small handful of the worm food supplied with the wormery.
- The damp shredded paper. It only filled the tray to 1” deep if that, but it’s all the paper I have to offer at the moment.
More on the worms
They are the stars of the show, after all. You can’t fill a worm composting bin with just any species of worm, and this includes earthworms from your yard. Most of the worms in your soil belong to deep-burrowing, soil-eating species. Whereas worm composting bins rely on species that feed on dead and decaying living material lying near the surface. The two most common species to use for worm composting are
- Eisenia hortensis, affectionately nicknamed dendras in the vermiculture community,
- Eisenia fetida, also known as tiger worms. My worms are tiger worms.
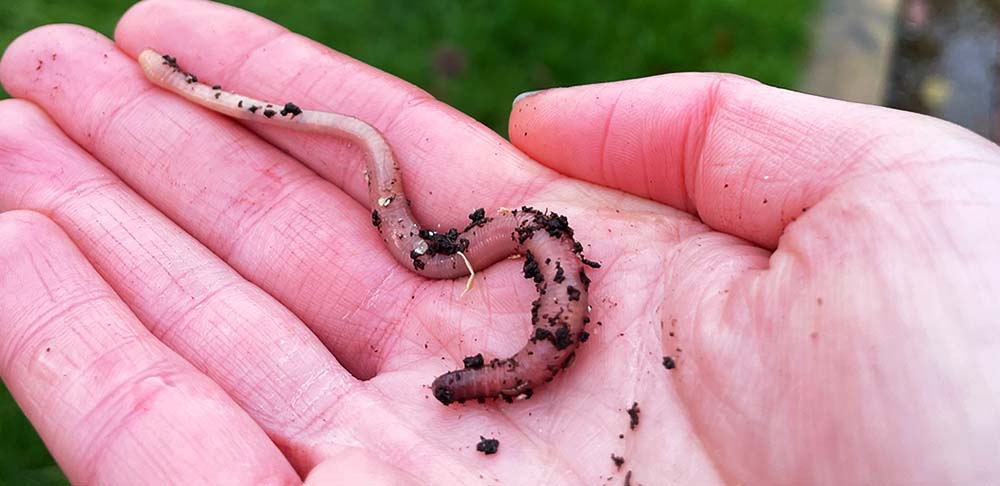
I don’t know how I expected a bag full of worms in transit to behave, but it turns out these ones formed a tight knot in the center of their bag. I tried to gently spread them out a little bit, and you can see why these little guys are known as tiger worms – look at those stripes!

Step 6 – Close it up
Finally, it was time to pop the lid in place, and stand the wormery in it’s final position. All in all, it’s been a straight forward, fun, and satisfying process!
What’s next
The following morning, it didn’t appear that many of my worms had tried to escape in the night. Although I’m not sure I’d be able to tell if they had! Here are some of my early thoughts on what’s coming up next:
- In one week’s time I’ll add another handful of the worm food, and with any luck I’ll have some more packing paper to shred by then too.
- In two weeks’ time, I’ll try giving the worms their first meal of kitchen scraps. It’s important not to overwhelm them with food, so the instruction book has a handy piece of advice: place the food in one corner at a time, so that you can make sure the oldest food has been eaten before starting again in the first corner.
- I think the contents of my wormery are unlikely to freeze in that corner, but if we’re predicted any really severe frosts, I might move the whole wormery into the shed. In summer, that corner will eventually get too hot, so I also need to prepare a more sheltered spot to move it to in late spring.
- I’m intrigued about what will happen to the leaves in my tray. The instructions didn’t mention including them, but it’s that time of year when they’re everywhere in my yard, and I thought they’d make the wormery feel more homely. If my first tray of worm compost still has some undigested leaves in it, I can cope with that.
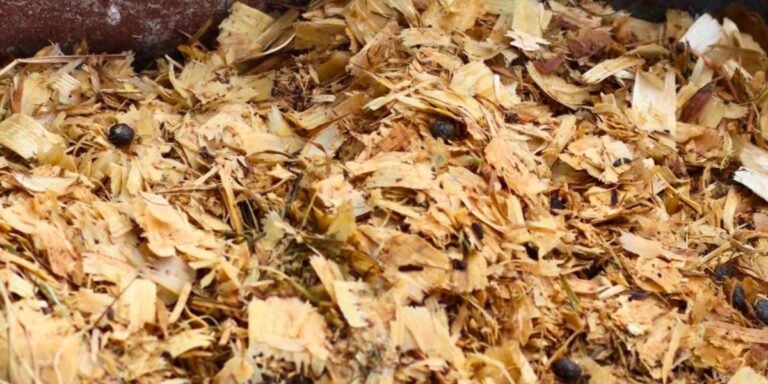
- I wonder if I can use the wood shavings from the bottom of my guinea pigs’ hutch in place of shredded paper. This is something to look into!
Summary
So far, setting up a worm farm has been good fun, and I’m feeling optimistic about running it. It’s a couple of weeks until I can start adding any material to compost, and even then I’m not sure my worms will have much appetite until the weather warms up in spring. So that’s plenty of time to start planning their meals. The arrival of my worm farm is already proving an excellent talking point with my friends and neighbors too. I hope that if you’ve been sitting on the fence, this article will give you a nudge to get started with worm farming. Let us know your plans in the comments box down below!