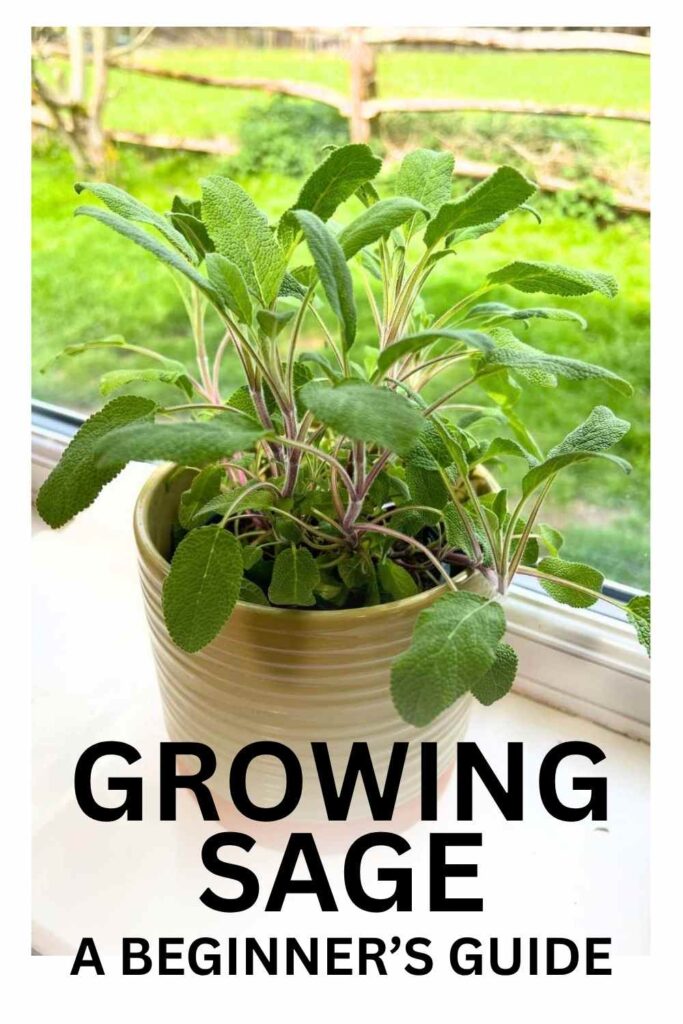
How To Get Started With Sage
Sage is one of the most familiar herbs in most kitchens, and my kitchen is no exception The aromatic scent is widely recognized and the chances are you have used sage in a recipe, or bought a meal with sage in it, quite recently. It’s a bit of a classic!
Happily for all of us it’s also pretty easy to grow. And today I’m going to get you started with growing sage in your garden or even indoors on a sunny windowsill.
Why grow sage?
You need sage in your herb garden because fresh sage is so much better than the dried shop bought variety. Because it’s hardy and easy to grow. And because it’s such a culinary staple. If like me, you enjoy pork, sausages, or chicken, sage will only make them taste better! I like to chop the leaves finely with a sharp knife and sprinkle generously over meat 10-15 minutes before the end of cooking time.
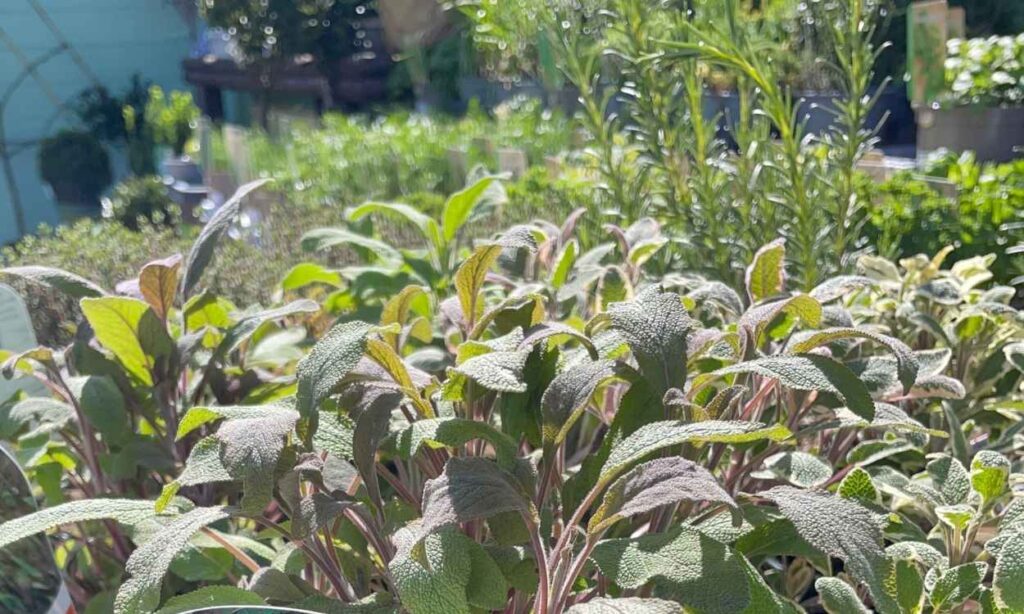
Although sage comes from the sunny mediterranean it’s pretty forgiving and even survives most zone 8 (and even zones 6 & 7) winters provided you don’t let it get waterlogged. I lost two sage plants last winter due to very wet conditions in my vegetable garden.
Sage will also grow on a windowsill and I now always keep a back up sage plant in my conservatory. (read more about growing herbs on a windowsill) Though your sage plant will probably be happiest outdoors in a sunny well drained corner of your yard.
And last but not least, like other strongly aromatic herbs, sage repels some of the insect pests that are attracted to your garden
Choosing the right variety
If you visit a plant nursery you’ll find plenty of different types of sage. Which is confusing to say the least.

I recommend that you don’t allow yourself to be distracted by all this choice and instead go for a pot plant or packet of seeds labelled ‘common sage’, or Salvia officinalis.
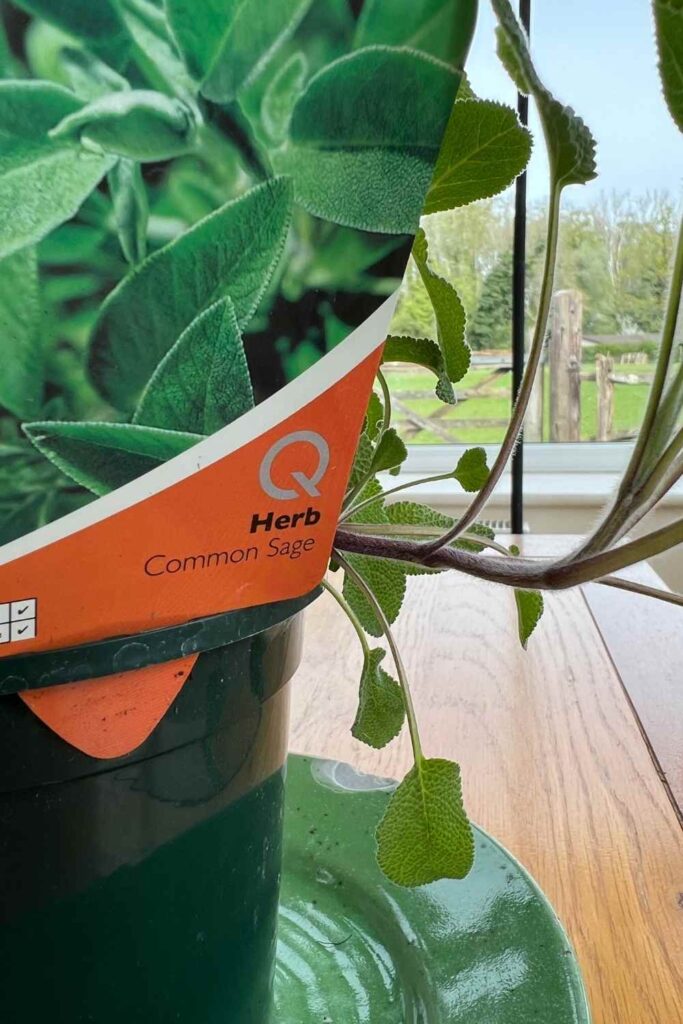
It’s sometimes also referred to as ‘kitchen sage’ or ‘English sage’. It sounds boring but common sage is the safe choice. Some of the fancy sage varieties are more decorative than tasty, and can be less hardy or more difficult to keep alive.
Common sage is the plant that will give you the least trouble, it is safe to add to your cooking, and it will also give you the aroma and flavor that you are familiar with.
3 Ways To Get Started
- Buy a young plant
- Grow from cuttings
- Grow from seeds
Option 1 – buy a young plant.
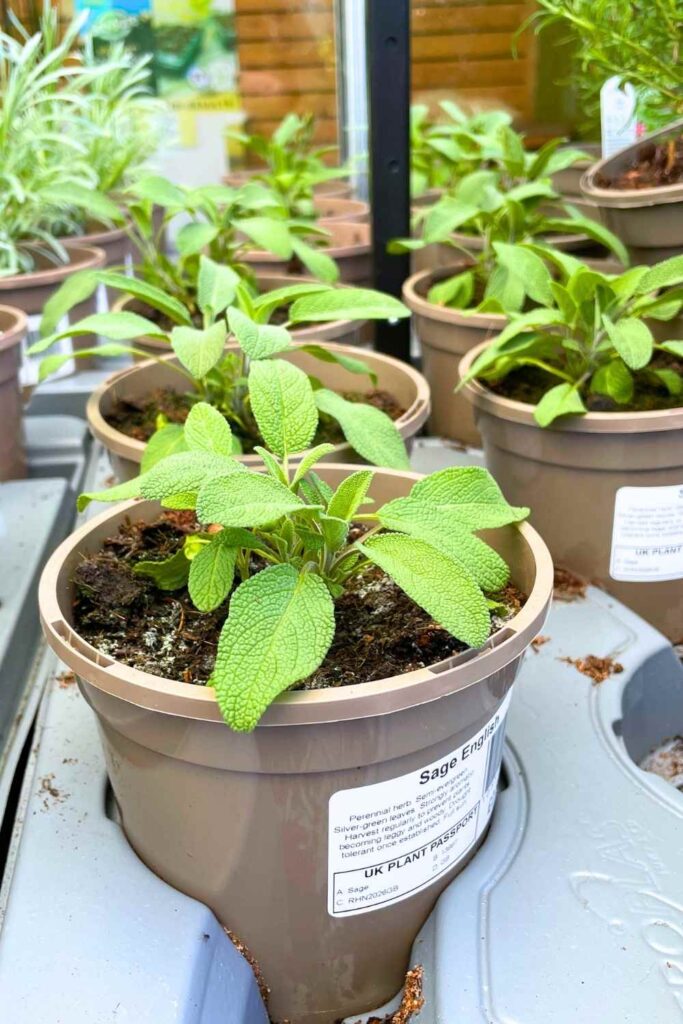
This is the easiest way to get started, and the best option for beginners. Sage plants are widely available from garden centers, online plant sellers and even from grocery stores
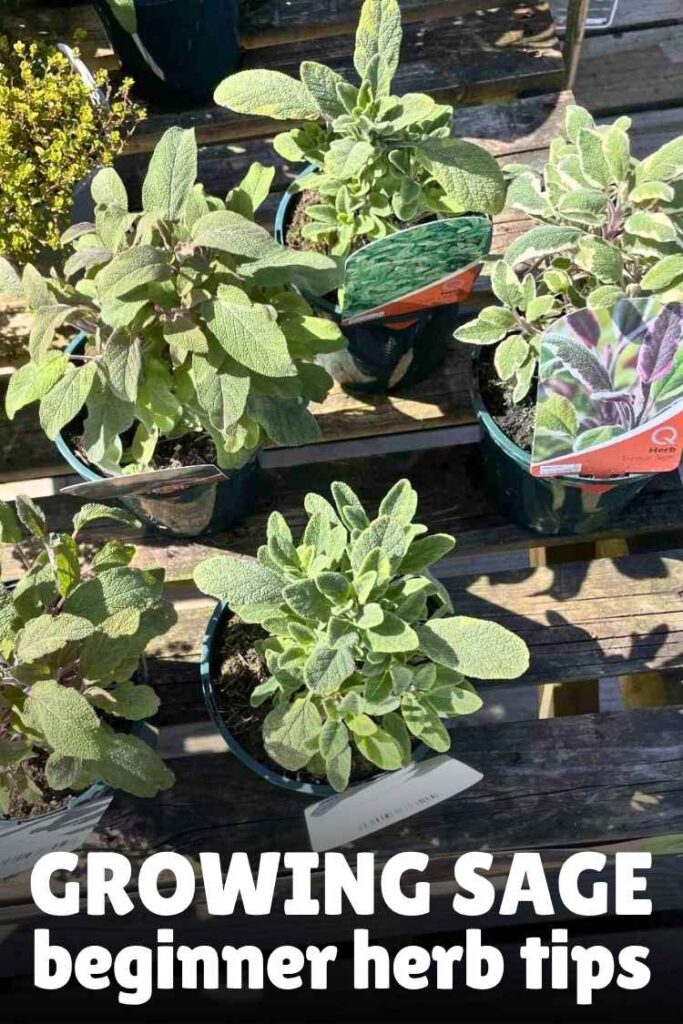
You’ll often find dozens of plants grouped together on a shelf so here’s what you need to look for when picking the best specimen
- Color: Look for an even, dusty grey-green color across all leaves. Avoid plants with yellowing lower leaves, as this often indicates overwatering or a nitrogen deficiency.
- Texture: The leaves should feel slightly fuzzy and firm (pliable but not limp). If the leaves are brittle or have crispy brown edges, the plant has likely suffered from underwatering or heat stress.
- Growth Pattern: Choose a plant that is “bushy” rather than “leggy.” If the stems are very long with large gaps between the leaves, it hasn’t been getting enough sun and will be weaker once planted.
- New Growth: Fresh, soft green growth at the tips is a good sign. This shows the plant is actively growing and will establish quickly in your garden.
- The “Root Bound” Test: Lift the pot up high and look at the bottom. A root or two peeping out is ok. But if you see thick roots circling the bottom of the pot or poking aggressively out of the drainage holes, the plant may have been in the pot for too long (pot-bound). These plants can struggle to take up water once transplanted.
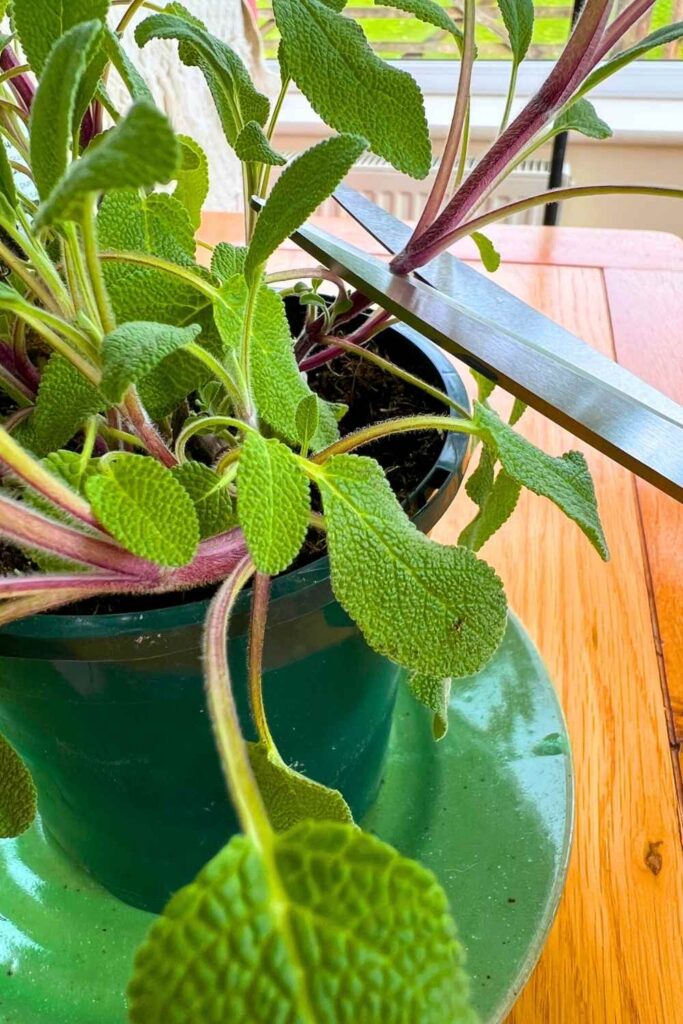
Option 2 – grow from cuttings
I love growing new plants from cuttings. It feels like you are getting something for nothing and at the same time it is so satisfying watching new growth spring up from something you might easily have thrown away.
So if you already have a sage plant or have a friend who is happy to let you take cuttings, this is a great option
You are going to avoid the mature woody stems when taking cuttings from sage, as these take longer to make new roots. I like to choose a healthy, non-flowering stem that is green and flexible at the top but slightly firmer toward the base.
1. Taking the cutting
I like to take a cutting measuring about 4 inches long. Use sharp scissors and take your cut just below a leaf node. This is where the new roots will appear.
Now gently remove the leaves from the bottom half of the cutting (nearest the roots of the plant) to expose the nodes. Leave two to four leaves at the very tip of the shoot. Your new plant will use these to photosynthesize and make sugars to support itself while the root system develops. But more isn’t better because these leaves will need water and your new baby roots will struggle to provide enough to supply a lot of leaves.
If the remaining leaves are very large, you can snip them in half to reduce moisture loss.
2. Rooting Methods
Sage can be rooted in either water or a soil-less potting mix. My preference is water rooting. Place the stem in a glass of filtered water, ensuring no leaves are submerged. You can read more about water rooting herbs in this article: Propagating Herbs In Water.
I use a plant propagation station to water root my cuttings, but a glass of water works just as well.
For soil rooting, dip the end in rooting hormone and poke it into a pot of general purpose potting soil, or a mix specifically designed for starting seeds. Your soil-based cuttings will be happier if you trap moisture around them by covering them loosely with a clear plastic bag.
3. Locating your cuttings
You can place your cuttings on a north or east facing window but avoid strong sunlight for now.
If you are water rooting, some people advise you to change the water every few days, to prevent rot. But I have to confess I almost never do this, and don’t find it causes me a problem.
Sage is not one of the speediest herbs when it comes to making water roots. And it can take around three weeks before they appear. Once the roots are an inch or so long, you’ll need to transplant the cutting into a very wet potting mix..
Option 3 – grow from seeds
Sage is not one of the easiest (or quickest) plants to grow from seed, but if you don’t have access to an adult plant, you’ll need to buy some seeds to get started. It’s also your best bet if you want a large number of plants.
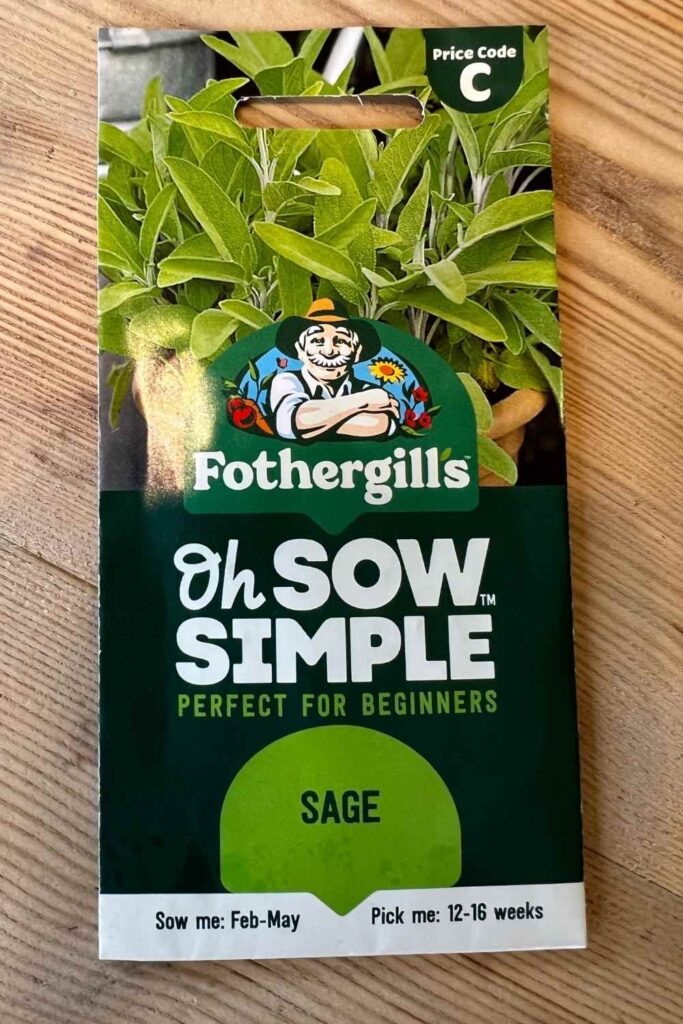
Sage seeds can be purchased online. And again, look for ‘common sage’ (Salvia officinalis)
Think About Temperature
Remember that sage is a warm climate plant. If you want the seeds to germinate you are going to have to convince them that they are in the mediterranean!
You’ll need to maintain a consistent soil temperature of around 15°C to 21°C. That could mean starting them off in a heated greenhouse, or indoors in a heated room.
It’s a good idea to use a heat mat if your starting area is prone to drafts or cool temperatures. You can buy these online too.
When to plant sage seeds
While adult sage plants are fairly hardy, your young seedlings will not appreciate cold wet weather. So you’ll need to plant the seeds around six weeks before the last frost in your region.
This gives you 3-4 weeks for the seeds to germinate, and another 2 to 3 weeks for the seedlings to grow strong enough to cope with being outdoors. Even once the risk of frost is over nights will still be cool.
How to plant sage seeds
You’ll need a small seed tray about 2 inches deep, with drainage holes, and a drip tray to collect excess water.
Add a seed-starting potting mix to the tray, fill it to within half an inch from the top and place the seeds at 1 inch intervals. Sprinkle a little more soil, no more than quarter of an inch, over the seeds and water gently using a plant spray.
If your tray has a clear plastic lid, use it, otherwise cover with a clear plastic bag to keep the potting mix moist. Once the seedlings appear in three weeks or so, remove the cover.
Caring for seedlings – light and water
Sage is fanatical about sun bathing. As soon as the seedlings have their second set of seeds they need light. A lot of light.
So place the tray on a south facing windowsill, or under some grow lights. Don’t let the compost dry out, but don’t leave the soil standing in water.
It should feel damp, not soggy. And any liquid that filters through to the drip tray should have dried out before you next water your seedlings.
By the time they are a couple of inches tall with 4-6 leaves, your sage seedlings will probably need watering with a plant spray morning and evening. And will be ready to transplant into their own 3 inch pots
Caring for your sage plants
The two most important things you can do for your sage plants is place them in full sunlight for most of the day. And make sure they don’t sit in water for too long. Think “sunny not soggy”.
Location
The flavor and aroma of sage is due to the essential oil in the plant and a study carried out way back in the 1990s, showed exactly how important sunlight duration was for the production of those oils.
Lack of sun won’t just mean leggy spindly stems that make your sage plant look and feel sad. It also means less flavor.
So if you are planting sage directly into the ground make sure you choose a well drained spot that is in full sunshine. No shady corners for this plant!
Potting soil
If you have a heavy clay soil, consider planting sage in a container. And if you are going to plant them with other herbs, pick companions that also like dry conditions.
Mixing some perlite in with your potting soil will help to improve the drainage around your plants.
Rosemary, thyme and oregano make good partners for sage. Thyme and oregano will trail prettily over the sides of your planter. You can find more information in this article: Herb Companion Planting
Watering
When summer arrives and the soil starts to dry out, you probably head outside with the garden hose or watering can each morning to soak your thirsty plants.
But you need to be careful not to overwater sage because this is a plant that is highly adapted to warm dry soil. It’s very easy to upset and even kill your sage plants if you let their roots sit in soggy soil.
A good way to check whether or not your sage actually needs a drink, is to stick your finger into the potting soil around its roots. If the soil is still moist just below the surface, don’t water it.
Feeding
In its native environment sage lives perfectly happily in fairly impoverished soil. It’s okay to give your sage a small feed once or twice a year if it’s growth seems to be stunted after a long time in a container.
But be careful not to overdo it.
If you feed sage too much it might look happy inititally, but all that fresh rapid growth just produces leaves that have far less flavor, and weakens the plant.
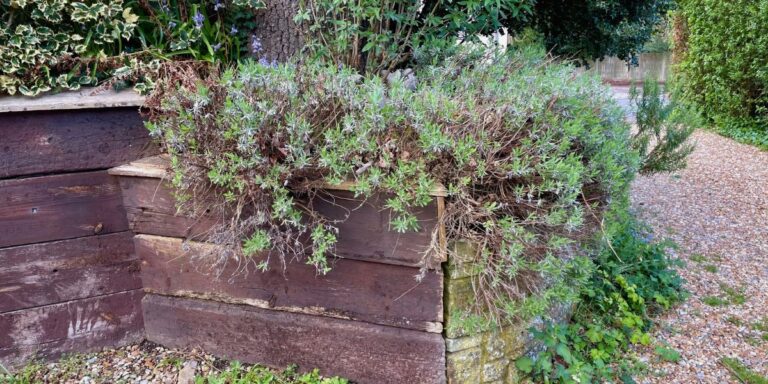
Pruning
Cutting back your sage once a year will promote some nice fresh growth.
The best time to do this is in spring when the new shoots are most active. If you don’t do this, it won’t harm the plant but sage does get woody over time and there will be fewer leaves for your kitchen.
Harvest time!
Your reward for caring for your sage plants is of course those delicious leaves. You can snip the shoot tips off with your fingers or a sharp pair of scissors.
You’ll be able to harvest sage all through spring and summer and into fall. It’s best to wait until younger plants are established first so give them a few weeks after planting before you begin to take your crop.
Sage is altogether one of the most trouble free and easy care herbs you can plant so it’s well worth finding a well drained sunny corner in your yard for a plant or two. Let us know how you get on with your new plants and we’d love to hear about your favorite uses for sage in the comments below!
You might also enjoy: