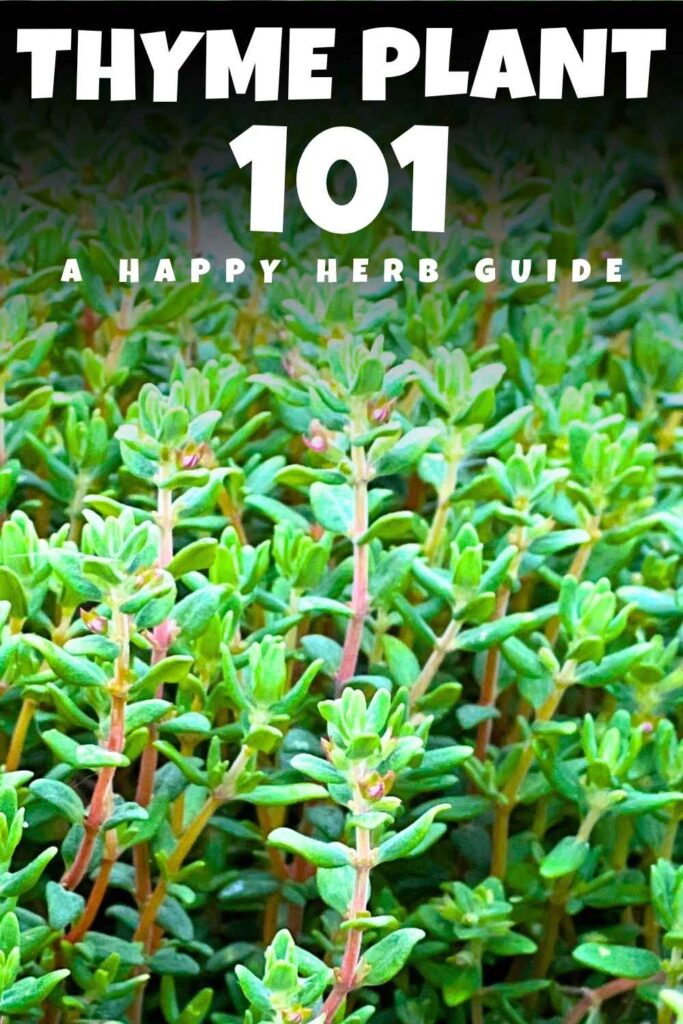
Getting Started With Thyme – A Beginner’s Guide
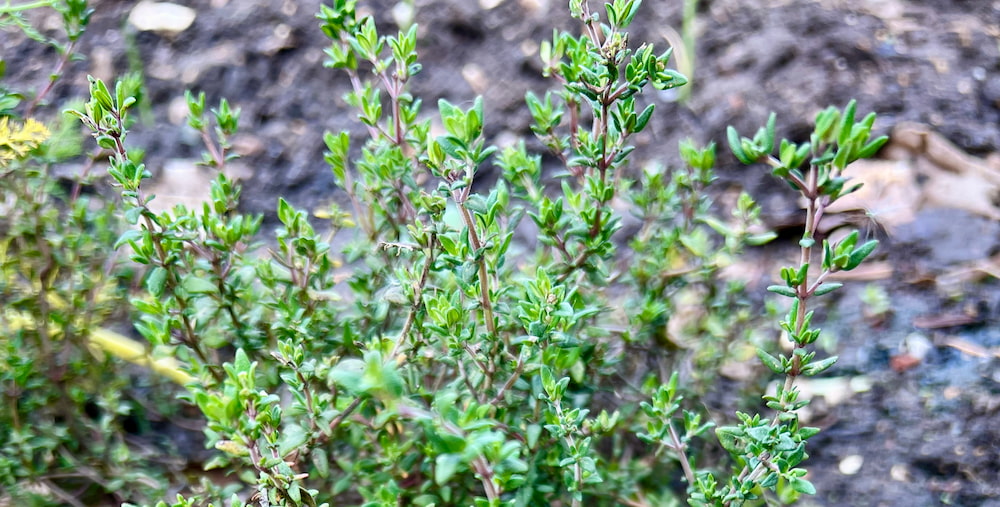
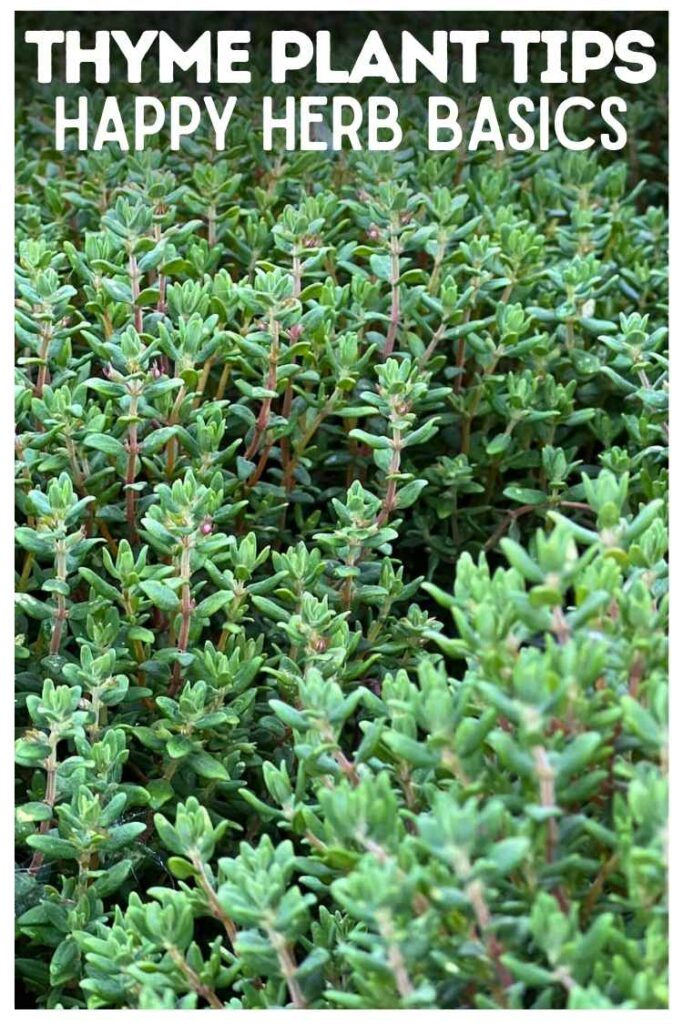
Tolerance and toughness are great attributes in herbs for beginner gardeners. And in my view, thyme is one of the toughest and most tolerant herbs around. My thyme plants are very low maintenance, and some of them I’ve had for many years.
Thyme is also one of the slower growing herbs, but the upside is that if you treat it right, it’ll still be around long after your other herbs are a distant memory.
Understanding its mediterranean roots is key to keeping your thyme plant happy. And I’ll be showing you how to pot, position, and care for your thyme plants so that they thrive.
We’ll look at:
Why Grow Thyme?
For a small plant, thyme seems to wriggle its way into a lot of my recipes! Those tiny leaves pack a massive flavor punch, and that’s due to some powerful essential oils.
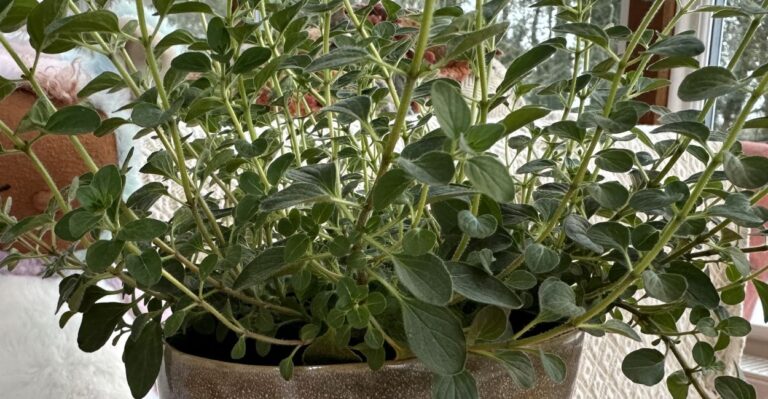
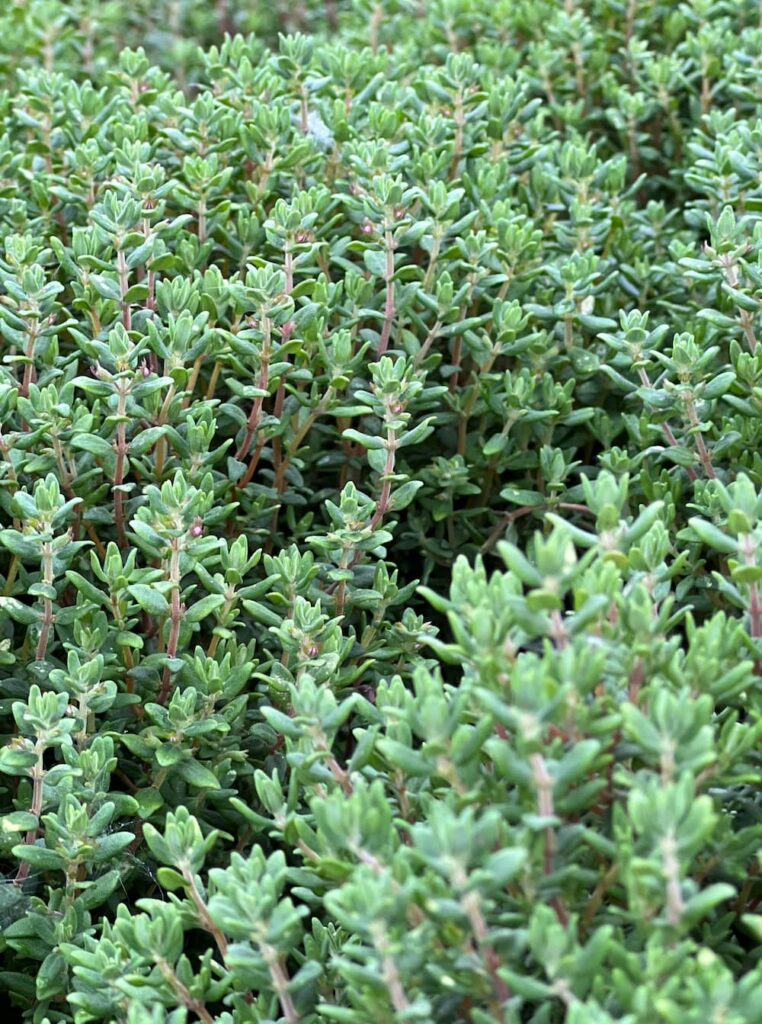
It’s a beautiful plant too. I especially love the way that thyme drapes itself prettily over rocks and tree roots. Or spills over the edges of containers. But if you need more convincing, flavor and beauty are not the only reasons to grow this lovely plant.
REASONS TO GROW THYME
- Useful in the kitchen year-round
- Beautiful in the garden, doubles as an ornamental plant
- Attracts pollinators like bees and butterflies
- Repels some pests
- Low-maintenance and drought-tolerant
- Can be grown indoors or outdoors
Attracting insects
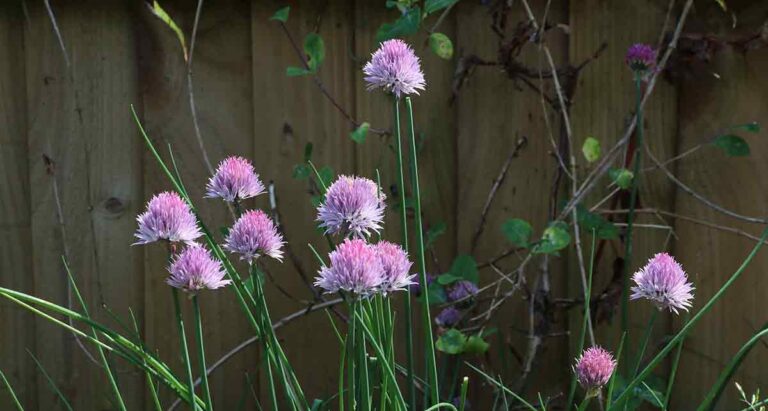
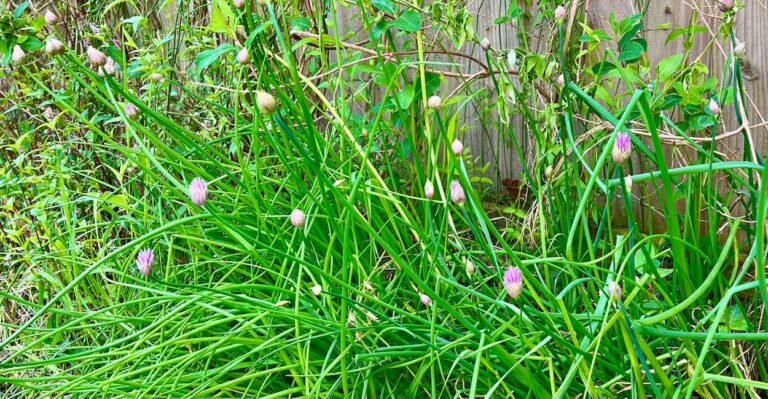
One of the best reasons to grow thyme is its power to attract pollinators. We badly need more bees and butterflies in the world. Insect populations have declined significantly in the last 10-20 years. One important study showed a decline of about 1% per year. This may not sound much but over time it adds up.
The good news is, we can help. The same study showed that cleaning up waterways has actually resulted in an increase in freshwater insect life. So these declines can be reversed. And one way that you and I can help is by growing more insect friendly plants in our backyards. That’s where thyme comes in.
Thyme produces large quantities of nectar and pollen, giving bees and other pollinators a reliable food source rich in sugars (energy) and proteins (growth). We keep bees and my thyme plants are a big favorite with them. But you don’t need to keep your own bees to contribute as they fly considerable distance to find nectar. By planting thyme, you are providing these important insects with their own free fuel station.
Repelling Pests
Not all animals love the smell of thyme. In fact the essential oils, thymol and carvacol, that give us that amazing aroma can be harmful to some of the bugs that we really don’t want around our vegetables. And the scent acts as a repellent to some of our least favorite insect visitors.
You may notice reduced pressure from cabbage worms, whiteflies, aphids, and spider mites when thyme grows nearby. And some studies even suggest thyme is mildly repellent against mosquitoes. So if you are like me, and mosquitos really love you, and you like to relax outdoors on summer evenings, a pot of thyme nearby might make your seating area a bit more comfortable!
I’ve already mentioned that thyme is tough. It requires very little from you in the way of maintenance, but we’ll look at that in a bit more detail below. I also said that thyme can be grown indoors as well as outdoors. Well, I am going to qualify that statement a little bit. Thyme will grow indoors. But honestly, hand on heart, it’s much happier outside. Part of that is because kitchens tend to be fairly damp. But even in my fairly dry conservatory, thyme never looks its best. So if you can find a sunny spot for yours outdoors, you’ll get better results.
Ok, lots of good reasons to grow thyme, now let’s find out which type of thyme is best suited to your needs.
Different Types of Thyme
There are several different varieties of thyme, but they are not all suitable for flavoring food. Creeping thyme for example makes a great ground cover, but is not used in cooking. And wooly thyme is another ornamental variety.
I’m going to assume that you want thyme for culinary purposes, so the variety you’ll need to obtain is common thyme (Thymus vulgaris)
You can also cook with Lemon Thyme (Thymus citriodorus) but for that traditional thyme flavor, stick with Thymus vulgaris.
What Thyme Needs To Thrive
There are only two things that really matter to thyme. And that’s sunlight and drainage. If you can provide these, you can grow thyme, and it will forgive you for pretty much anything else.
Your solar powered friend
Thyme doesn’t just prefer sunshine, it absolutely insists on it. We’re talking six to eight hours of full sun here. Preferably every day, all summer long. That doesn’t mean your thyme plants will turn up their toes if you have a cloudy day or three. It does mean they will be miserable if you plant them in a spot that is in shade for much of the day, on a regular basis. It’s why thyme prefers to be outdoors because even on a sunny windowsill, there is far less light than outside in full sunlight.
Lack of sun will have two immediate effects on your thyme plants. They will grow longer, weaker shoots to try and reach the sun. And they will reduce their production of the essential oils which is where the flavor and aroma comes from. That’s because oil production is metabolically expensive and your sun deprived thyme plant is now in full survival mode. Oil production can wait.
Just passing through – soil and water
When it comes to getting the moisture content right for thyme plants, its not about the quantity of water you give the plant. Its all about drainage. I try to remember that thyme’s woody Mediterranean roots, evolved in a very different world from mine: A world of dry slopes, rocky soils, water that drains almost as soon as it arrives. In soggy conditions, oxygen levels drop and the roots succumb to fungal infections. So good soil for thyme is gritty and loose.
The point is not that thyme hates a lot of water, but that the water mustn’t hang around. You can still water daily in the summer along with your other plants, provide the soil lets the water pass through quickly. Here in the uk our winters are very wet, but thyme doesn’t mind that provided they are in a well drained pot or very sandy soil.
How To Grow Thyme – Your Options
New thyme plants can come from one of four places.
- Starting from seed
- Starting from cuttings
- Layering
- Buy from a store
If you don’t already have a thyme plant then options 1 and 4 are available to you. But we’ll look briefly at the other two options
1 Starting from seed
If you have more patience than me, buying a packet of seeds is a great way to start. You might get more plants than you know what to do with, but if you have too many, they make nice gifts for friends.
You can buy the seeds online. If you aim to use thyme for cooking, just make sure you buy common thyme, not creeping thyme. The patience part comes in because although your seeds will germinate within a couple of weeks, your thyme leaves may not be ready to harvest for several months.
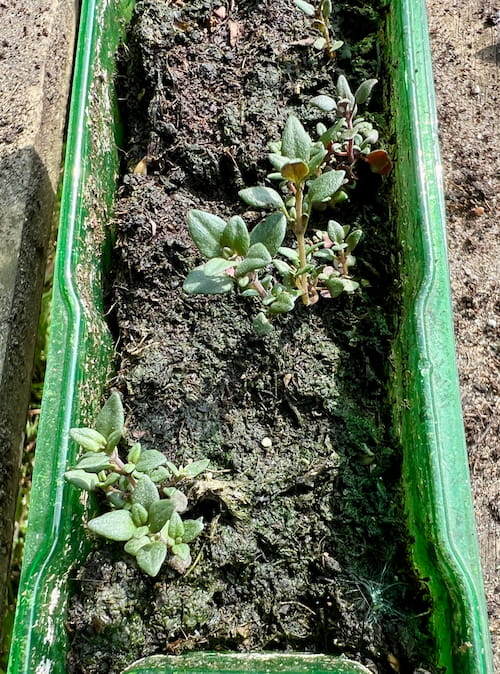
Sowing is simple. Just put some potting compost in a small tray or dish with drainage holes in, and sprinkle the seeds over the surface. That’s it. No need to cover them. Now place them on a warm windowsill (60-70F) and wait. I planted my seedlings (above) in a cold greenhouse in March.
2 Starting from cuttings
Starting from cuttings is a faster option than seeds. If you have a friend with some thyme ask if you can snip some tender shoots from the plant. This is easier in a slightly leggy plant or one with spring and summer growth, than in a plant that has formed a tight tussock.
To root your cuttings, leave them in a glass with water covering the bottom third of the stems until roots appear, or dip them in rooting powder and push them gently into a small pot of loose potting compost mixed in a 3 to 1 ratio with sand. Read more in: How To Propagate Herbs In Water
3 Layering thyme
This means pegging some thyme shoots down to the ground so that they grow roots while still attached to the parent plant. Thyme also does this naturally, it’s how it spreads along the ground. So you may be able to carefully dig up a small section of the parent plant that has new and separate roots growing at the base of the stems.
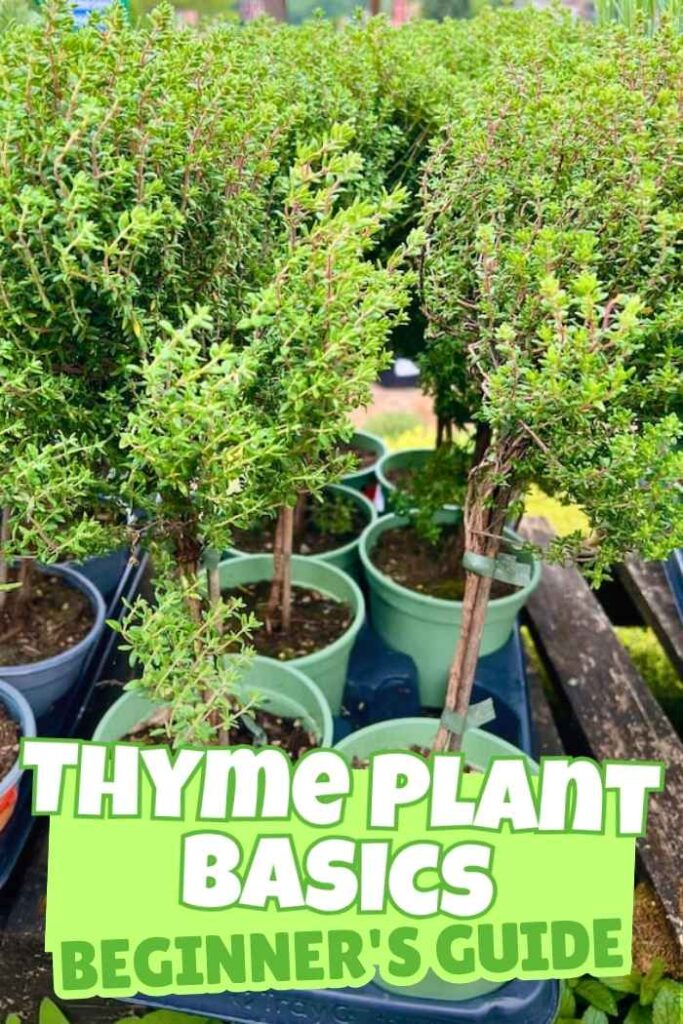
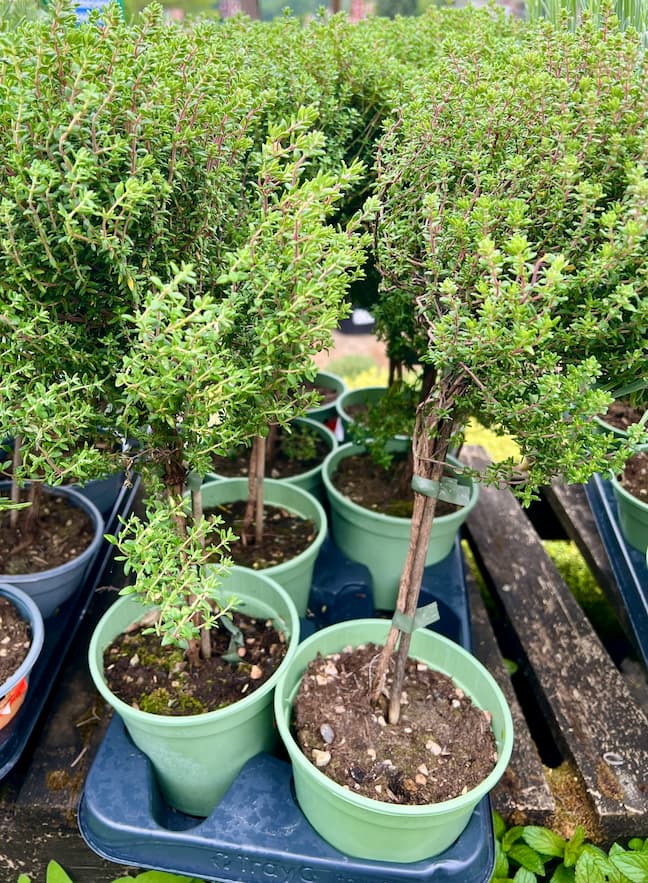
4 Buying a plant
If you don’t have access to cuttings and layering, and you want to harvest your thyme leaves anytime soon, then buying a plant is going to be your best option.
And happily, thyme plants are widely available online and in garden centers. Just bear in mind that it’s Thymus vulgaris that we use in cooking. Look for a compact, healthy plant with plenty of new green growth.
Planting Thyme – Step By Step
- Choose the right container
- Prepare the potting soil
- When to plant
- Where to plant
- How to plant
Choosing a container
Thyme can be planted straight into the ground provided that the soil is not going to get soggy during the winter. Our garden is often very wet over the winter months so I tend to plant most of my herbs in containers.
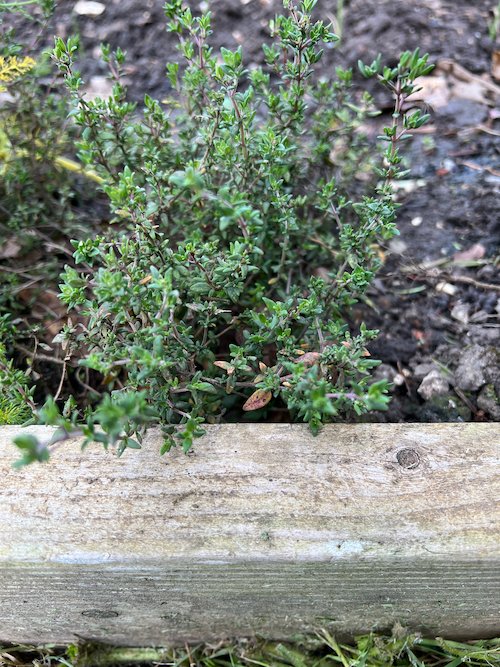
I love stone and terracotta pots. But terracotta in particular can dry out rapidly in warm weather as it is porous. Fortunately many mediterranean herbs are super tolerant of dry conditions and can be your best candidates for these types of pot.
Thyme will grow quite happily in a fairly small pot, and will simply spill over the sides as it spreads. This can look very attractive. You can also plant it around the edges of planters containing other herbs. I actually prefer mixed planters with several different types of herb in one pot. If you are going to do the same, check out my guide to Herb Companion Planting. You need to make sure your herb’s room-mates share similar likes and dislikes
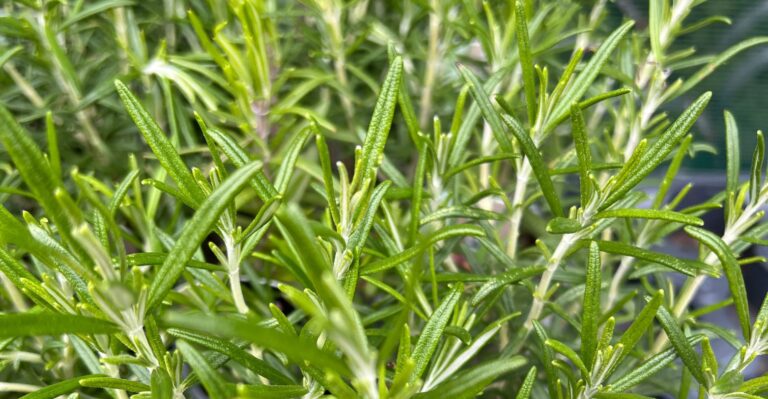
Make sure that your mixed herb container is big enough for the eventual size of the biggest plant. Rosemary for example is a shrub and can grow quite large reaching up to 4-6 feet in height over the space of a few years.
I don’t like to leave lots of bare soil in my planters as these may attract my cat, and we all know what that means! So I tend to pack quite a few herbs in together, and then move some later on if they are getting swamped by the bigger plants.
Prepare the potting soil
Water hungry potting compost is not suitable for dry loving herbs like thyme. So I like to mix mine with one third horticultural sand and a sprinkling of perlite. These extra ingredients improve the drainage of the soil dramatically and make sure that your herbs are not sitting in soggy soil. Just mix the ingredients in a bucket with your hands and you are good to go.
When to plant
Thyme is hardy and can withstand frost and snow provided it is not sitting in soggy soil. However, when you move a plant or put cuttings or seedlings outside for the first time it can be a shock. So it’s best to wait until after the last frost of the year. By the time the following winter comes around, your thyme plant will be strong enough to cope with the weather.
Where to plant
Pick a sunny spot. Up against a warm south facing wall is ideal for dry loving herbs like thyme, sage and rosemary. But anywhere that gets full sun for much of the day (6 or more hours) will be fine.
Avoid shaded areas of your garden or areas the only get the sun for a couple of hours. Your thyme may survive, but it will grow leggy and lack flavor.
How to plant
1 Add the soil:
If I’m using a container I like to fill the planter leaving space at the top, so that the potting soil is one to two inches below the rim. The level will rise as you add the plants.
2 Remove the pot:
Place your index finger and third finger either side of the plant to hold it in place and invert the pot. Give the pot a good tap underneath, and if its a flexible pot give it a squeeze at the bottom where the drainage holes are. Then pull the pot away leaving the upside down plant in your hand
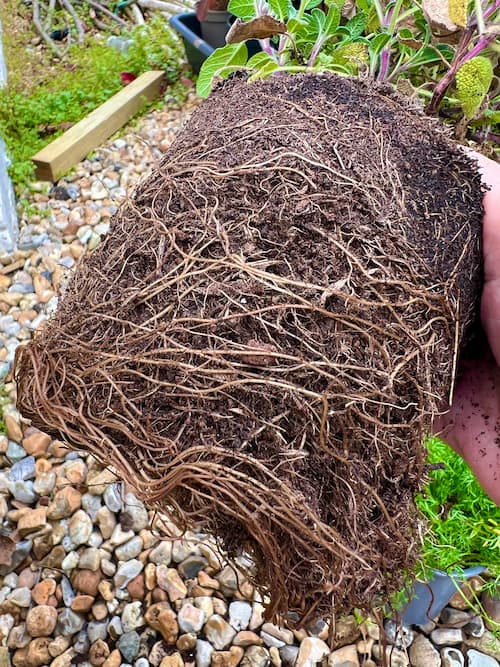
3 Tease the roots:
If your plant has been in the pot for some time, there will be a network of roots on the outside. You can tease these out a little bit to loosen them up and help them get established in their new home.
4 Place the thyme:
Scrape a hole in your potting compost about the size of the rootball using a trowel or spoon. If it’s a large, shared, container make your hole near the side so that the thyme can spill over the sides. Place the plant gently in the hole you have made. The top of the rootball should be just below the surface of the soil. Fill the soil back in around the plant and press gently to firm it.
5 Add remaining plants:
Repeat for any remaining plants and spread a little more compost over the surface of the planter, evening out any lumps and bumps
6 Water in:
Now soak the planter very thoroughly from above and step away. Your thyme plant and any room-mates will do the rest.
Caring for your thyme plant
All that remains is to keep your thyme plant happy with regular watering in hot weather. If it is in a small container you’ll probably need to water daily in dry weather during the summer. Larger containers may last a few days without watering. Just stick your finger into the potting soil. If it feels dry below the surface, its time for a drink
You don’t need to worry about feeding your thyme plant for at least the first year if you put in in fresh potting soil. These are not hungry plants and will cope and even thrive in fairly impoverished soil.
If after a year or two in a small pot your thyme plant seems to have stopped growing or is looking sad, and some fresh potting soil and probably a bigger pot is all it needs to provide enough nutrients for the next year or so. If your plant is growing in the ground you’ll probably never need to feed it, but if you do, a top dressing of a little homemade compost will do the job.
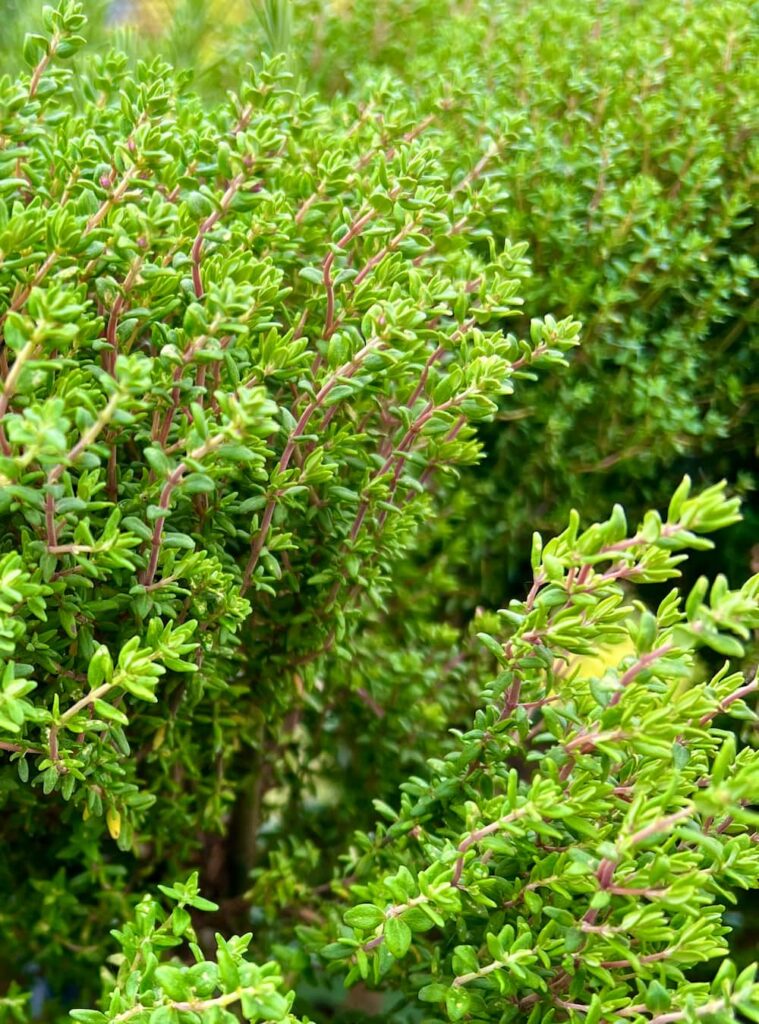
Is my thyme plant happy?
What you are looking for in a happy thyme plant, is dark leaves with a short internode gap. That’s the space between each group of leaves. With thyme, this space should be very short indeed. If your thyme is a dense, compact, low growing ‘tussock’ like plant with a powerful aroma and delicious flavor, then it’s happy.
Indoors or out?
We’ve mostly been talking about growing thyme outdoors. I do bring pots of thyme indoors sometimes as I find having a few herbs on my windowsill very convenient. But my kitchen does not have any south facing windows and it can be hard to keep thyme happy without masses of light, so I have recently added my indoor thyme plant to an outdoor container.
You may have better luck with thyme indoors if you have a south facing kitchen, though you may have to move the plant back from the glass a little in the heat of a summer’s day.
For the most part thyme is happiest outside, and in full sun. Remember, happy thyme is solar powered. So save those shady corners for your hostas.
You can still grow thyme without mediterranean levels of bright sunshine every day, but for that awesome flavor punch and dense appearance, pick the sunniest spot you can find.
Let me know how you get on with your new thyme herbs, we love to hear from readers! You can also comment and post your photos on our facebook page