Getting Started With Green Beans – Bush Beans And Pole Beans Made Easy
Home grown green beans are one of my favorite crops. This is an easy and fairly generous plant to grow, and once they start to produce, they produce quite a lot of beans. I find my main challenge is not getting them to grow, but picking them while they are still tender, and storing the excess we produce.
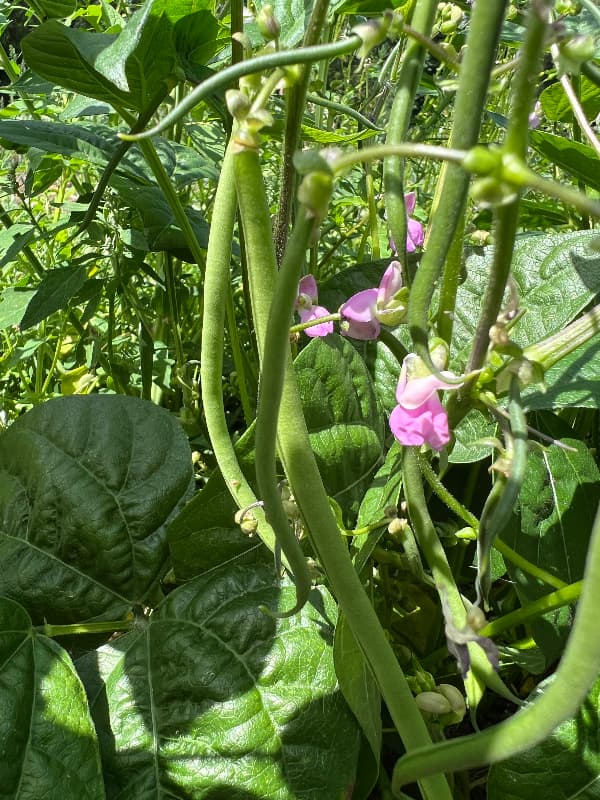
In the UK green bush beans are known as dwarf french beans. Some people also call them ‘snap beans’. But whatever you call your green beans, there are two main types. Those that climb, also known as ‘pole beans’, and those that don’t, also known as bush beans
In my new vegetable plot this year, I’m growing bush and pole beans. Both need some support in order to keep their precious crops from collapsing into the dirt, so I usually like to plant my beans in groups around a central support, or in pairs on either side. I’m also experimenting with growing pole beans in my new high tunnel.
I’ll be showing you exactly how I plant my seeds, support the young plants, and collect the bountiful harvest they produce. I’ll also look at storage because this is a crop that freezes well.
Preparing your green bean patch
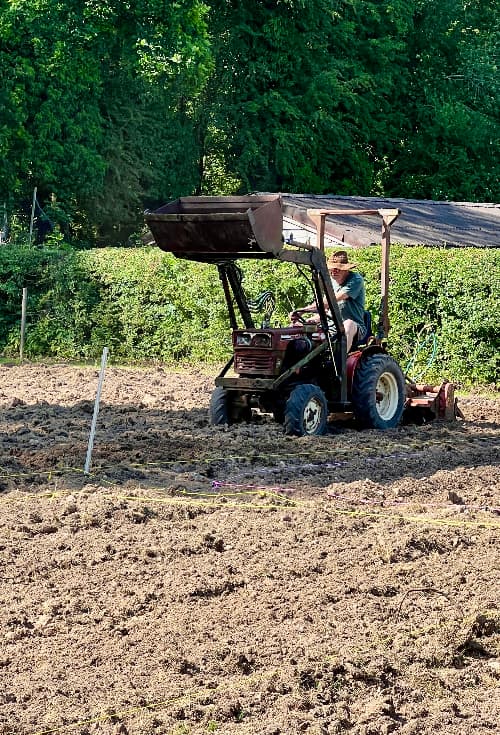
This year we turned some of our very compacted pasture over to vegetables. The pasture was roughly ploughed by a farmer friend, and then Duncan tilled it with our garden tractor. Fortunately, unless you are starting from pasture over an area as big as this (one fifth of an acre), you won’t need a tractor!
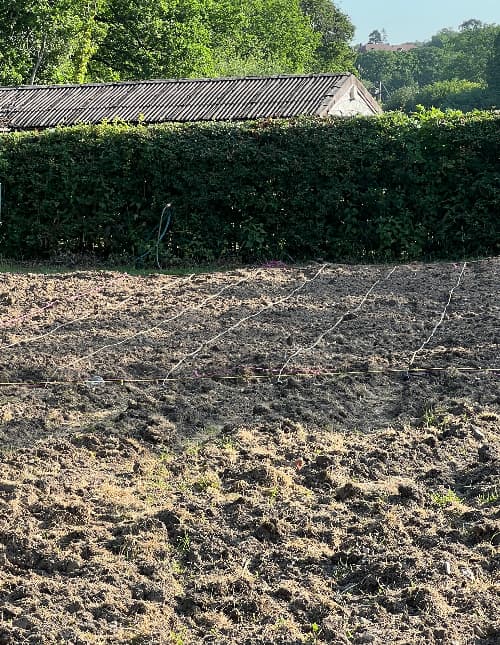
The next step was raking to get an even surface. Usually at this point I’d rake in some compost. But I didn’t start this process until May, so most of the DIY compost I like to give my plants was added after planting.
After raking the patch over, I set up strings about 18 inches apart to give me a grid and keep my bean rows fairly straight. I secure my strings at each end with a peg and once the plants are in, the pegs and strings are removed and used elsewhere or stored to use again next year.
With ground that has been worked before then you may not need to till at all. Lay some cardboard over the ground in early spring with a layer of mulch or compost on the top to suppress the weeds.
If you are starting from scratch in the autumn or winter, then its a great idea to spread some of your homemade compost on the ground then. If not don’t worry I’ll explain below how and when I add compost during planting
Where to get your beans – succession planting
You can grow your beans from seed ordered online, or buy them as young plants from a garden center. This year I did both because I was late getting my ground prepared. But either way, it’s a good idea not to plant the whole crop at once.
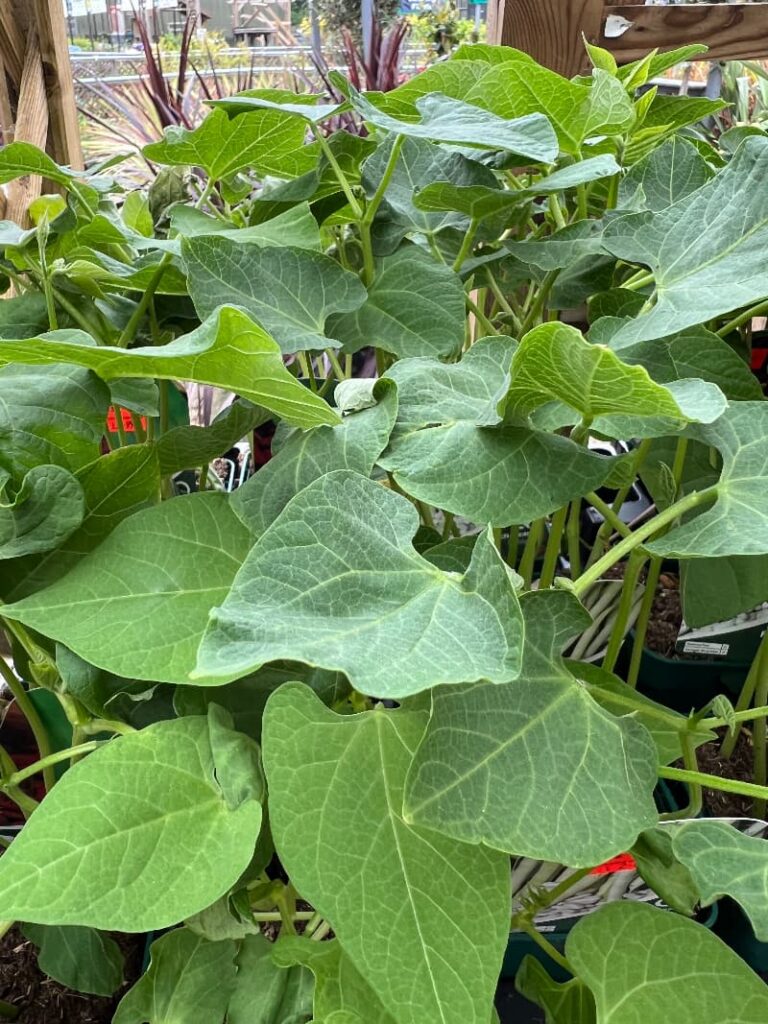
That’s because bush bean plants are a bit ‘all or nothing’. They give you a big flush of a crop, then stop.
If you stagger your plantings then you’ll get flush after flush. Or at least that’s the idea. Though the later sown plants will usually catch up to some extent.
In the past I have sown a few beans in pots at the beginning of each month from May to July. Then planted them out when they are a few inches tall. This year I grew some from seed and also bought about 20 plants from our local garden center. And I aim to plant fresh seeds every two weeks or so, until my plot is full.
How many bean plants do you need?
I find one bush bean plant produces about 4 small servings. So if you want to eat green beans twice a week for 12 weeks or so, you’ll need 12 plants per person.
If you want to freeze or can some beans to take you over the winter, you’ll need a lot more plants. Fortunately, and unlike some more space hungry plants, you can plant your beans quite close together.
The climbing varieties are a bit more generous and I usually get nearer 6 servings per plant.
Starting with bean seeds
Beans are tender, and if the temperature at night drops below freezing they will die. So to get a head start, its a good idea to get your beans started in pots indoors, and plant them outside once the danger of frost has past.
To start beans off indoors:
I plant two or three beans in a five inch pot. Count three weeks back from the last frost in your region, and do the following
Fill each pot with potting soil. I then just press a forefinger into the soil up to my second knuckle (about two inches) and drop the bean into the hole. Sprinkle some potting soil into the hole (no need to press it down), water well, and leave on a sunny windowsill in a warm room.
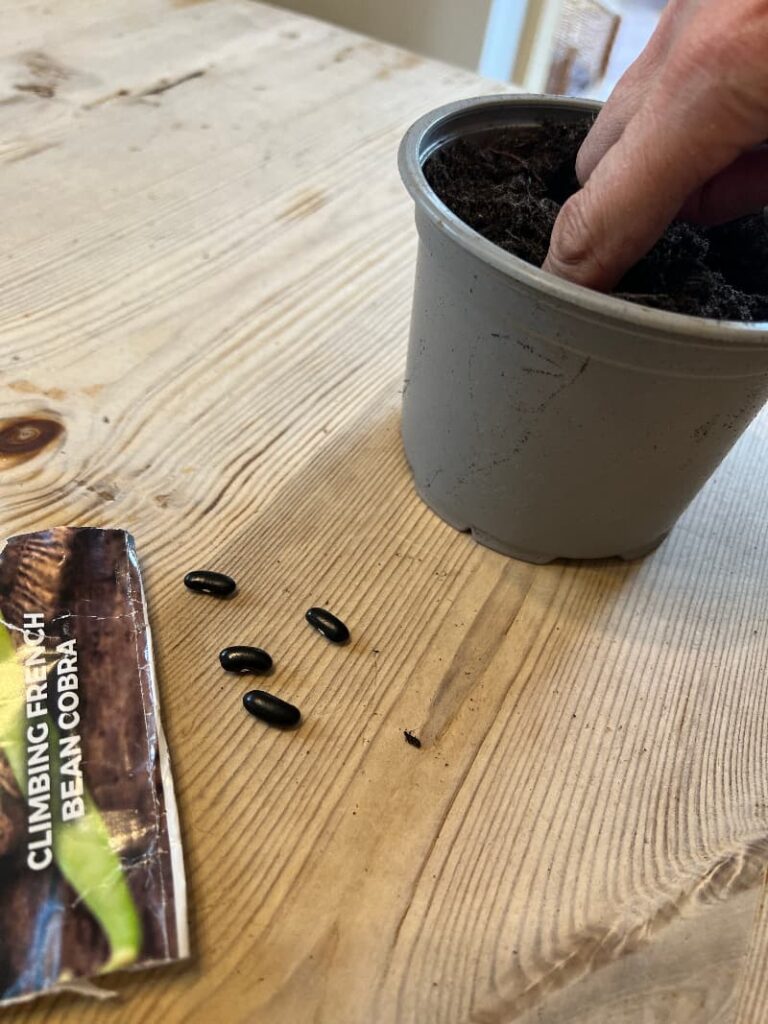
The beans usually appear in just under a week. If you have a frost free greenhouse, you can sow them straight into a bed in the same way, just make sure there are about 9 inches between each plant in a row, and about 18 inches between rows. I use a long handled dibber to make my 2 inch deep holes outside.
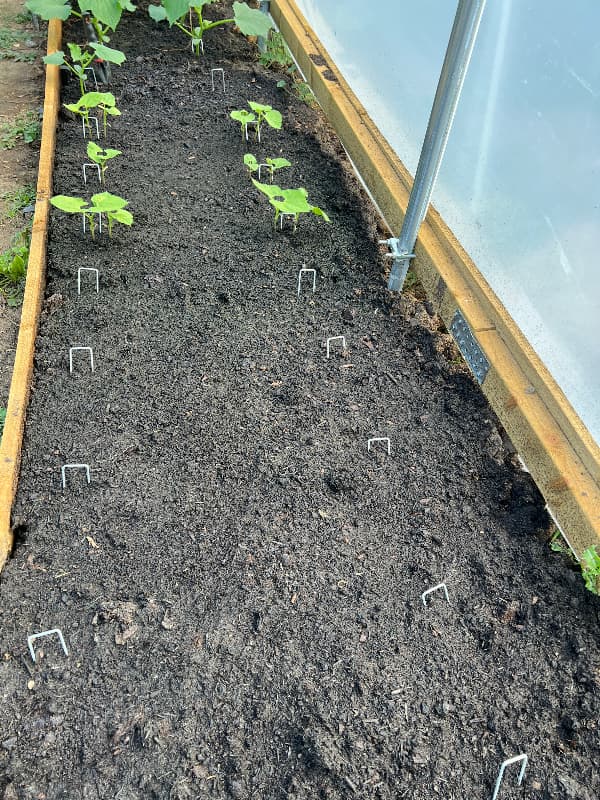
I don’t plant bean seeds more than two rows deep if I’m planting up against a barrier (such as the side of a high tunnel), as it makes it too tricky to pick them.
To plant beans from seed outdoors:
You can plant seeds straight into the ground outdoors once the soil is warming up and there’s no danger of frost. I usually plant two seeds at each 9 inch interval when I do it this way as there will inevitably be some that don’t germinate. You can pull out the weaker of the two seedlings once they are away.
Some people like to plant their bush beans in pairs either side of a support. Or in groups around a frame. And I’ll talk a bit more about supporting your beans below.
Starting with young bean plants
Whether you buy your bean plants from a garden center, or start them off indoors on your windowsill, the principle is the same.
Transfer your beans into the soil when the soil has warmed up! In some areas this will be near the beginning of May and in my area we had a heatwave in May so the soil was more than warm enough early on.
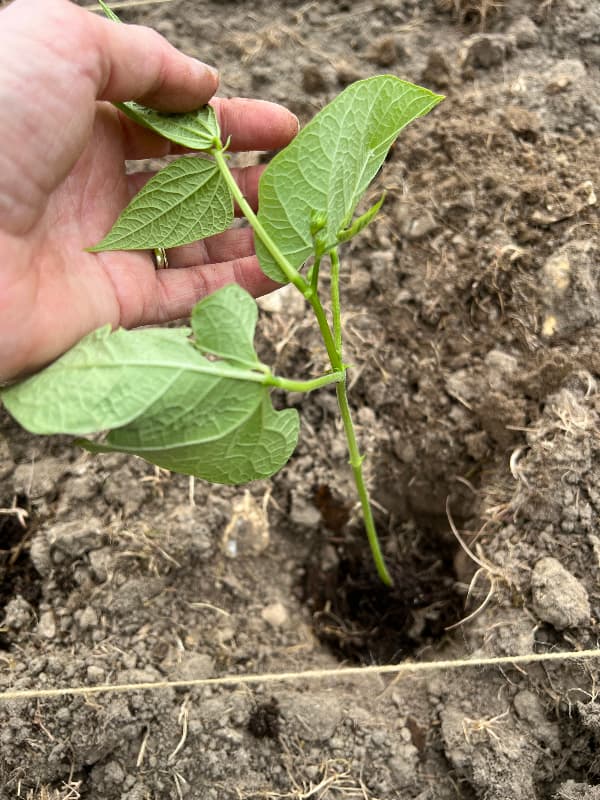
Unfortunately I didn’t have the ground ready with my rows marked out until the end of May so this is when my first bush beans went in this year.
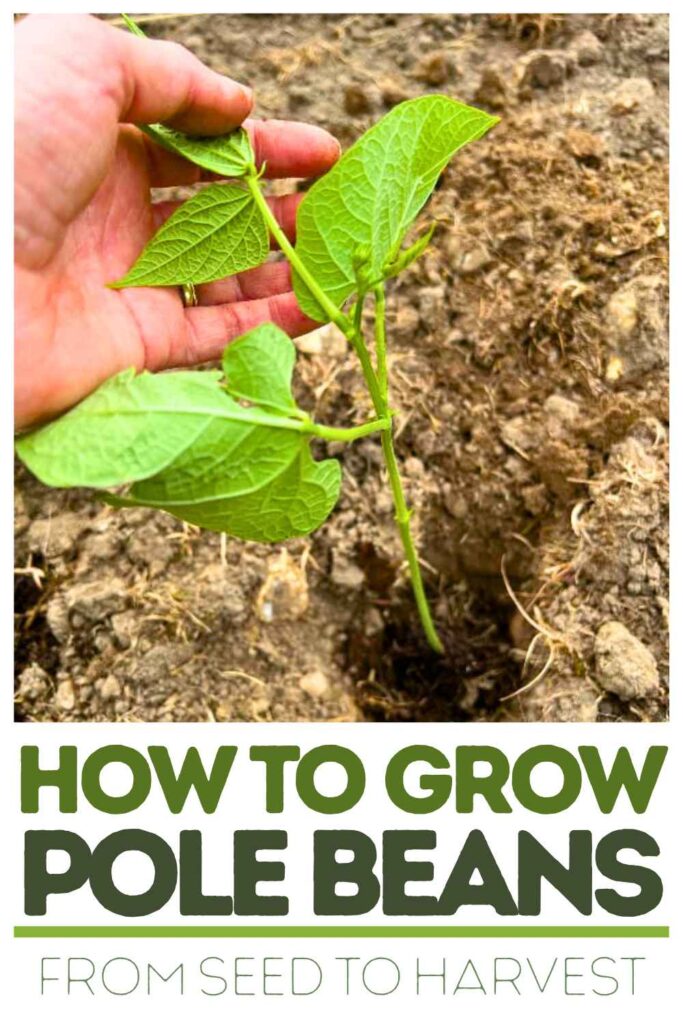
Plant your bean deep enough for it to be stable (so it doesn’t fall over when you release it), but not so deep that you are burying several inches of stalk. A hole about four inches deep is usually fine.
Watering schedule
I water my bush beans (and most of my other vegetables) on alternate days starting three days after the last effective rainfall.
By effective I mean at least 20 minutes of consistent and moderately heavy rain. Sprinkes don’t count. When it rains effectively, I write the most recent date on my kitchen whiteboard so I know exactly when to start watering.
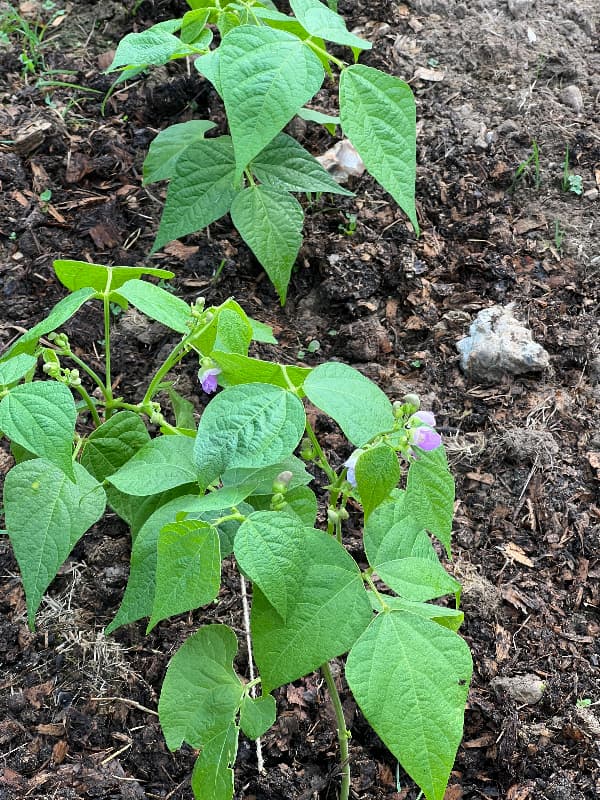
Supporting your bush beans
You can use garden twine or even twigs to support your bush beans. I used twine this year because I was very short of time. I put a wooden pole at each end of each row and stretched the twine between them.
Twine is not ideal, especially when your row is some 30 feet long. It has too much give and tends to stretch and sag. A length of heavy duty garden wire is a much more effective support and I recommend you use that, or if you can afford it, buy one of the metal frame supports that goes over the plants and is pushed into the ground.
Fortunately my bean plants were fairly sturdy and didn’t sag too much.
Supporting your pole beans
For pole beans we usually build two wigwams of long sticks with a pole lashed lengthways across the top from one to the other. And supporting poles inbetween them. Last year we tried using plastic netting instead but it eventually sagged under the weight of the crop
This year we are growing our pole beans in the new high tunnel and using strings attached to the crop bars above and anchored with ground staples at the bottom.
Feeding green beans
Green beans are hungry plants. So if you didn’t have time to prepare your soil well, in advance of planting, you’ll need to feed them.
I add a top dressing of home made compost around my beans, and once they start to flower I may feed them once or twice with some tomato food. Any kind of tomato fertilizer tends to work in your favor when it comes to produces flowers and fruit as it’s readily available and high in potassium.
When are beans ready to pick?
I talk a lot more about harvesting and storage here. But the good news is that bush beans have a really short time to maturity. That means, as a rough guide, you could be harvesting your first bush beans less than six weeks after you planted them.
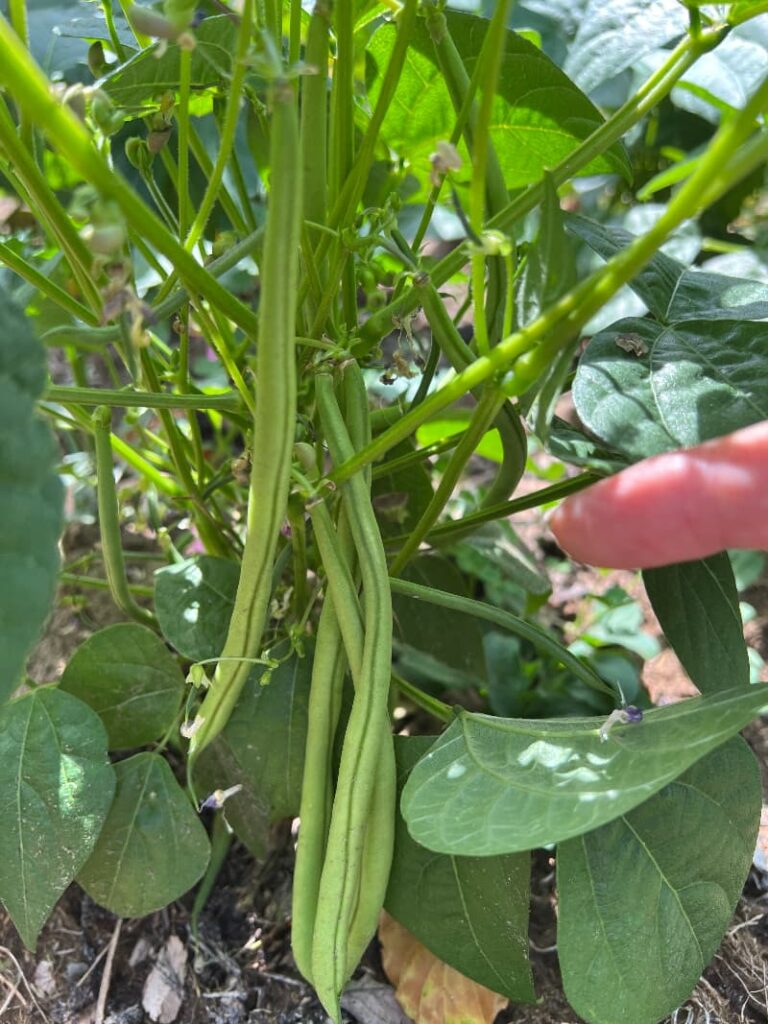
Keep a close eye on them! In fact, I left my first batch too long, and they were past their best, but I timed the second lot just right. Here they are at harvest. They are about 5 inches long, and sweet and tender. Perfect!