Starting A New Vegetable Garden From Scratch
Starting a new vegetable patch from scratch can be daunting, but I found some interesting ways of making the whole process easier and I’m going to share those with you today. I think you’ll find it helpful even if you simply want to supplement your family’s diet with a few fresh vegetables as I have been doing for many years.
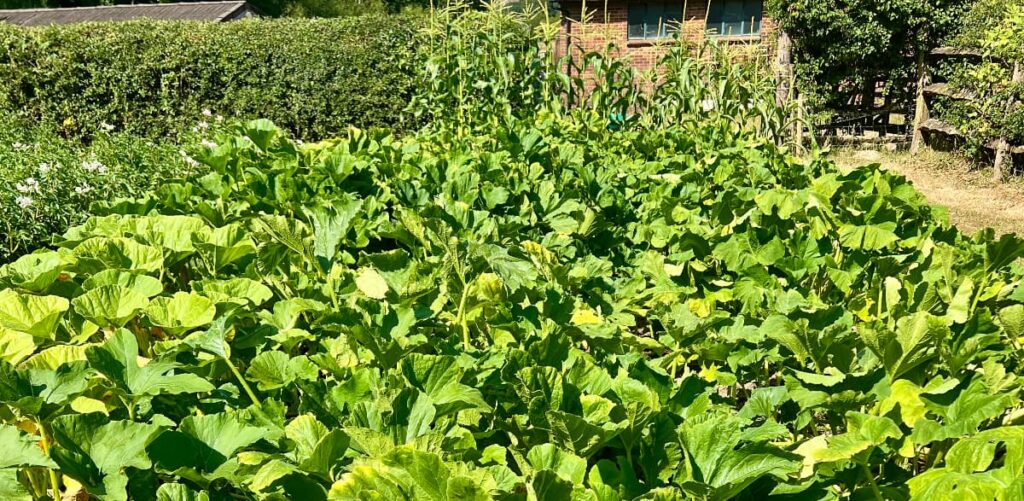
The more I grow vegetables, the more I enjoy doing it. But until I started this project I was still buying a significant amount of our vegetables from the grocery store. I’m hoping to change that now!
My aim from this year is to grow enough vegetables to feed our family for most of the year. And so I recently decided to convert an area of grass on our homestead, into a new and much bigger, vegetable plot. I started rather late in the year, but better late than never!
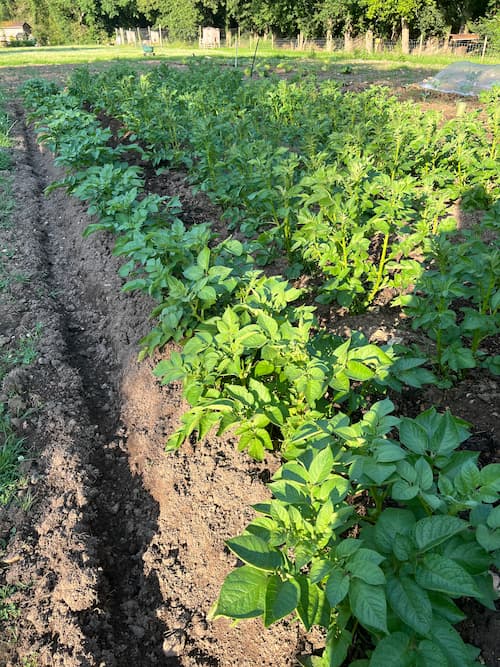
What you see below is the result of our very rushed and often less than perfect progress! Here are the steps I have taken so far.
Step 1 – Making A Plan
There are a few decisions to make before you can get to work planting your veggies. You’ll need to figure out how big an area you want to cultivate, what you are going to grow, and how to divide the plants between different parts of your plot.
What do you like to eat?
While it’s true that some crops will grow better in your soil and in your location than others, my starting point was not what grows well in my soil, but a list of the vegetables that my family likes to eat.
There’s no point in growing a ton of food that simply won’t get eaten, and there are often ways around any challenges you may encounter with soil types. I’ll talk about overcoming those challenges with specific vegetables, as we go.
My starting list.
- early potatoes
- maincrop potatoes
- carrots
- parsnips
- onions
- leeks
- garlic
- brocolli (tenderstem)
- green beans
- peas
- zucchini
- butternut squash
- pumpkins
- lettuce
- rocket
- spinach
What’s missing?
The list doesn’t include vegetables that like a lot of heat such as tomatoes, sweet potatoes, and cucumbers because I am building a high tunnel for those.
I knew that carrots and parsnips might be tricky as our soil is heavy and stoney. Ultimately they may need to go into a raised bed. But I gave carrots a go anyway.
Remember crop rotation
The list also doesn’t include fruit or asparagus which we love. And that’s because these need to grow in the same place each year. And I’ll be setting up a separate project for those.
The crops in my list all benefit from being rotated. That simply means not growing the same vegetable in the same place you grew it last year. Crop rotation helps to reduce disease and keep your plants healthy. We’ll look at how to do that below.
Asking AI for help
If you want to, you can get quite a bit of free assistance with planning your vegetable plot from AI.
Examples of user friendly AIs include Gemini, Claude and ChatGPT. And they all offer free accounts for the casual user.
It’s important to remember that these ‘helpers’ are not actually intelligent. They are simply large language models and they work by predicting which words are most likely to follow other words, and are prone to bizarre errors. So double check any important information they give you by actually visiting a reputable gardening website.
To get the best out of AI you need to write a prompt. This is a short paragraph with all the information that the AI needs to spit out the best answer.
Here’s my prompt:
I am starting a new vegetable garden with vegetables grouped in individual plots. I will be rotating my crops around these plots each year. I want to minimize bare soil and make the best use of my space.I will give you a list of the vegetables we like to eat. I want you to suggest how many plots I need and give me a planting plan for each plot. The space is big (one fifth of an acre) so 8 different plots would be ideal. Please group carrots and parsnips with onions. And don’t add crops that are not on the list. Here’s the list:
I pasted this, and my list of vegetables, into the chat box. You’ll notice I added the proviso about grouping onions and carrots together. That’s because AI failed to do this and I find it reduces attack by carrot flies. If you are not growing carrots or parsnips, you won’t need that part of the prompt. I included the final proviso because on my first attempt the AI added all kinds of crops that we don’t eat.
The final plan
All three AIs managed to give me similar planting plans, and came up with helpful ideas. Things like undersowing zucchini with spinach, putting zucchini in the ground after harvesting garlic.
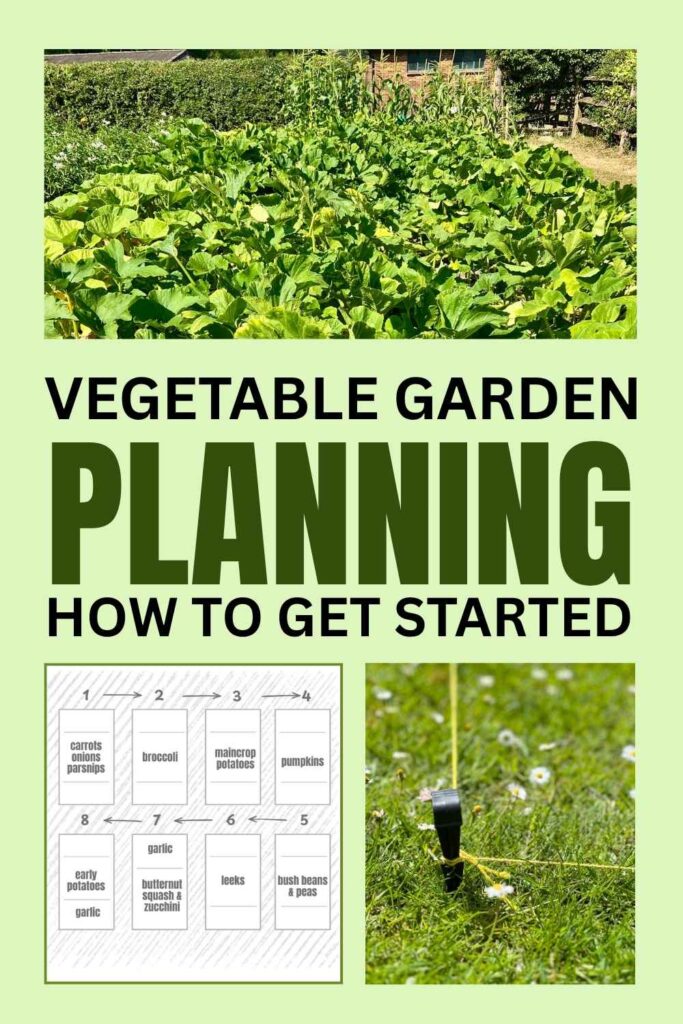
I also tried to get the AIs to make me a diagram of my new vegetable garden but with less success, and in the end I made my own printable chart in canva. You can just draw yours roughly on paper if you want to, but either way I find it really helps to have a picture of what I am going to plant in each part of my patch. Here’s my final plan
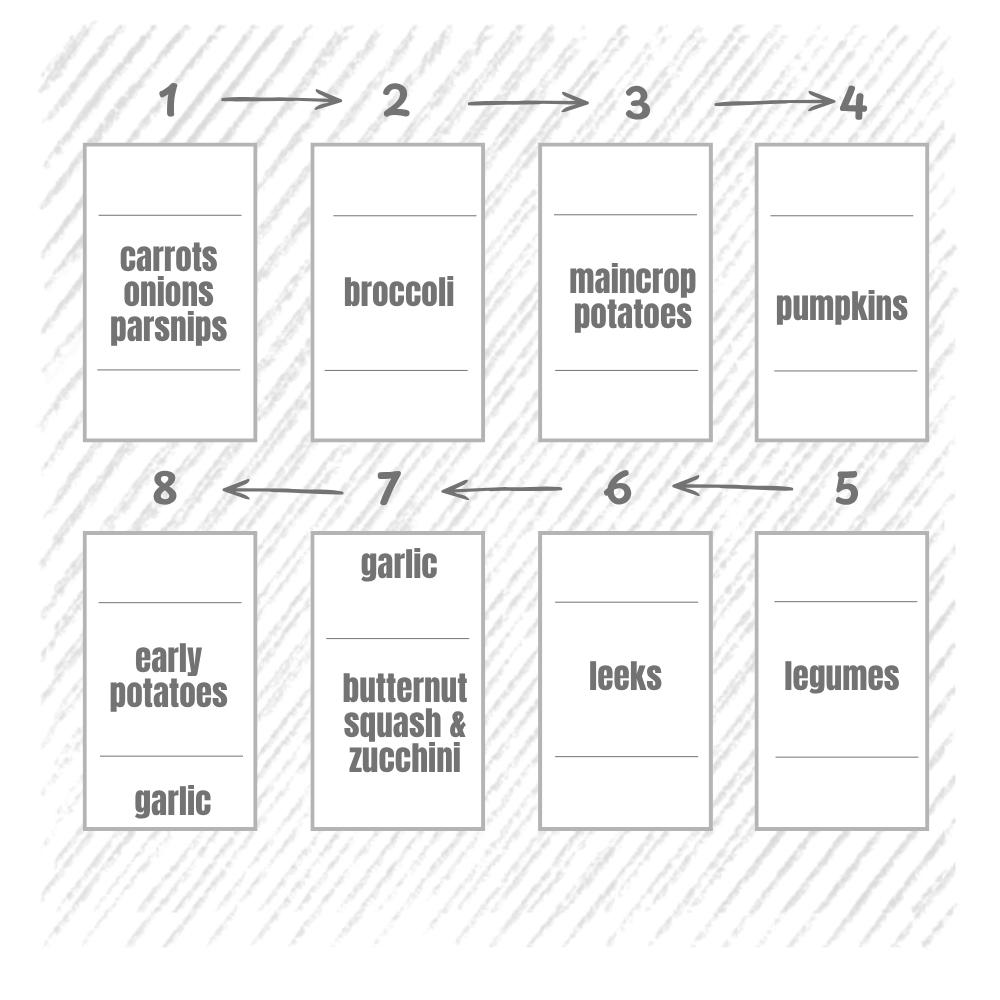
The arrows show the direction that the crops will be rotated in. For example, pumpkins are in plot 4 this year, but next year, they’ll be in plot 5. You can see that I’ve left 3 years between planting potatoes in the same place.
The lines on the plots are not space dividers, they mark the seasons. So as garlic is in the ground over winter, it appears in two plots, fall in plot 8 where it is planted after early potatoes are lifted. And spring in plot 7 where it will be followed by zucchini. This year there is no garlic to harvest because plot 7 didn’t exist last year. But in future years we’ll be able to follow that plan
Now it’s time to start the ground work!
Step 2 – Marking Out The Plots
My next job was to mark out the plots with colored string and plastic pegs. I bought a pack of fifty anchor stakes for irrigation tubing They are about 6 inches long and will be useful for other garden jobs too.
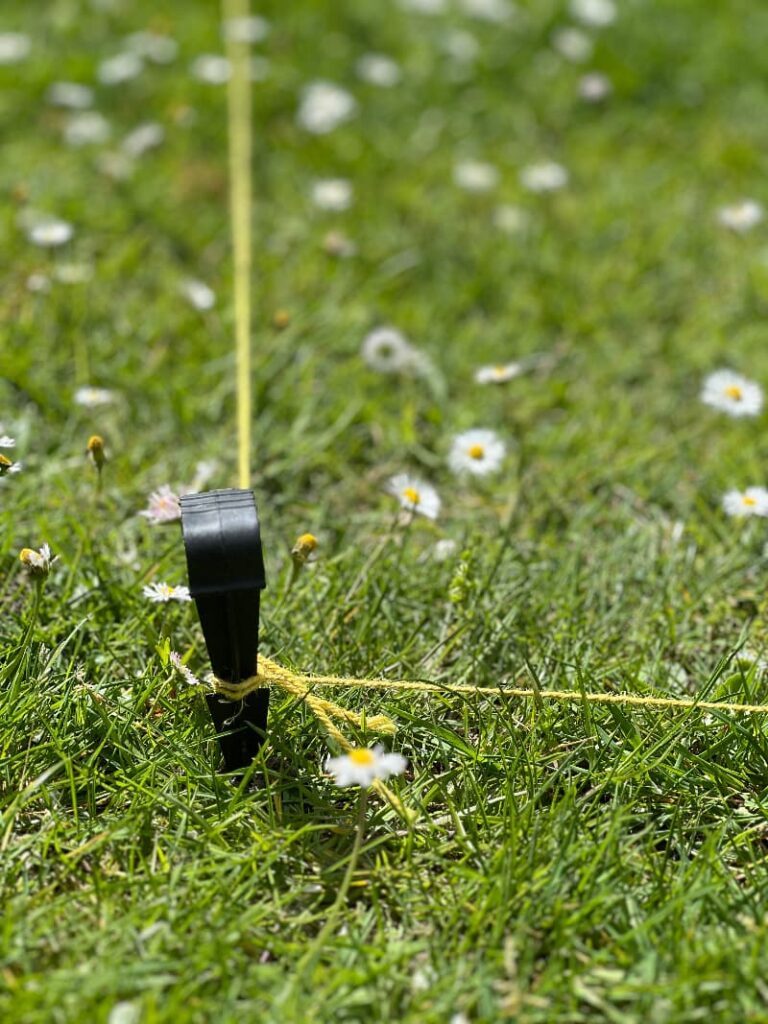
To start with I marked the center of each side of my total area and ran string across the middle in both directions to divide the plot into four. Then I marked out two plots in each quarter. I did it this way because the site wasn’t actually a perfect rectangle so I couldn’t simply work from one corner outwards.
My aim was to get my husband to till each plot separately with his little garden tractor, and to leave paths of grass untouched between each plot. Unfortunately that plan did not work out. I’ll explain why in a moment.
Step 3 – Preparing The Soil
If, like me, you are starting with grass, then you’ll need to decide what to do with the turf in the area you want to cultivate. You have two choices:
- Kill the grass
- Remove the turf
Removing turf across one fifth of an acre would have been a massive job, so my best option was to kill the grass. Again there were choices.
- I could kill the grass with chemical
- I could plough it in.
- Or I could suppress the grass and weeds by covering them with landscape fabric or cardboard.
Which of these would work for you depends on what time of year you are starting your vegetable patch. It’s great to avoid chemicals if you can.
Killing off grass and weeds by covering them
If you are starting anywhere between October and March, and you don’t need to plant anything in your patch for a month or two I recommend you smother the grass or weeds with a layer of landscape fabric, or sheets of cardboard weighted down with stones or covered with your homemade compost.
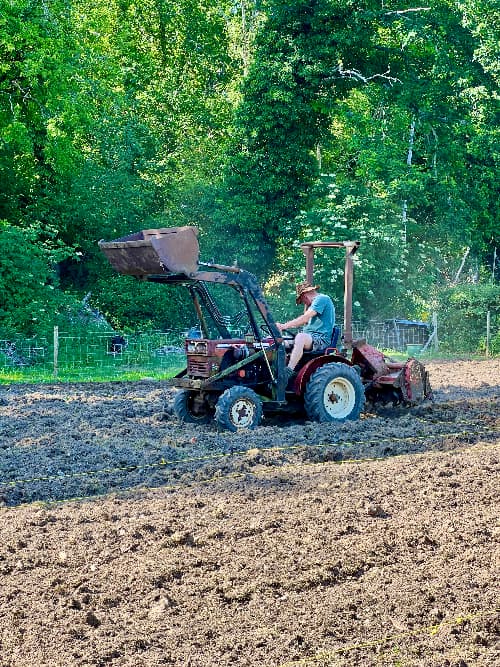
I was starting in May so I didn’t have time for the last option, and I suspected that just ploughing the grass in without killing it first would come back to bite me. So reluctantly, we sprayed off the grass and waited a week for it to start going yellow, then attempted to till it with our small tractor. This is where we ran into trouble.
The ground was extremely compacted and very stoney. And the poor little tractor was simply not up to the job. So we had to call in the big guns!
Ploughing and tilling – what if you don’t have a tiller?
If you have a small vegetable patch and time to spare you can dig it by hand. I dug all my new vegetable plots by hand for years. Nowadays you can also get electric hand tillers and if you have a tool hire shop near you, then hiring a small gas powered tiller for a day or two is often very affordable and will save you time and effort.
As our new plot was quite large, and too hard going for our tiny tractor, our neighbour came with their lovely old tractor and ploughed the whole area up for us. Of course, I couldn’t expect them to plough each plot individually so I had to take up all my pegs and string, and reassemble them afterwards!
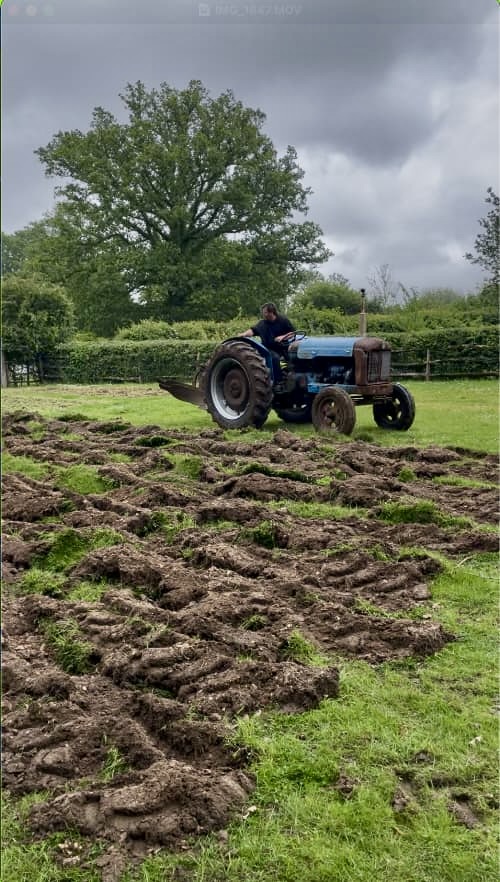
The plough furrows, and the chunks of turf, that the big tractor left behind were far too difficult for me to manage. So at this point it was time for the little tractor to come in and till the surface into something I could plant into.
Feeding the soil
At last the plots were all marked, the soil was prepared and it was time to start planting! And not a moment too soon as we were already half way through May!
If you are setting all this up in the fall or winter, this is a great time to cover your new patch with plenty of organic matter. Hopefully from your own compost pile (if you don’t have one yet, here’s how to get started)
I did this one plot at a time, during and after planting, throughout May and June, carrying a bucket of compost from the pile each time I walked past – several times each day. Little by little it soon adds up!
Step 4 – Planting
I’ll list each plot here and give you a brief summary of where I am at with each one, and link to the relevant page where you can get much more detailed information on planting the crops in that plot.
PLOT 1 – Onions and carrots
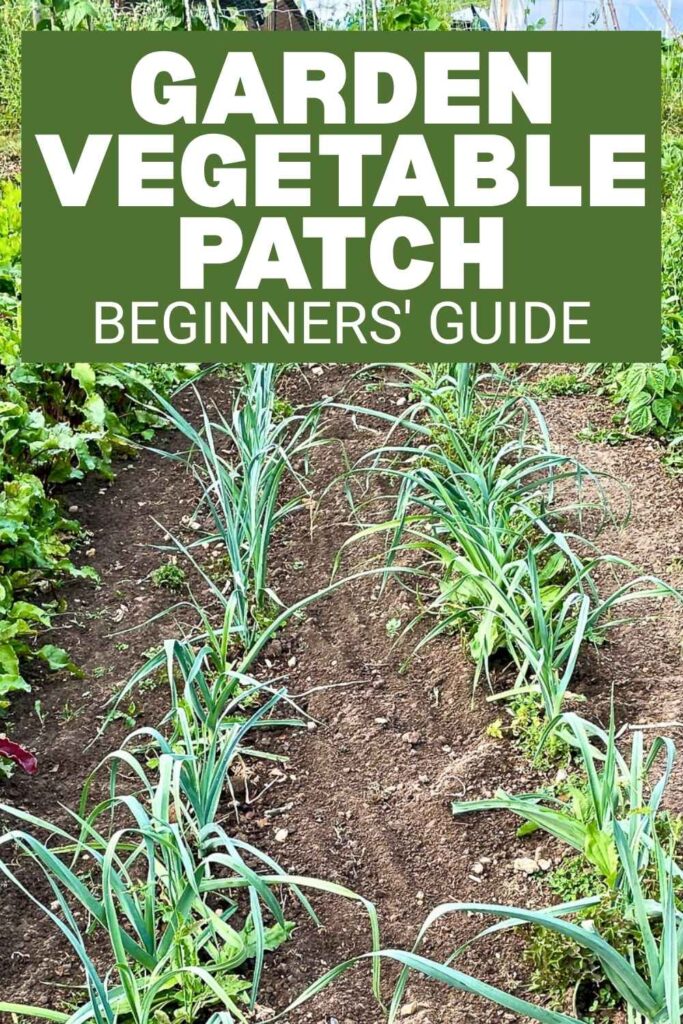
I started my onions off in seed trays indoors in May. Duncan planted the onions and some carrots into plot 1 in early June. They looked very small and lost in this big patch of soil!
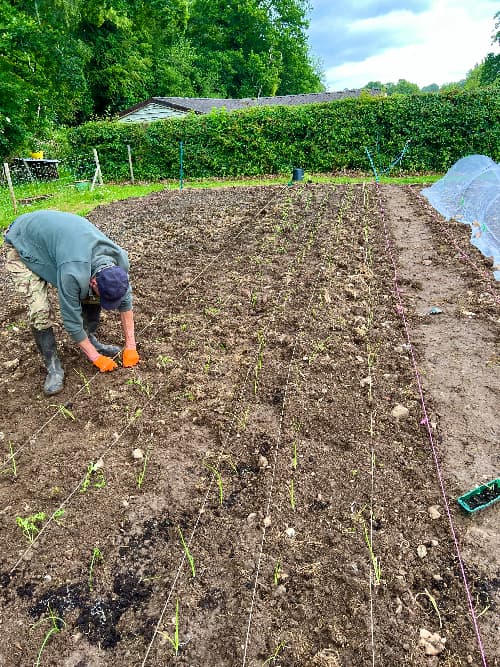
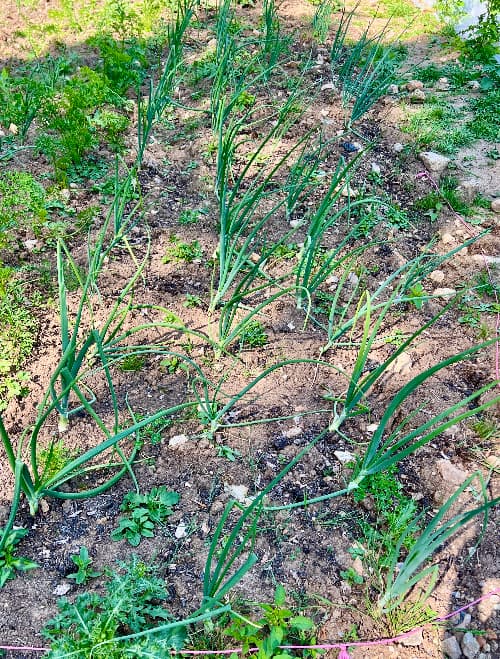
Check out the following articles for more information on planting the roots in Plot 1:
PLOT 2 – Broccoli
I started our broccoli seedlings indoors in May, and we planted them out into plot 2, in early June
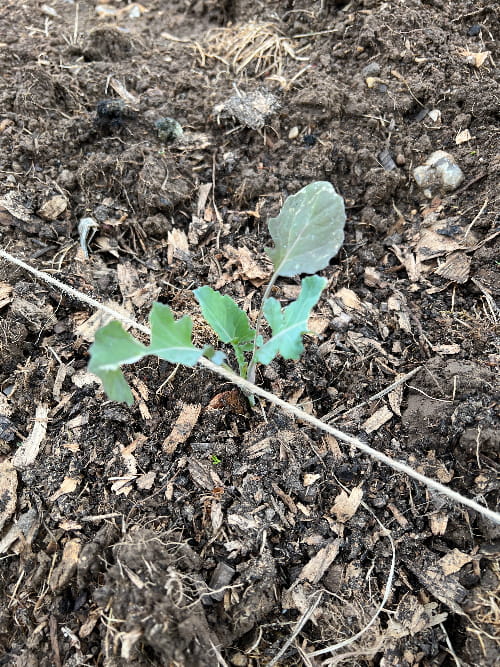
Apparently we are not the only ones who love to eat broccoli. And it didn’t take long for the slugs and woodpigeons to find out new seedlings
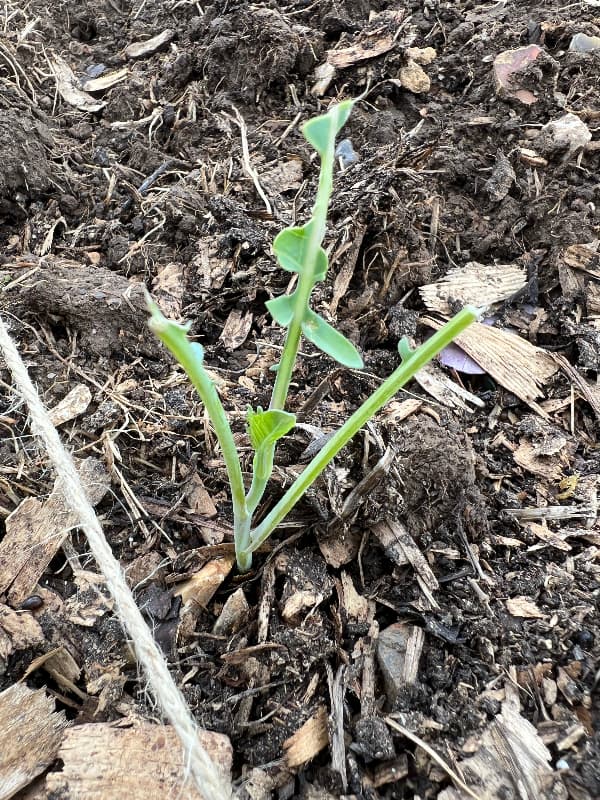
The first damage was done during the night on the day we planted the seedlings, and the next night five or six more seedlings were badly damages. So the following day I put a net over the first two rows of broccoli and encased some of the other plants in tree tubes to help protect them.
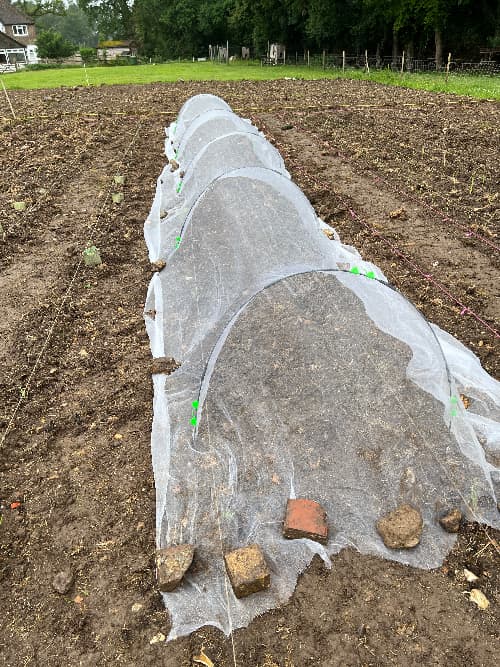
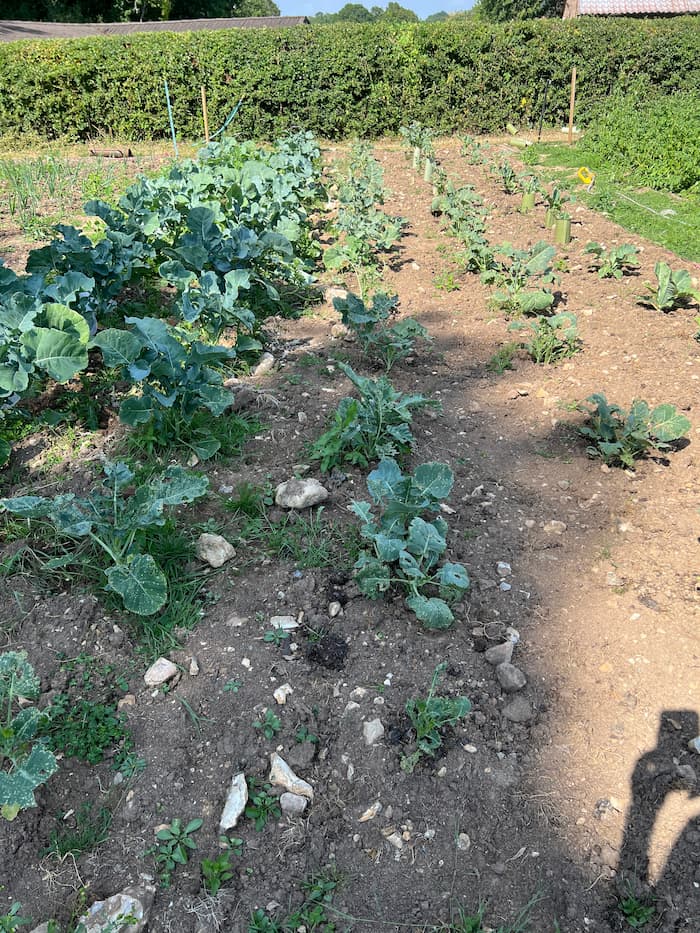
I took the net off five weeks later in order to hoe, and the results of netting speak for themselves.
PLOT 3 – Potatoes
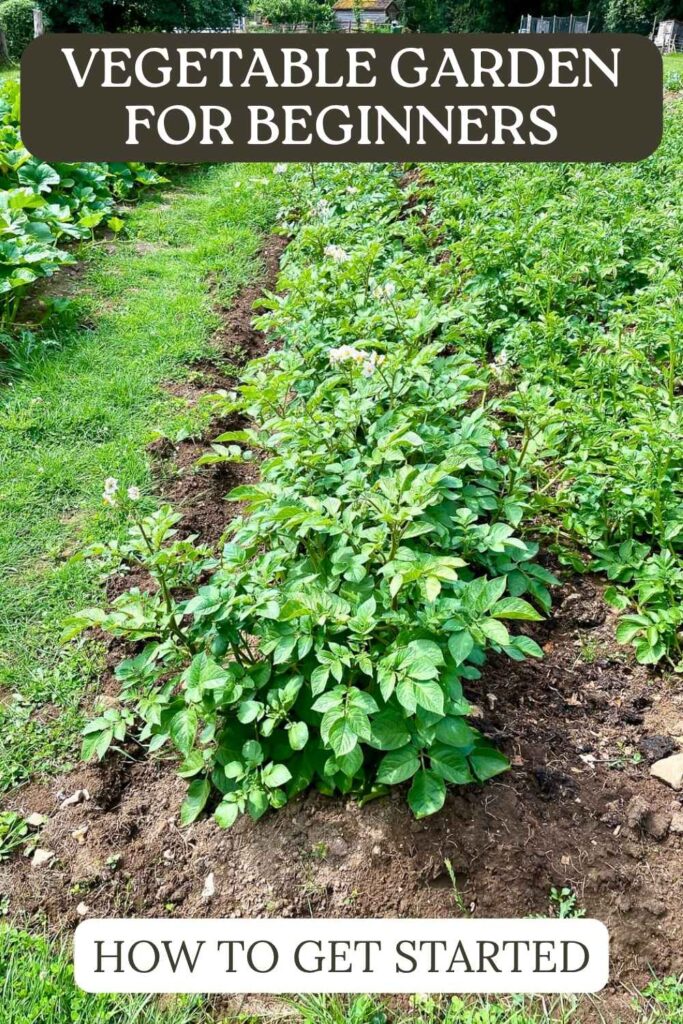
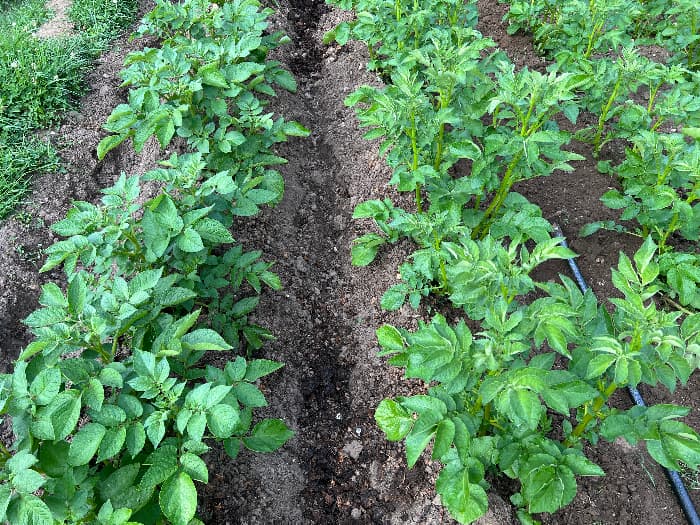
This was the second plot I got underway, and at the end of May, I was only just in time with planting my seed potatoes.
Plot 3 is for my maincrop potatoes, two types: King Edwards, and Desiree.
PLOT 4 – Pumpkins!
My grandchildren are huge fans of pumpkin carving. And each year we grow an assortment of pumpkins for their entertainment.
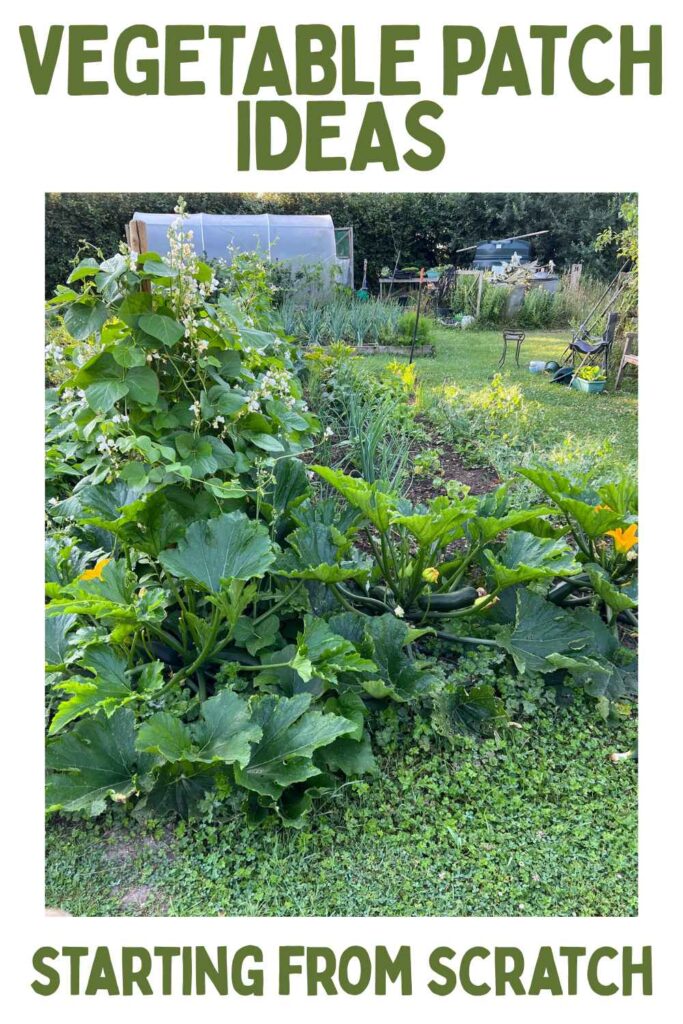
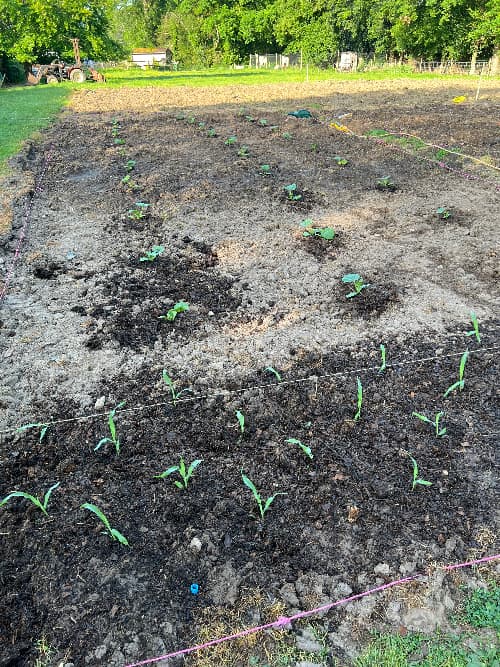
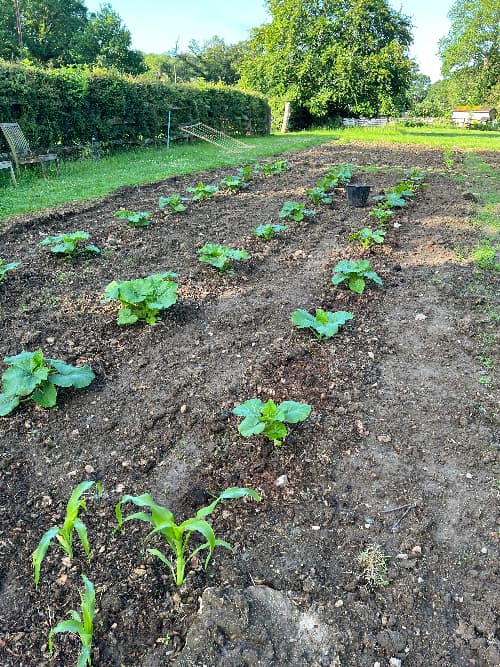
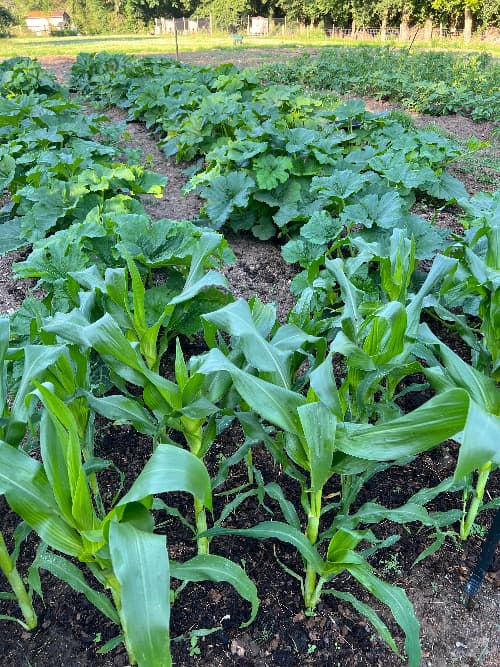
This year we decided to go a bit bigger with pumpkins and maybe see if we can sell a few locally. And in fact plot 4 – our pumpkin patch was the first one we got planted. It’s in the sunniest part of the new vegetable garden so we are hoping for a bumper crop. We also included a patch of sweetcorn at the northern end of the plot.
This is what it looked like very early in the morning on May 25th.
Three weeks later:
Once they get settled, pumpkins grow fast – here we are just another two weeks later at the end of June
If you are ready to start your own pumpkin patch, here are some articles to help you:
Reviewing Our Progress
What are we learning so far?
It’s the first time I’ve attempted to grow vegetables on this scale, and it’s interesting how my views on what we should grow are evolving!
Some crops are definitely worth the time and effort involved in looking after them, and the space they take up. Others not so much.
The broccoli dilemma
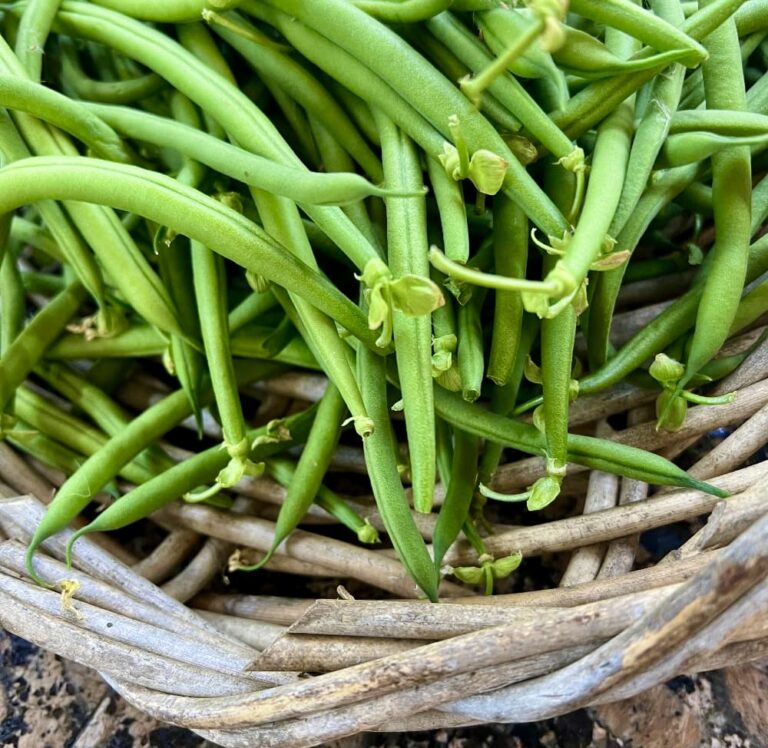
For example, broccoli has been challenging and doesn’t feel very rewarding when you consider that each plant has to be two feet away from the next one, and has produced just one to two servings so far. Compare that with my green beans which produce three times the volume of food and can be planted just nine inches apart.
Now of course the small crop from our broccoli so far is partly because I didn’t have time to prepare the soil adequately, but that issue applies to everything we have planted here. And the broccoli is performing poorly in comparison with some of the other veggies.
But in addition to the space that broccoli occupies it has been heavily attacked by cabbage worms and flea beetles. Using a net lets the broccoli thrive but it also lets the weeds thrive too. I could grow broccoli in a cage. Like a fruit cage but insect proof as well as bird proof. We have some suitable cages. But as broccoli needs to be rotated, that means setting cages up and moving them each year. All in all quite a lot of trouble. So I may strike this vegetable off my list for next year.
What’s happening now?
My new vegetable plot and this journal about it are a work in progress. I’ll be updating this article as I plant more plots and to show you the stages of each plot from planting to harvest. So do check back soon!
Working With Smaller Plots
I appreciate that a vegetable plot this size is not everyone’s cup of tea! But you don’t need a huge space to work this kind of system. You can apply the principles here to any sized vegetable garden. It all starts with what you like to eat. If you hate sprouts, then don’t grow sprouts just because your neighbor says they do well in this soil. Plant what you will eat.
Make a list of all your favorite vegetables and divide your space up between them. Remember that some plants crop much more heavily than others. And some need a LOT of space.
In a small space prioritize plants that can cope with being crowded. Bush beans and onions can be planted 12 inches apart whereas potatoes and pumpkins need 2 to 3 feet between rows. Zucchini need space but give you a ton of produce. So unless you are opening a ratatouille factory, you probably only need one or two plants. You’ll find planting guides for each crop in the recommended articles for each plot.
If your patch is very small, you probably won’t want or need paths between your different crops. But you should still divide the total area up into sections and rotate your crops around those sections each year. Crop rotation will help to keep your plants healthy, and your harvests plentiful!
Have fun with your new veggie patch and let us know in the comments below how you get on!
Related Articles
Getting Started With Green Beans – Bush Beans And Pole Beans Made Easy
Pin for later