Choosing And Using Kitchen Compost Bins – 5 Steps To An Odor Free, Easy Clean System
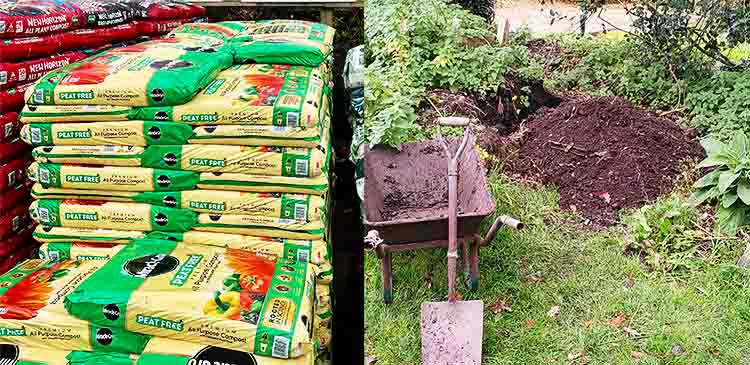
We all want to do our bit for the planet. All over the world people are trying harder to avoid plastics and recycle their waste. And recycling your organic kitchen waste is a great way to contribute to that effort while at the same time, creating some wonderful potting soil for your house plants and flower beds.

It sounds very straightforward, but there’s a problem! And it’s a problem that puts a lot of people off composting their kitchen waste entirely.
The problem is finding a way to store organic waste for those few hours between discarding it, and taking it to your compost pile.
No-one wants rotting food smells in their kitchen, or ugly pails on the counter. And we don’t have time to be scrubbing smelly, sticky containers each day.
Don’t worry, there is a way around this! But before we get to it, there is another problem!
And this second problem is: remembering to empty the compost bin before it starts to smell nasty. If you are anything like me, life is busy. And emptying the container is easily forgotten.
What you need is a kitchen composting system! And it’s actually easier to set up than you think.
I’ve put the five steps I recommend below. (And if you don’t yet have a compost pile – head over here to get started: First Steps In Composting )
1 Get into the daily emptying habit FIRST
It’s best to get into the daily habit of composting, before you buy your bin. I learned this the hard way after throwing out several bins because I forgot to empty them, and let them get so horrible I couldn’t face cleaning them.
So I really do recommend you get into the habit of emptying the compost each day before you choose those pretty bins.
Start by using any old plastic bowl or tupperware type box. And put it on the kitchen unit somewhere obvious. And I mean really obvious. Like right there, next to the sink.
Yes, it isn’t pretty, but it’s only for a few days. Once you have the emptying habit down, you’ll use your cute designer bin or your under cupboard bins.
2 Be ready to pay for TWO bins
You’ll notice I said bins not bin. Because you are going to need two of them. As soon as the full bin is ready to go to the compost pile, put the second one in its place.
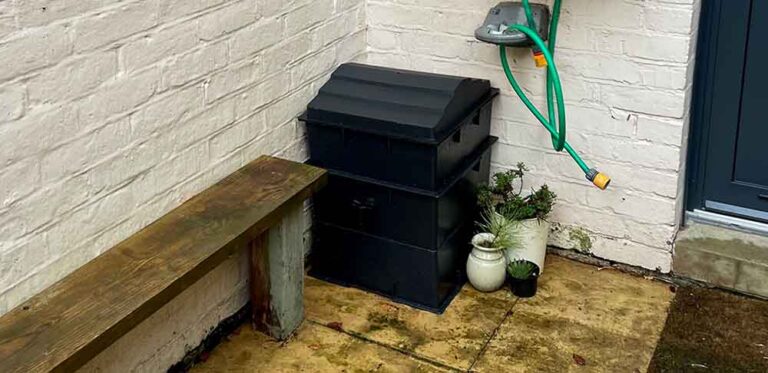
You can buy pretty counter top compost bins to go with your kitchen decor, or you can make do with some containers you already have.

Space is a bit limited on my counters, so nowadays I use lidded pails that fit neatly under my sink. The important thing is to choose a container that you can afford two of.
As soon as you’ve emptied the full can, you’ll rinse it under the garden faucet, stand it in the kitchen sink, fill it with warm soapy water and give it a quick scrub with a dedicated brush. If you’ve left it overlong, then half an hour soaking in the soapy water should loosen everything up.
If you do this every time you empty them, your compost cans will never get smelly or sticky and unpleasant to be around. And they won’t need scrubbing.
3. Buy the right size bin
I have messed this up in both directions. So I can tell you for certain that your bin can be too big. And it can also be too small.
If your bin is too big, you’ll look inside and think “hmm…that doesn’t really need emptying, I’ll leave it until tomorrow”
This has two outcomes. 1) your bin gets smelly and 2) you get out of the daily emptying habit.
And if your bin is too small, the contents will get pushed in tight and be harder to empty and clean out. And they will get smeared around the underside of the lid so that you have to clean that too.
How big should my bin be?
For a family of three we find that two 1 gallon buckets with lids are perfect. We do a fair bit of home cooking though. If you have a bigger family you might need a bigger bucket. If you don’t cook a lot then a smaller one will probably be fine.
4. Retrieve items put in the trash can!
Composting is a habit. And habits need a bit of help in order to get established.
This sounds horrid, but if you have to put your hand into the trash can to fish out the apple core you threw in there by mistake, you are far more likely to remember to put the item in the composting can next time.
If you see other family members put organic waste into the trash, hand them some gloves, and make them pick it out again too! (If you do it for them, they will keep putting it in the wrong place)
Stick to your guns and in just a few days, you’ll all have the composting habit well under way.
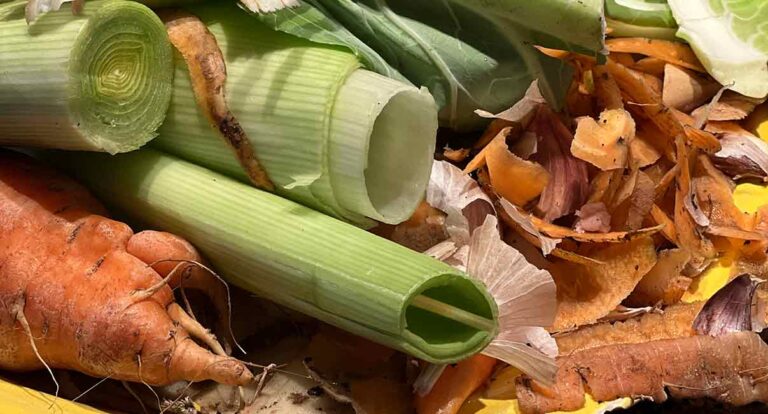
5. Vegetable waste only
It is possible to compost meat waste safely but it’s a hassle. You need a fast, hot, pest proof composting system.
For most people it’s better to stick to composting vegetable matter.
So from the kitchen, that means all your potato peelings, carrot tops, banana skins, apple cores etc. You can find a lot more detail on this topic if you read ‘what can go in my compost bin’
Vegetable waste tends to be less smelly, and less prone to growing colonies of unwanted pathogens. It’s a win win, all around
All you have to do now is get started!
Grab a bowl, place it by the sink and start putting vegetable waste into it.
Empty it before you go to bed, and put a clean bowl in its place. Soak the dirty bowl overnight in soapy water and brush it out in the morning.
Do this for three days, and if you are finding it easy, go ahead and order those pretty bins or pails and you are good to go. Let me know how you get on in the comments below!