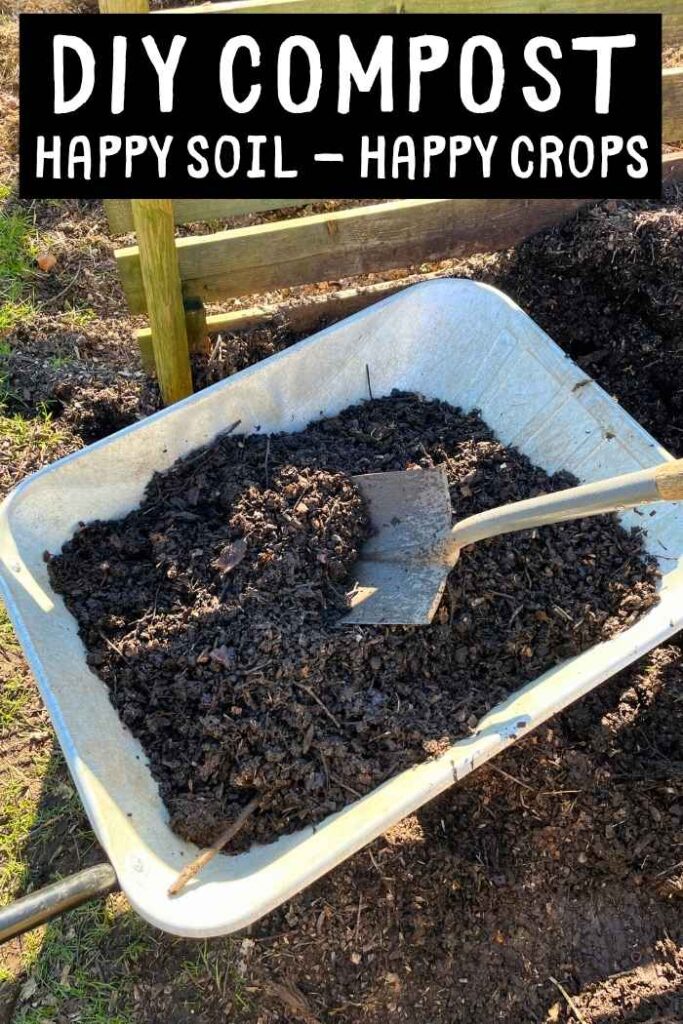
The When and How of Spreading Your DIY Compost
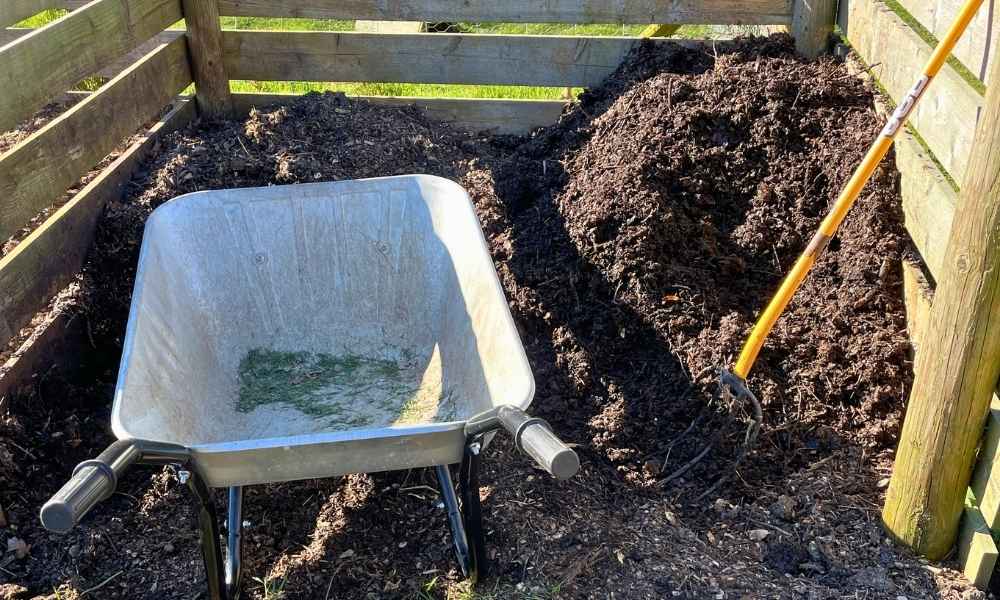
I love that moment when I realise my homemade compost pile is well and truly cooked! And at last I can start spreading it on my hungry garden soil.

It’s an exciting moment. But there are great times and not so great times to start spreading. And some rules that help you share the love among your plants efficiently. I’ve got some great tips to help you get this right.
We’ll look at the when, both from the readiness of your compost and at the best time from a season and weather point of view.
And we’ll also look at the how. How much, how deep, and how often.
#1 Treat compost like a seasoning, rather than the main course
When it comes to spreading homemade compost, more is not necessarily better. I spread my compost quite thinly and not just because it is a precious resource. Research shows that a little and often approach supports plant health better than dumping large quantities on your flower beds at once. And there are good reasons for that
A thin layer of compost improves the soil by boosting organic matter and nutrients. But, just like us, plants need oxygen as well as nutrients to survive.
If we add too much compost at once, then this can reduce the airflow and therefore the oxygen in the soil. And of course, this oxygen is needed for the plant’s roots and all those useful soil microbes to survive.
There’s another reason to go easy on the compost, especially if it isn’t quite as well composted as it should be. And that is, the microbes that break the compost down compete with your plants for the nitrogen in your soil. Too much of it, and you’ll actually risk starving your plants of nitrogen. At least in the short term
Basically, overloading your flower beds or vegetable patch with too much compost can suffocate your plants and the important soil organisms that support them. And temporarily leave your plants nutrient stressed.
Thumbs up!
So little and often is the way to go. I like to use a simple visual check to get this right. A good rule of thumb for compost depth is usually a 1-2 inch layer. And you can use the end of your actual thumb (from last knuckle to tip) as a guide.
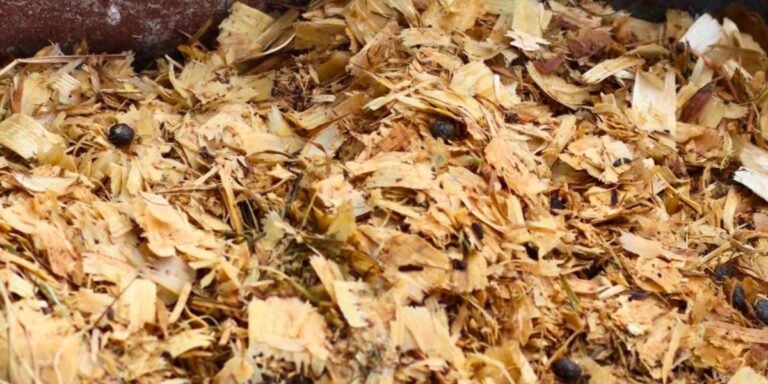
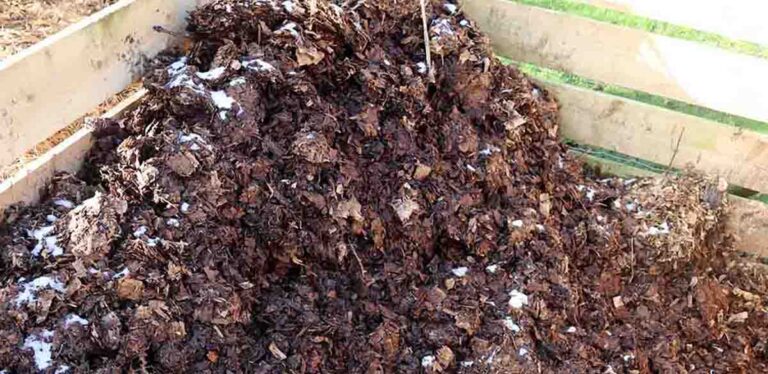
#2 If it still smells like a swamp, it’s not ready!
I mentioned above that compost which isn’t quite finished composting, can contribute to depleting the nitrogen levels in your soil. This is really counter productive because one of the things we want from spreading compost, is more nitrogen, not less.
Nitrogen is really important to plants. A plentiful supply of it is what helps to keep plant leaves looking green and lush. And a classic sign of nitrogen depletion is yellowing of those leaves.
So if unfinished compost can cause problems with nitrogen, how do we know when our diy compost is ready? Well, for this, you really need to get up close and personal with your compost pile.
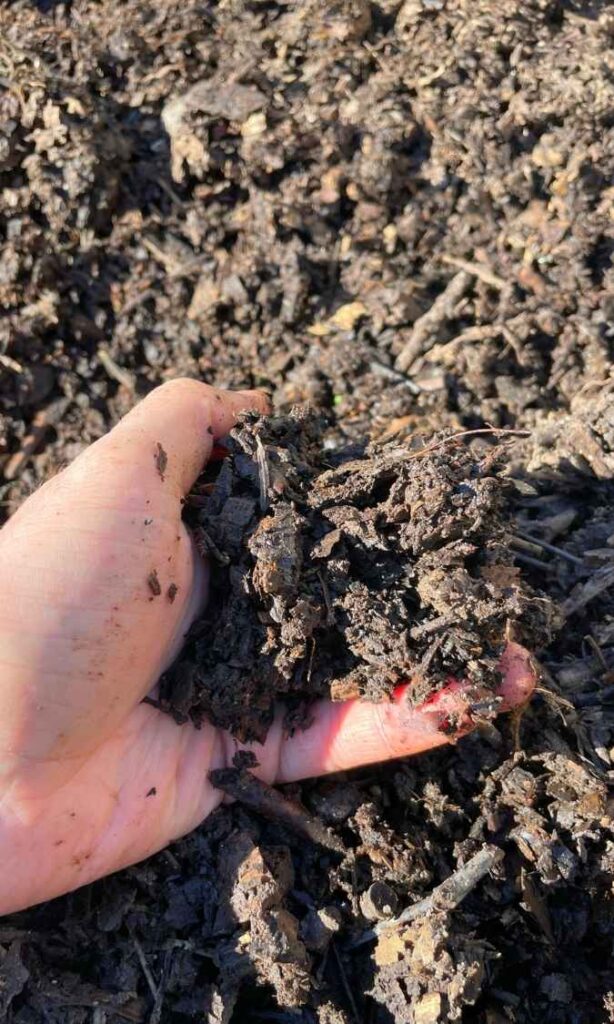
Crumble some between your fingers, it should look like dark, rich, soil. And definitely should not contain recognizable bits of rotting plant matter or food scraps.
Hold a handful to your nose and take a good sniff. It should smell earthy and pleasant. Any kind of swampy or sour smell is a sign that the compost is not ready to spread around your plants.
You can find out more about making sure compost has finished cooking in Sarah Holloway’s excellent article: Is My Compost Ready For Use
#3 Spring feeds plants, fall feeds soil, choose your priority.
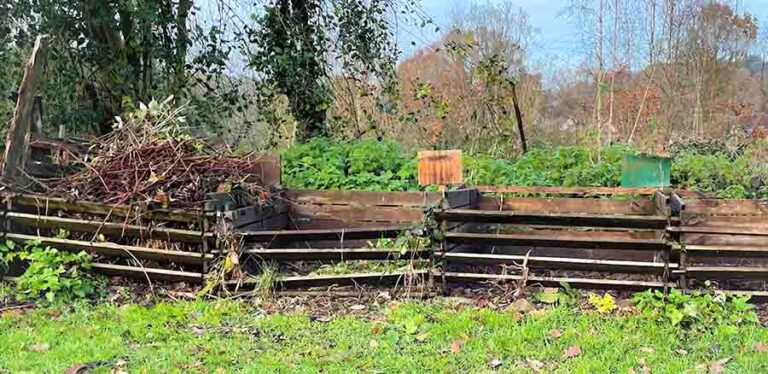
In theory, homemade compost can be applied to the soil at any time of year, but in practice, most gardeners focus on spring and/or autumn. If you have limited quantities of compost, as most of us do, you might want to focus your compost application on just one of these periods. In which case you need to think about your priorities.
Compost applied in spring supplies nutrients that are quickly used by your rapidly growing plants. This can give plants quite a boost and gives visible results which are very satisfying to watch.
On the other hand, compost added in the fall can be very beneficial to soil. Improving the structure, and nutrient balance. If your zone experiences regular freeze thaw cycles these will help integrate the organic material you have added during the fall.
If you want visible results quickly, and you have hungry crops in mind, go for spring. If your soil is poor or compacted, an autumn application will go some way to improving soil structure and quality.
#4 Keep off the stems!
It’s tempting to pile compost around the plant and right up to the stems. You want to get those nutrients as close to the plant as possible right?
But there are good reasons that expert gardeners don’t do this. Compost holds water, sometimes a lot of water. And pushing it up against your plants creates a moist environment where airflow is dramatically reduced. This creates an atmosphere that unpleasant microbes and harmful fungi may thrive in.
Unlike roots, plant stems are not designed to cope with being permanently soggy and the tissues within them may break down if they are constantly wet. Letting infection and those nasty microbes in.
So, it’s important that you keep your compost a few inches away from your plant stems.
Instead, apply the compost in a ring around the plant, so you have a donut shaped layer of compost that will provide nutrients to your plants roots, and let the stems breath.
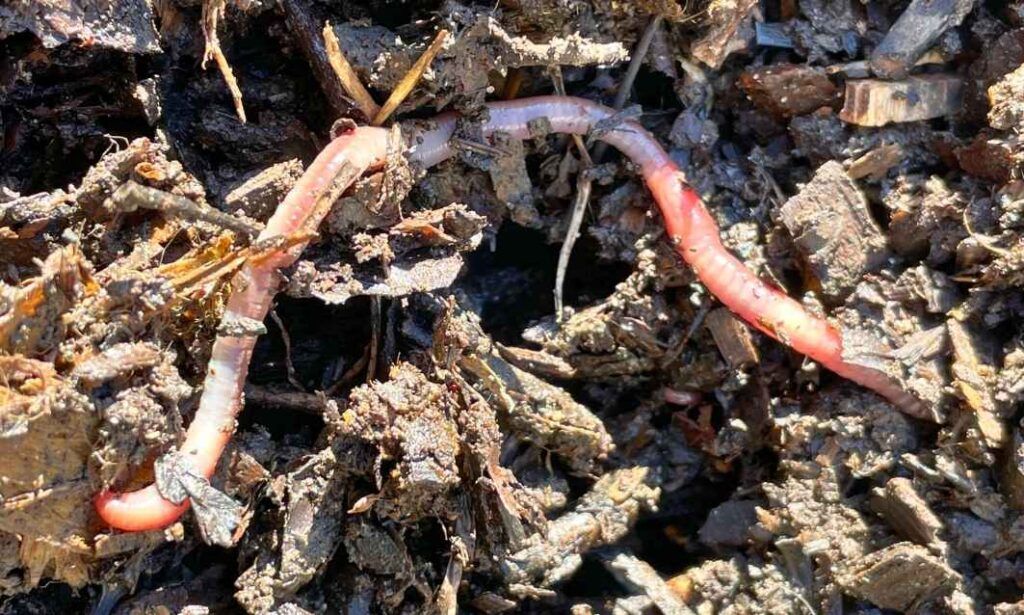
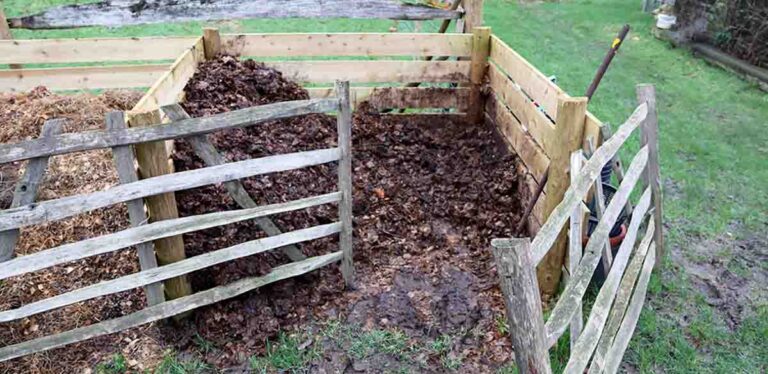
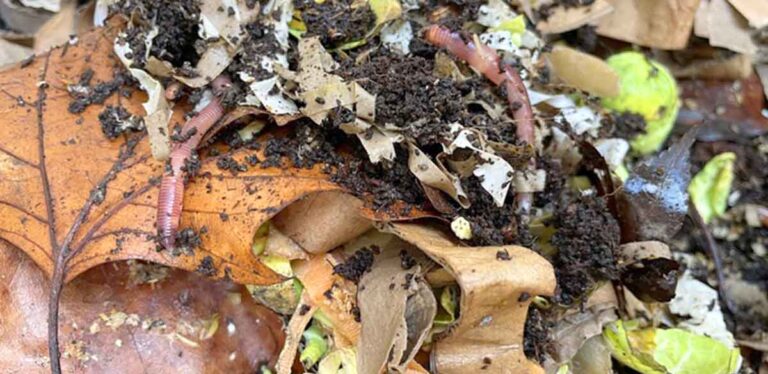
#5 Skip the shovel and let worms do the mixing.
When I was a kid, digging the vegetable plot was de riguer. My Dad used to spend hours ‘double digging’. And always ‘dug in’ his compost as he spread it on the vegetable patch.
But times have changed, and digging everything into the soil is now considered an outdated technique. Indeed, many experts now recommend ‘no dig’ gardening.
There are some good reasons for this change of heart.
You may have heard that digging releases unwanted substances into the atmosphere. But there’s also an important reason that impacts you and your crops right now! And that’s to do with soil structure and quality.
Unless it’s been overly compacted, soil that is left undisturbed isn’t just a continuous pile of earth. It’s actually quite porous. Plant roots and worms burrow beneath the surface to create a network of tiny tunnels through which air and water can flow.
Digging disrupts this network and can actually do more harm than good. Studies have even shown that no-dig systems yield higher numbers of earthworms than soil that has been tilled.
So you can save your energy and put your shovel aside! A light raking to spread your compost over the surface of the soil is all that’s needed. The worms will do the rest, and thank you for not wrecking their tunnels.
And if you love digging as I do, and used to enjoy digging as a workout, never fear, you can pour all that energy into turning your compost pile instead!
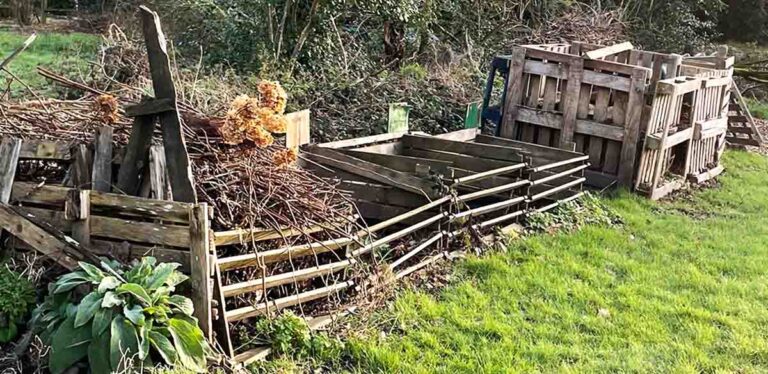
#6 Be selective about your choice of beds
Not every plot of soil is equally deserving of nutrients. So it’s a good idea to prioritise newer beds, or those that have been heavily cropped or neglected for a while.
Remember that surface applied compost carries on feeding the soil over time. Research shows that once good soil nutrients have been well established, you don’t need to keep adding large quantities food.
A light application should be enough to replace what the plants use. Again, small consistent applications are much more beneficial in the long run, than dumping a large amount of compost once in a blue moon.
#7 What about your lawn?
Should you be saving some of your compost to spread over the grass, or is that a crazy idea?
I’ve written quite a bit about spreading compost on grass in this article: growing greener grass. But it’s important to remember that a lot will depend on the condition of your lawn, right now. My grass was in a paddock and somewhat impoverished after being overgrazed and compacted. If your lawn is in great condition and you wouldn’t consider buying lawn food or fertilizer for it, then your compost is better used on your flower beds or vegetable plot.
If your lawn is looking a bit sad and in need of a tonic then absolutely consider feeding it with your own home grown compost. Just like your vegetable plot, a thin layer is all you need. You should still be able to see the blades of grass poking through.
And don’t worry about the compost looking unsightly on the surface, it’s amazing how fast the worms get to work and pull all that goodness down beneath the surface. Checkout that article for more information: Growing Greener Grass With Homemade Compost
#8 Stay tuned to the weather forecast
Rain matters when you are spreading compost. Heavy rain can wash away all your hard work, especially if your garden is sloping, or the soil has become quite compacted.
But rain isn’t always bad. A light shower or two actually works in your favor, carrying nutrients down into the soil. Especially if you get your timing right, and spread your compost just before those showers turn up.
If there is no chance of rain after you apply those lovely nutrients, consider giving the area a gentle watering to help them settle in.
#9 Composting isn’t a results ‘now’ kind of strategy. And that’s okay.
I’m sure you know that compost isn’t a quick fix. Even so, I think it helps if we remind ourselves from time to time, that the effects of composting tend to be cumulative. And while you can sometimes see results quickly – greener leaves, bigger shoots and so on, that’s not always the case.
That doesn’t mean your hard work was for nothing, good things are happening underground! And one of the things that never ceases to surprise me, especially when we spread compost on our grass, is just how quickly the worms get to work and pull all that nutritious matter beneath the surface.
Most of the benefits of composting build and build over weeks, months, and even years.
Have faith that your homemade compost will do a better job than store bought manufactured powders and potions. Studies have shown that homemade composts have a greater variety of important microbes that fertilisers from other sources. Including beneficial bacteria that can suppress harmful microbes. Homemade compost is just as beneficial to your plants, as those lifeless store brought products, if not more so.
And unlike the artificial fertiliser you can buy at the local store, the nutrients within homemade compost release slowly and naturally over time. Working away on your behalf, long after you’ve forgotten the day you spent spreading them.
You might also enjoy:
References
- Compost Use in the Home Garden — University of California Agriculture & Natural Resources https://ucanr.edu/sites/default/files/2020-03/221120.pdf
- Living Soil Healthy Garden – University Of Minnesota https://extension.umn.edu/managing-soil-and-nutrients/living-soil-healthy-garden
- The Diversity of Bacterial Isolates from Commercial and Homemade Composts. Springer Nature https://link.springer.com/article/10.1007/s00248-007-9314-2